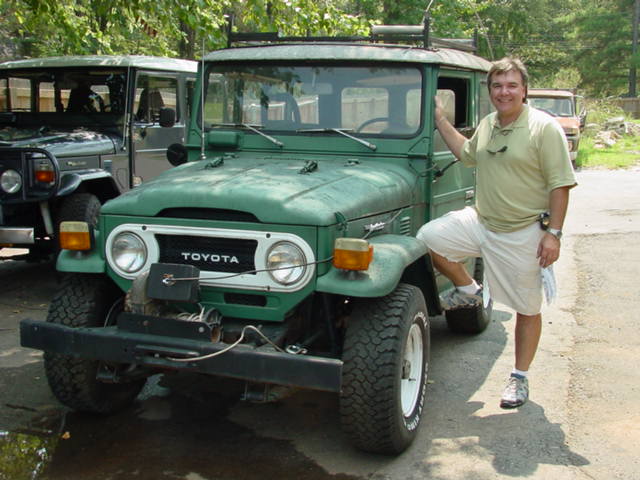
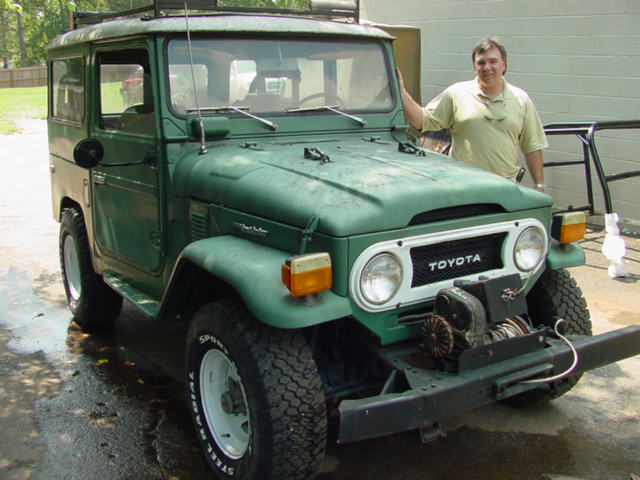
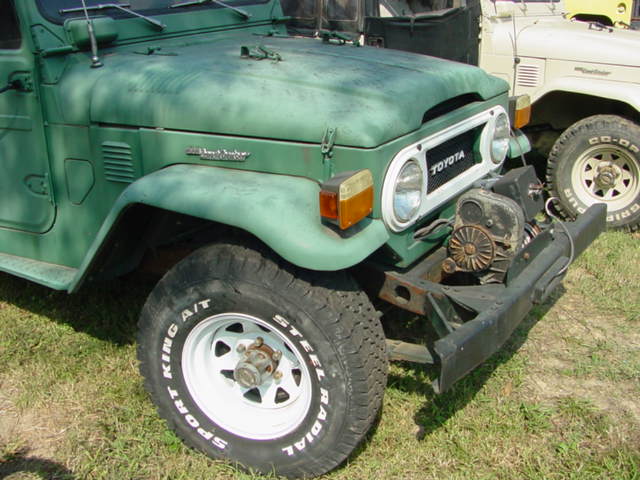
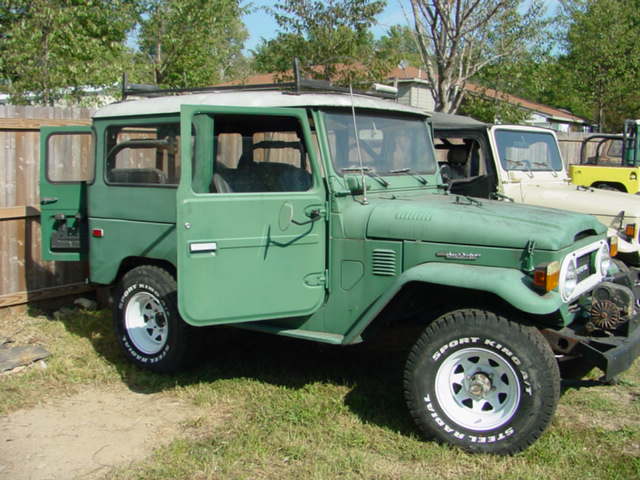
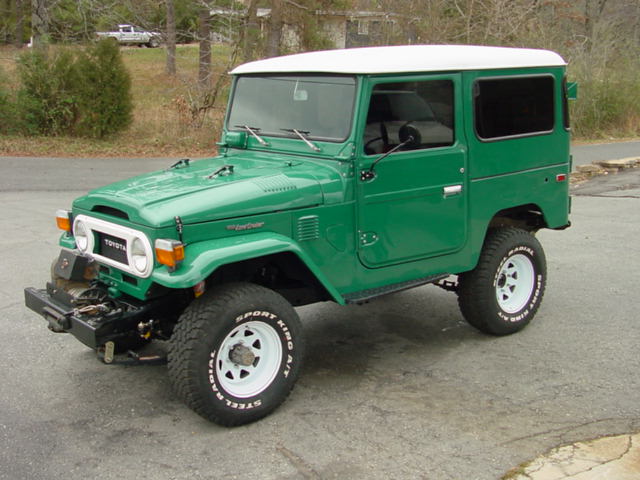
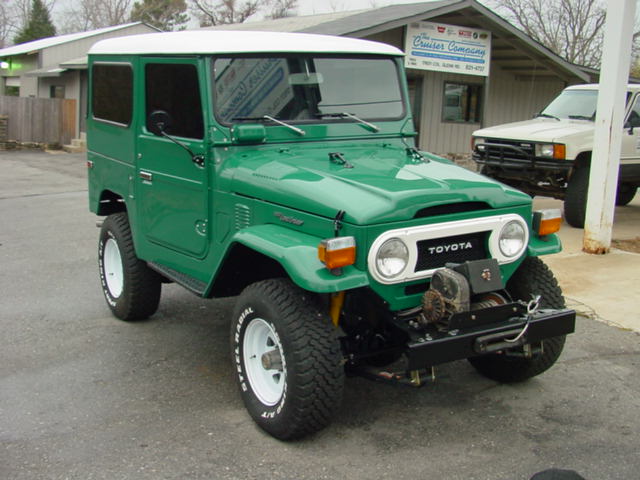
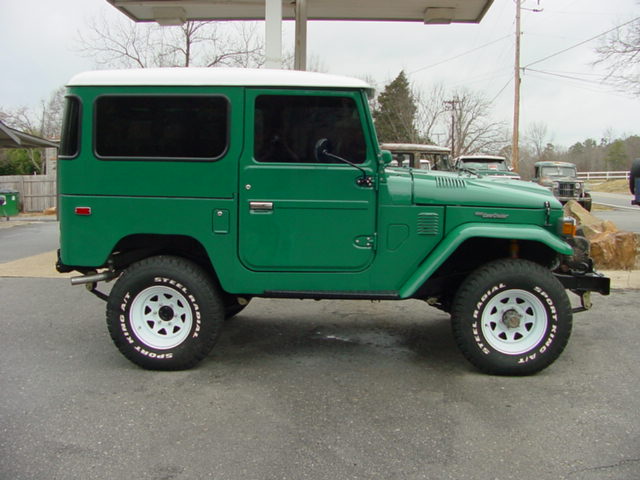
Kem Merrill's 1975 FJ40
Well, Kem's cruiser was actually just a bit faded but pretty much in great
shape. He had hired someone else to do some work on the truck and they had
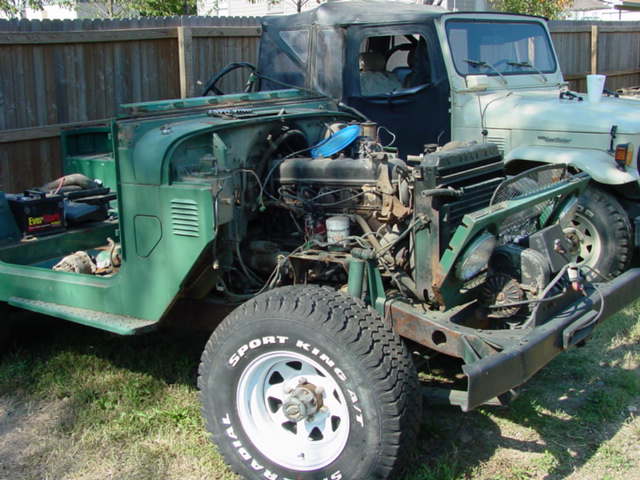
it for five years!!!. Damn, I thought I was slow. We took some starter photos and then got started on the
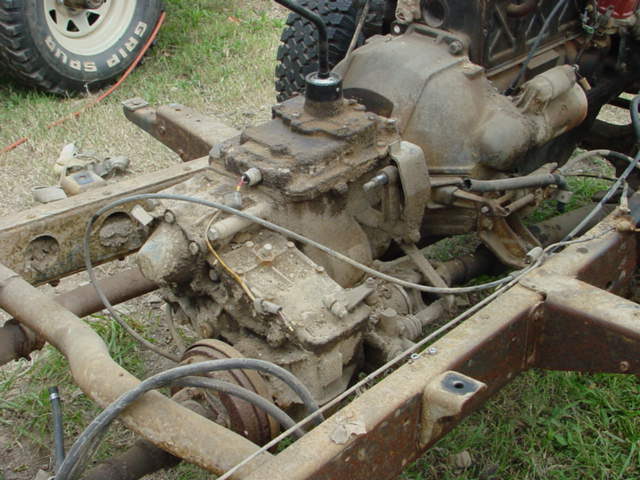
disassembly. Since his truck has so few miles on it we opted not to
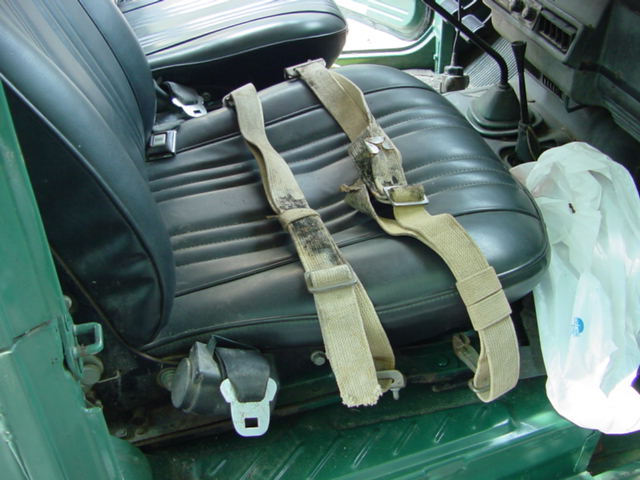
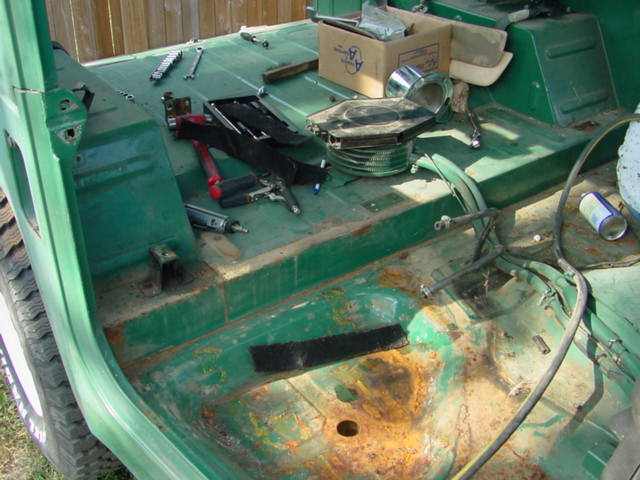
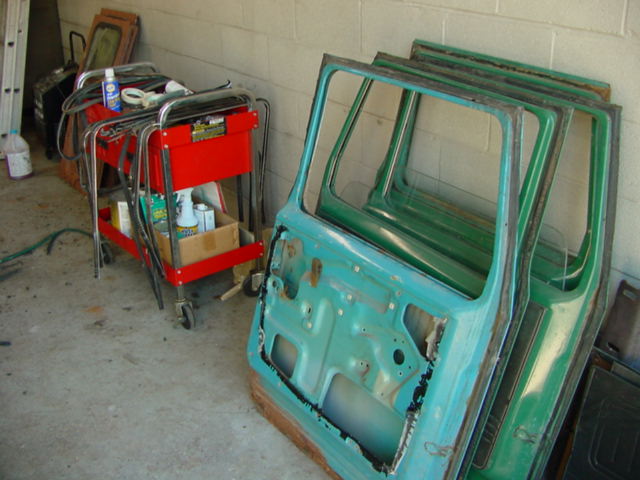
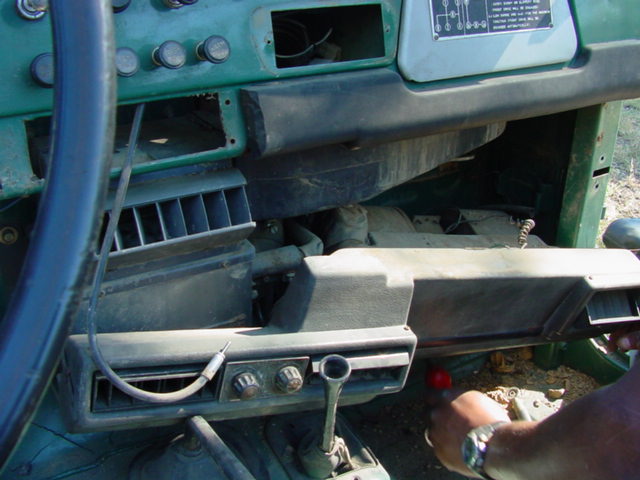
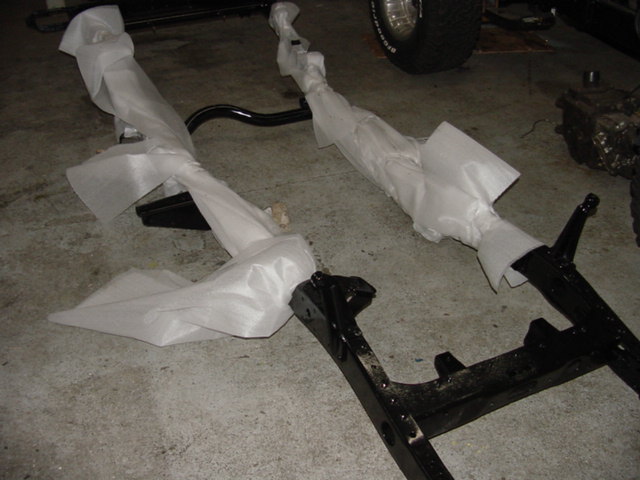
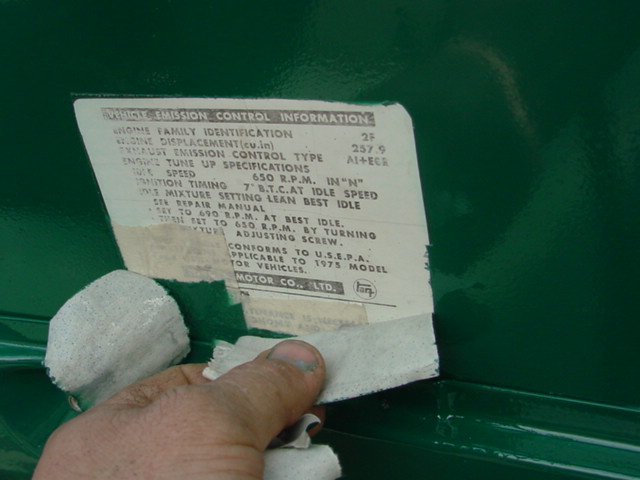
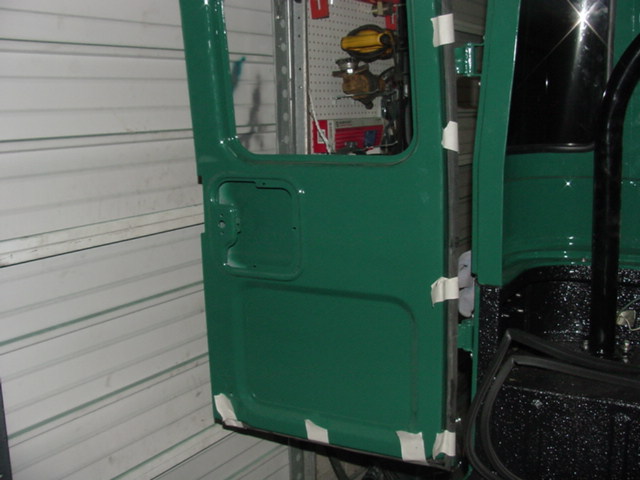
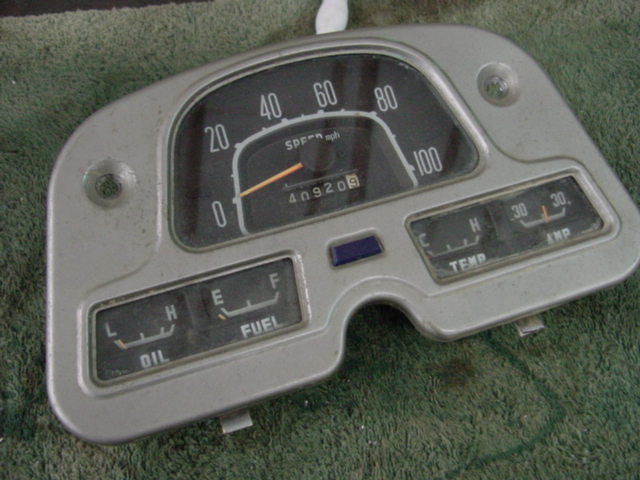
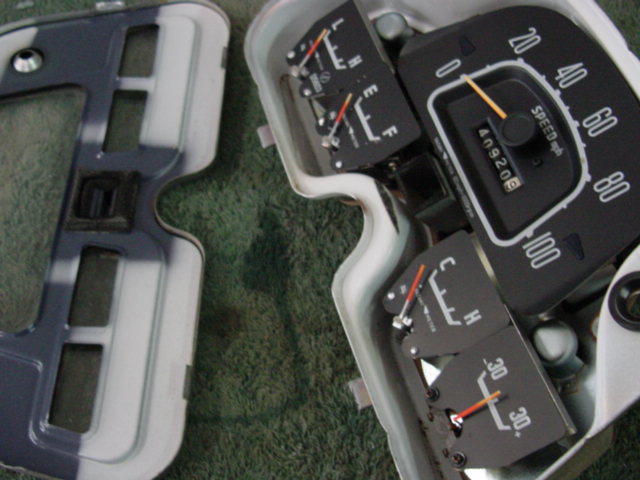
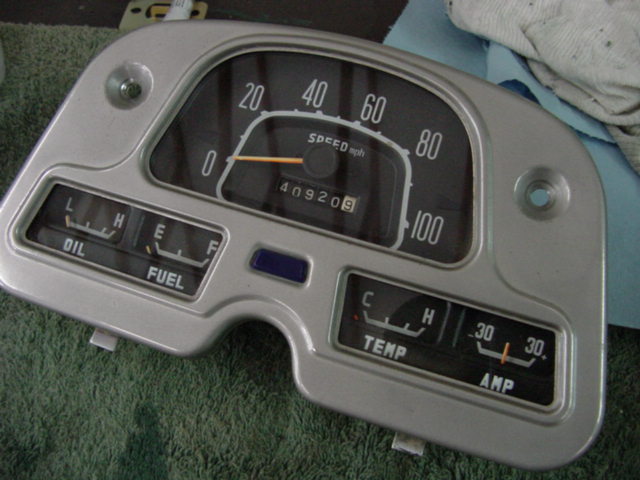
rebuild the driveline. Check out the original can of touch up paint.
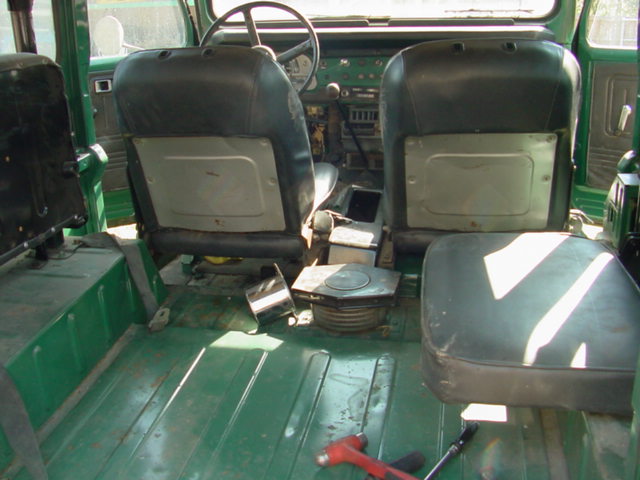
The straps are factory door straps for when you take off the doors. The
odometer is correct!
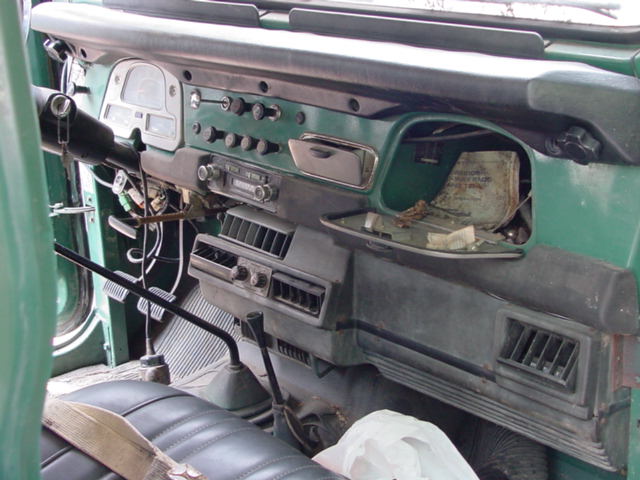
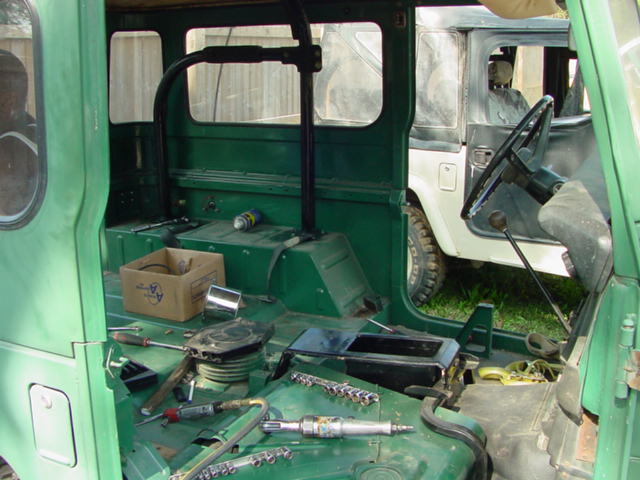
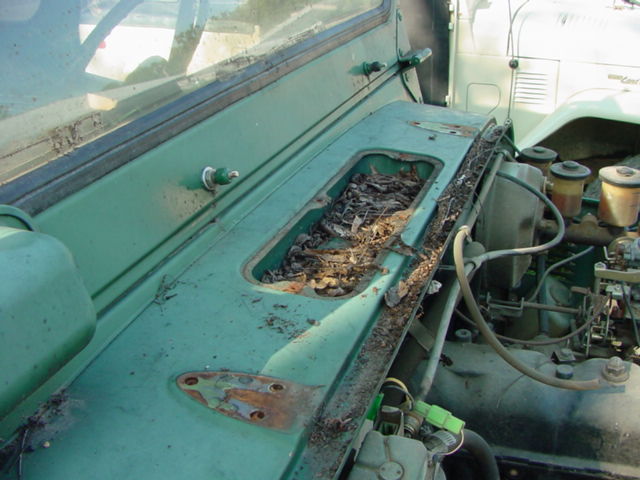
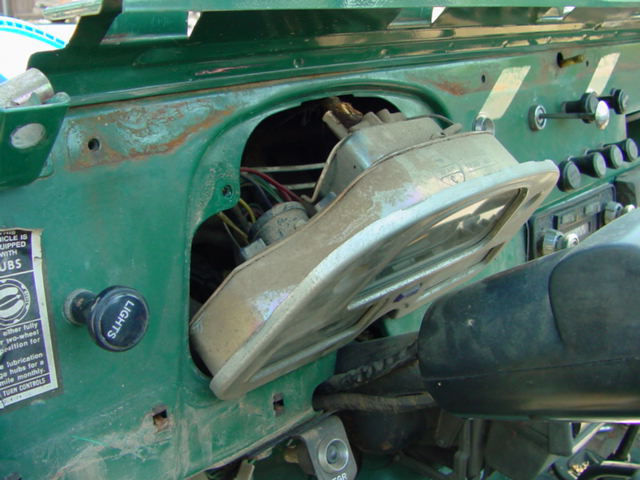
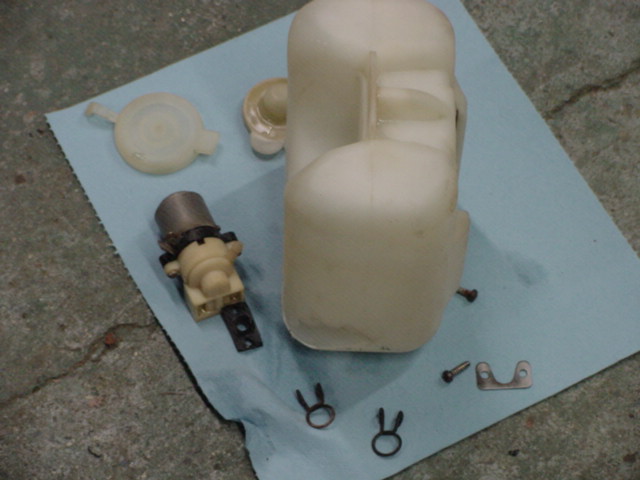
Parts everywhere, leaves everywhere, check out the hose clamped A/C lines...very
nice!
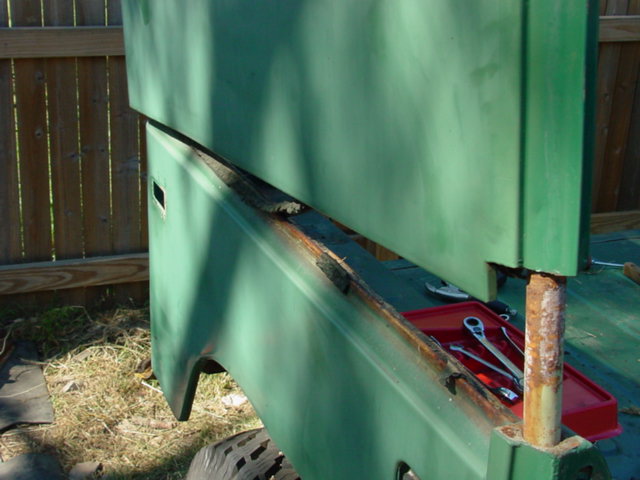
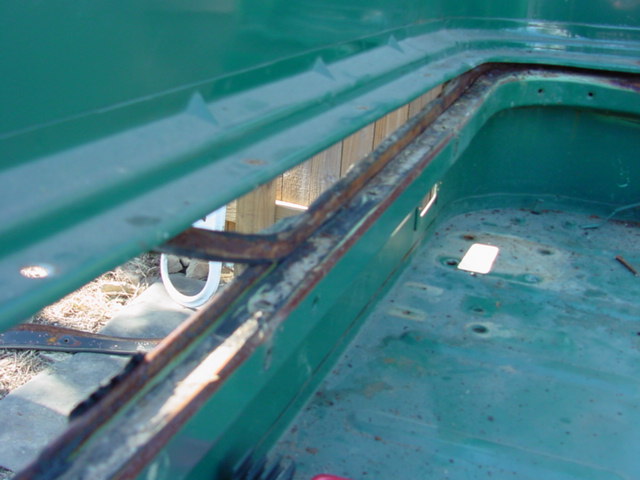
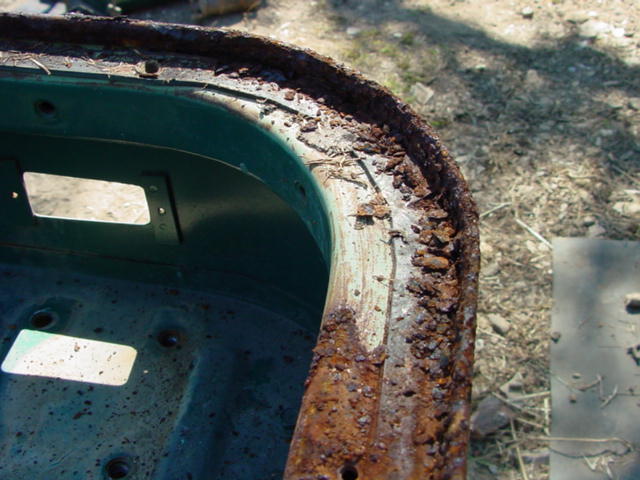
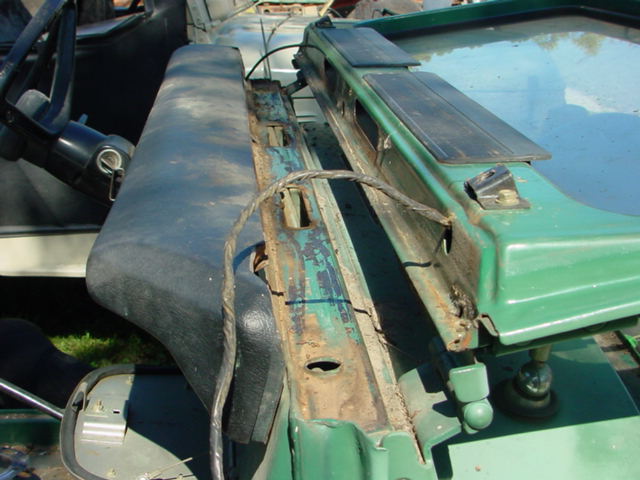
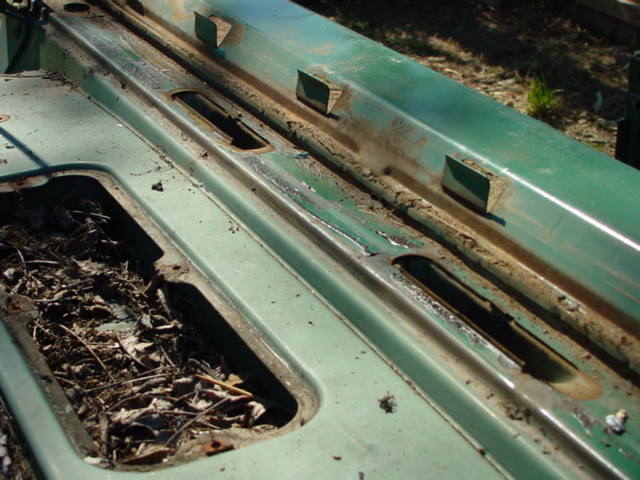
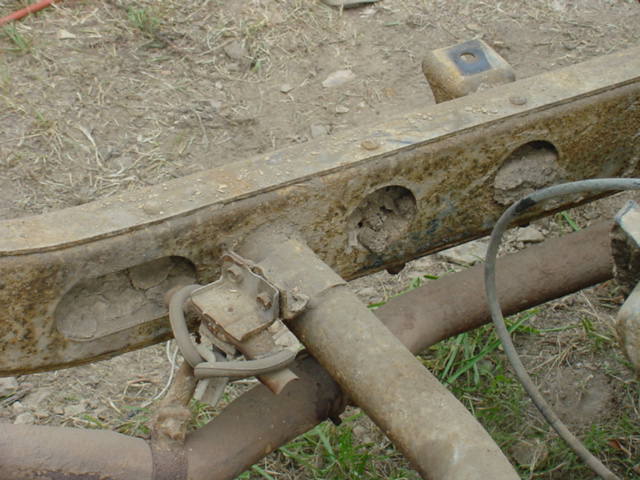
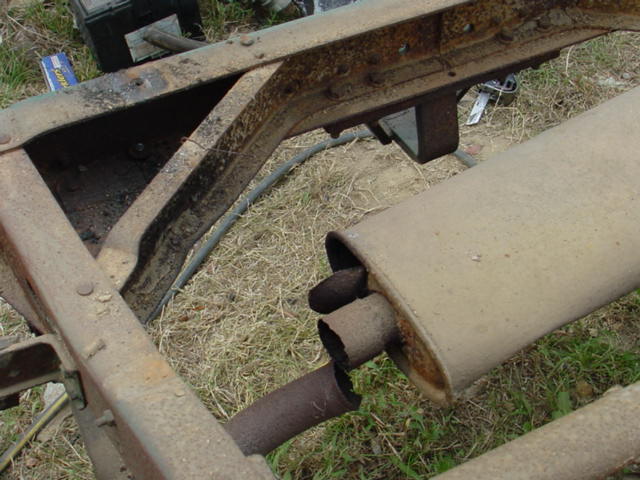
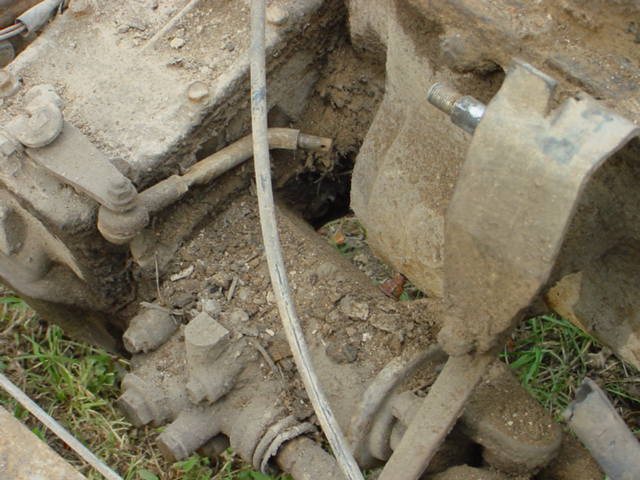
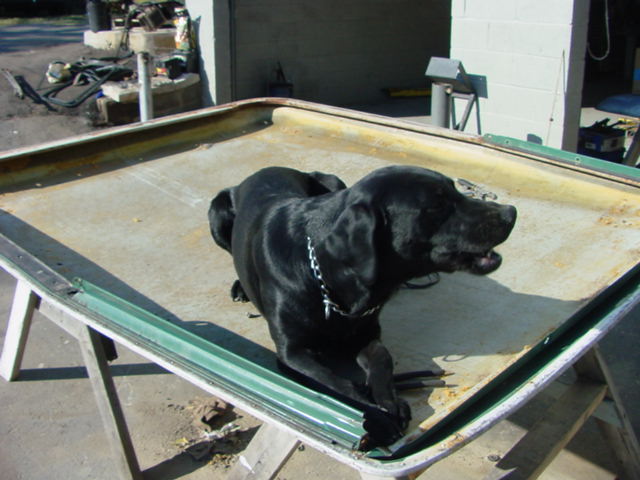
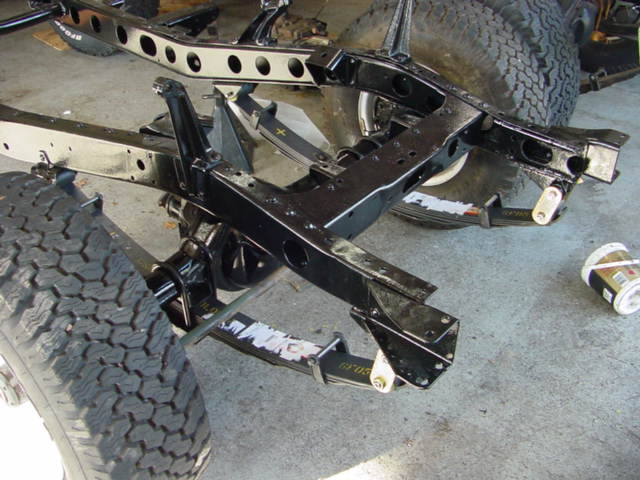
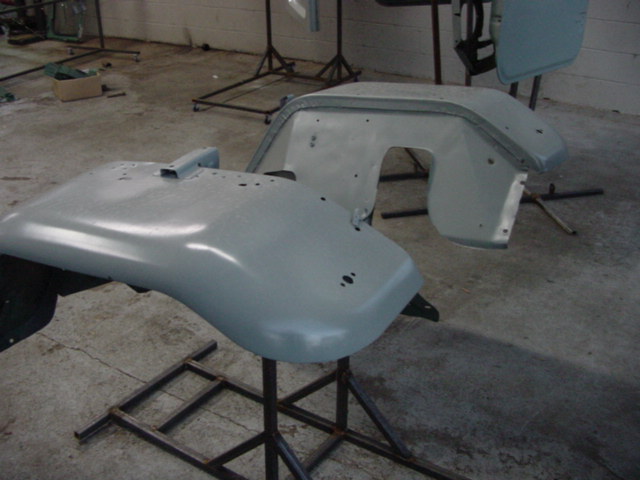
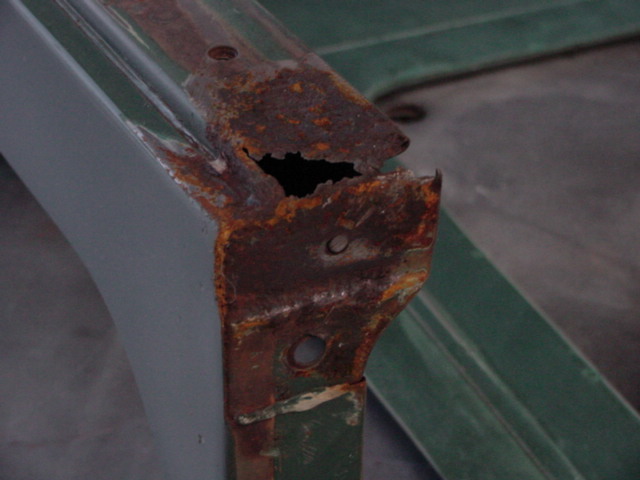
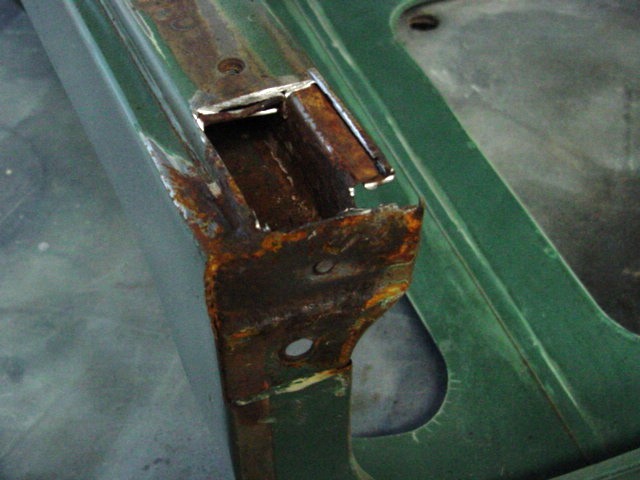
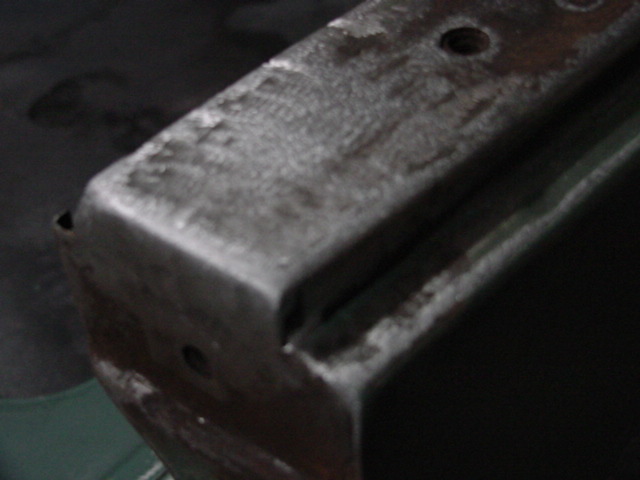
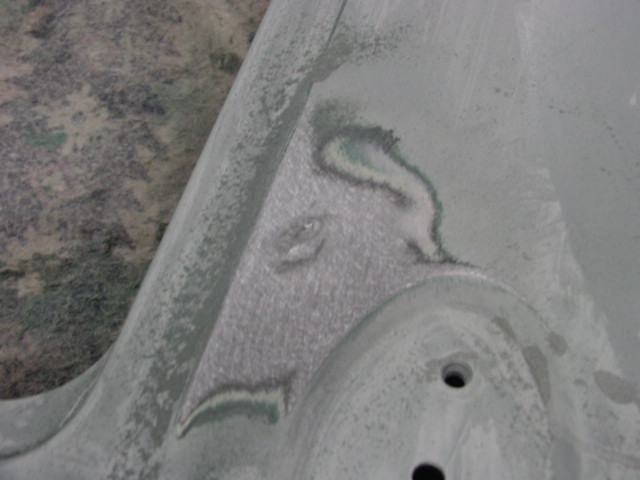
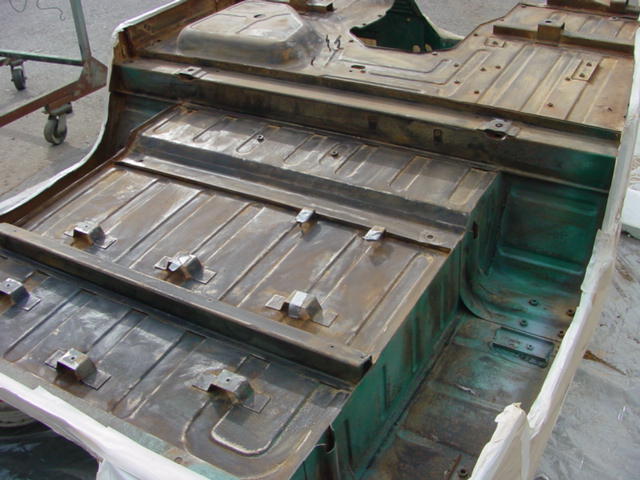
The rust was not too bad for the most part. The truck actually
came apart pretty easily. Most of the cancerous rust was in the normal
spots. The corners and hard top joints. Check out the frame pics with the muck in the
holes.
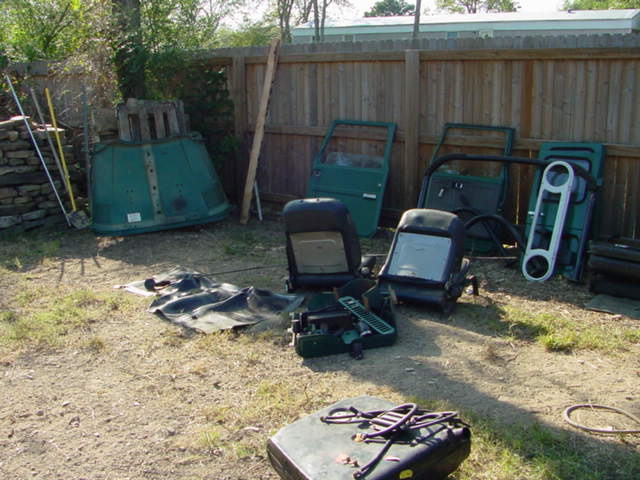
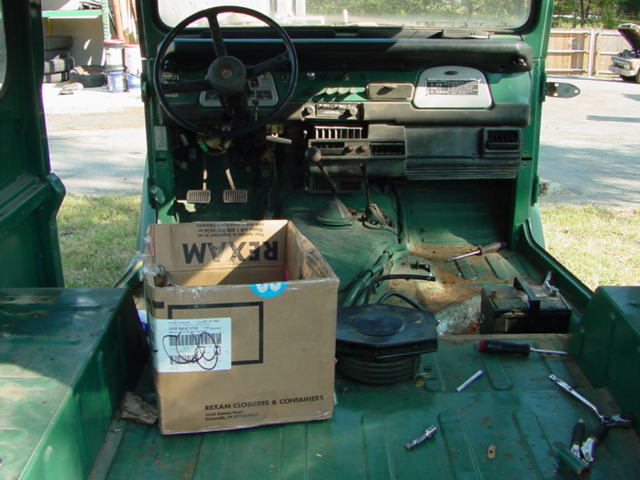
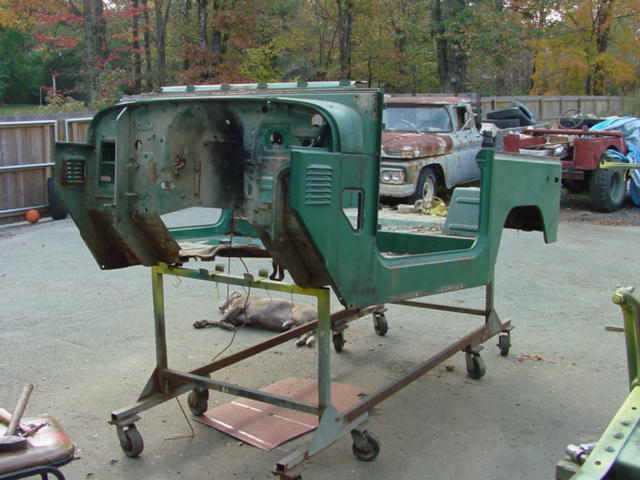
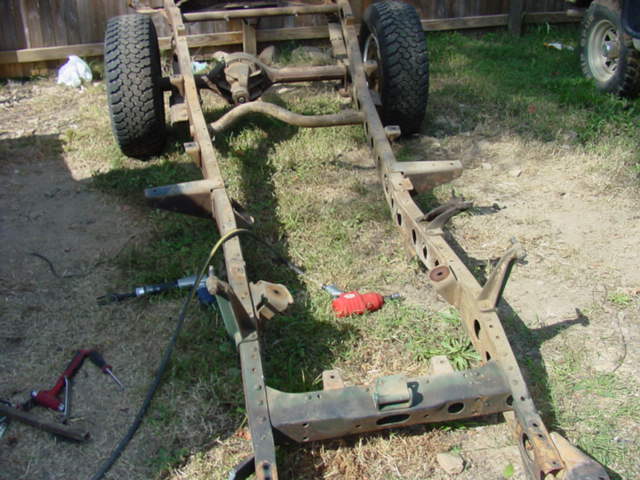
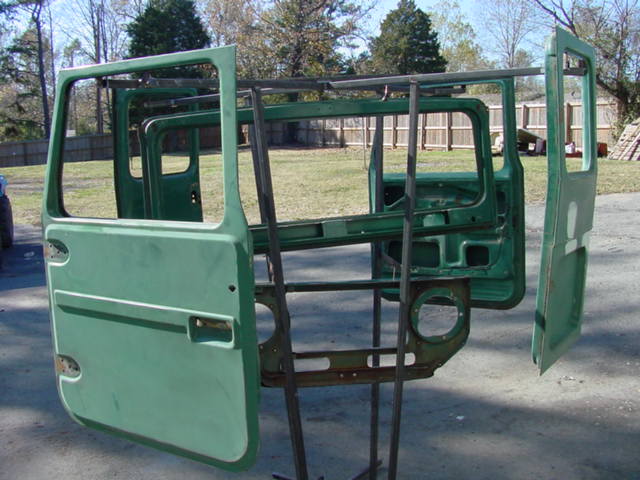
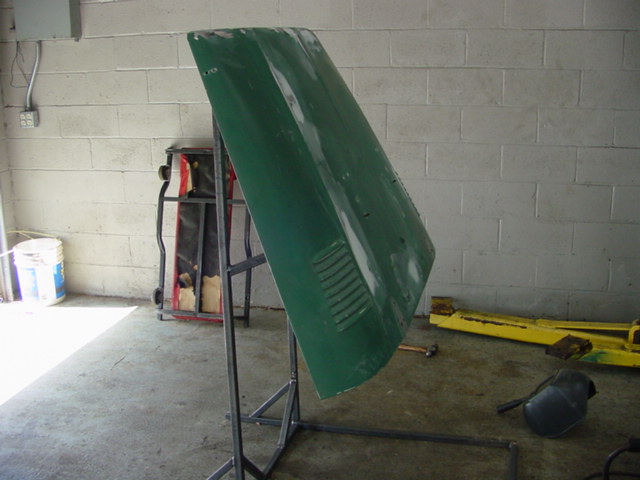
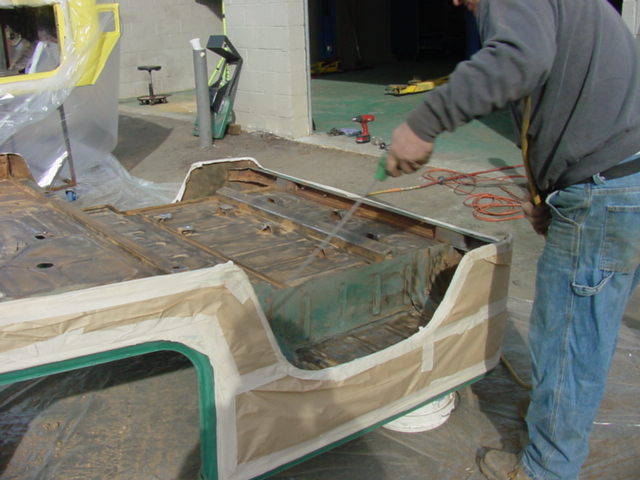
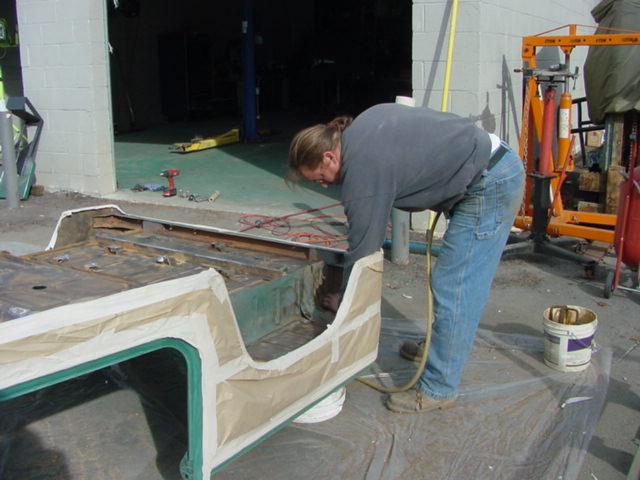
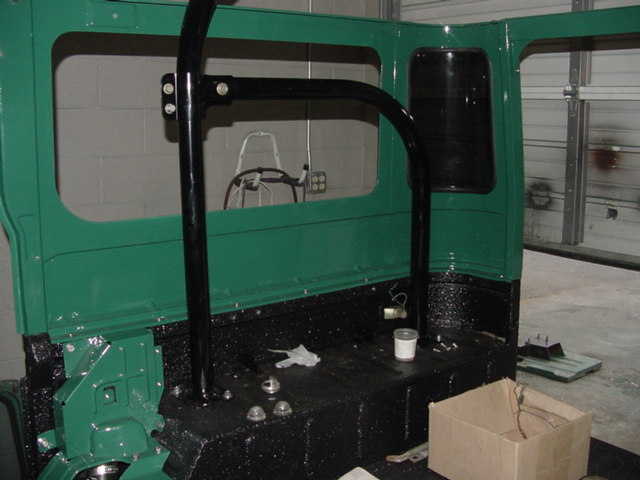
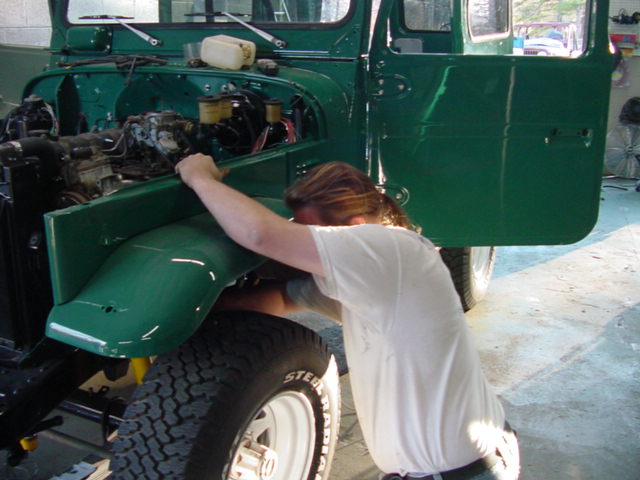
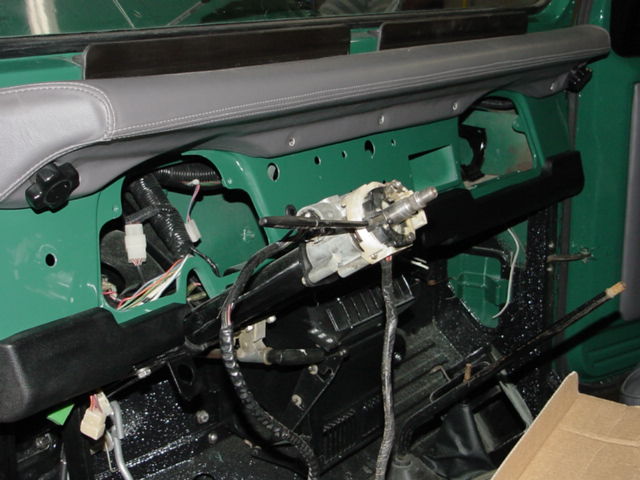
We got the driveline out and the tub apart
fairly quickly. Now begins the body work and
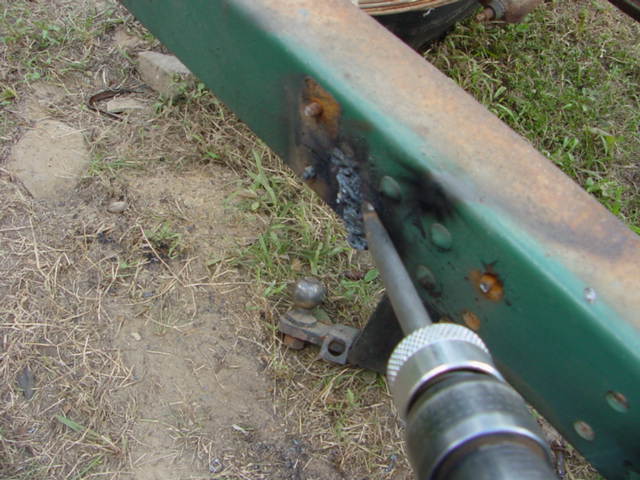
the metal prep. The frame had the typical weld on stuff, nothing to hard
to overcome.
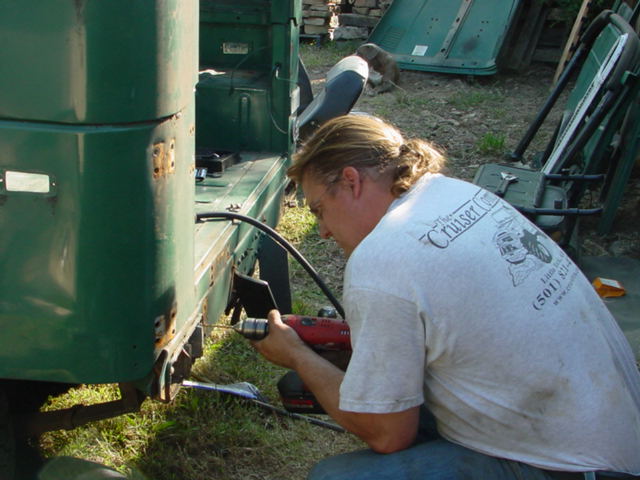
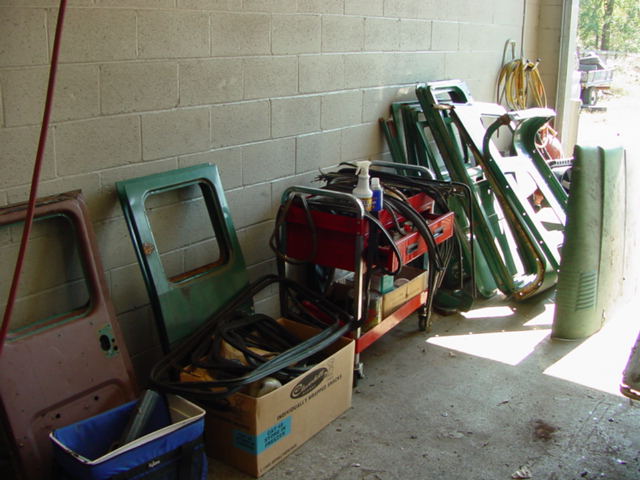
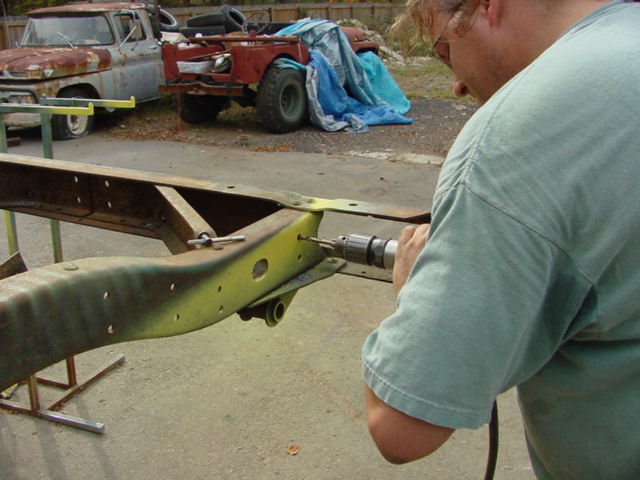
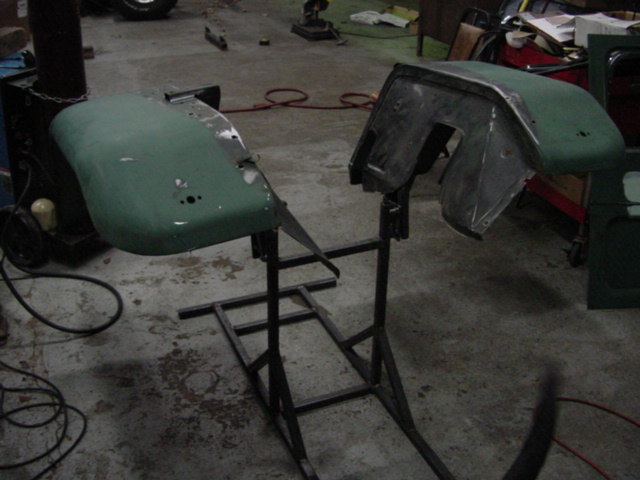
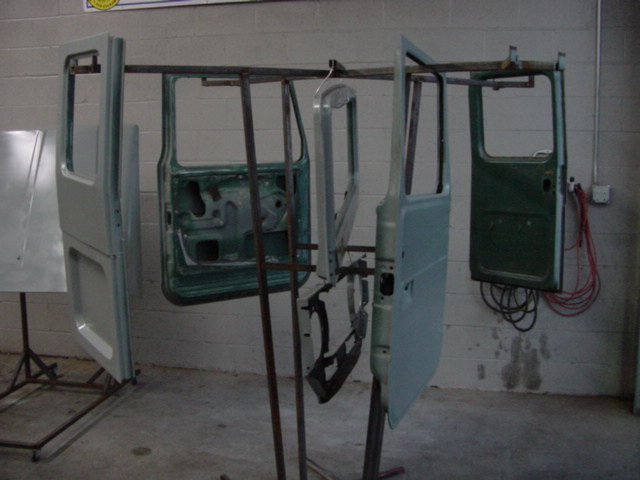
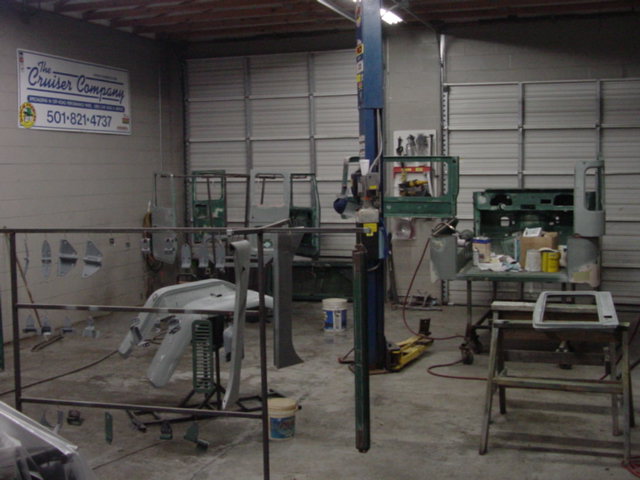
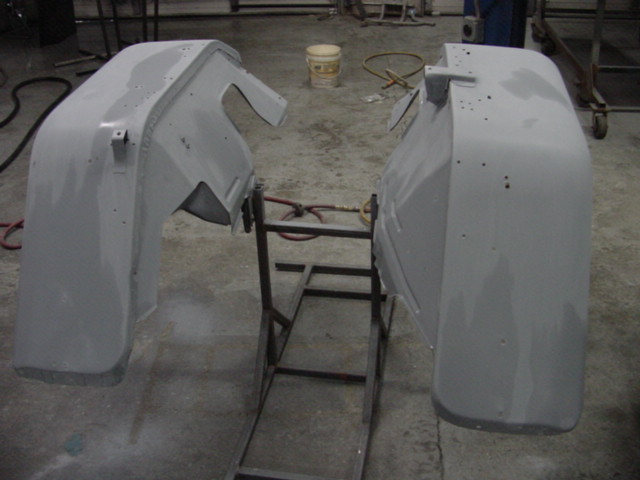
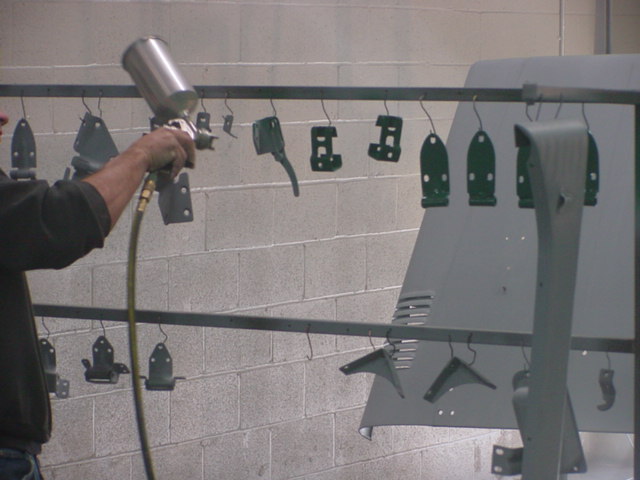
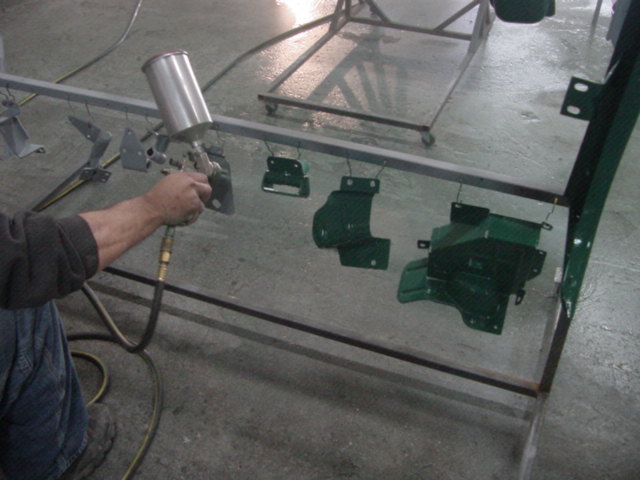
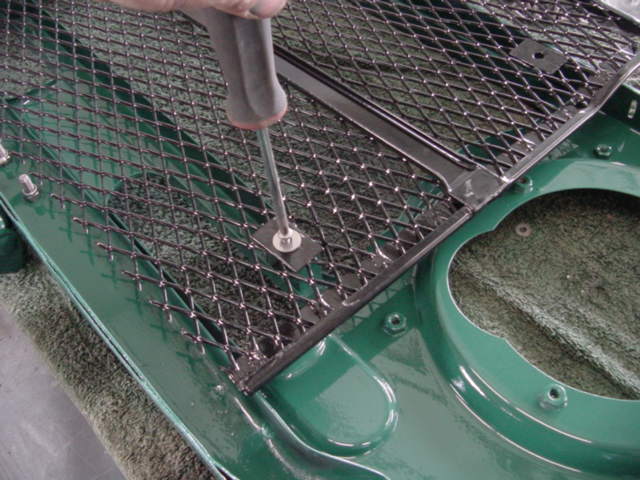
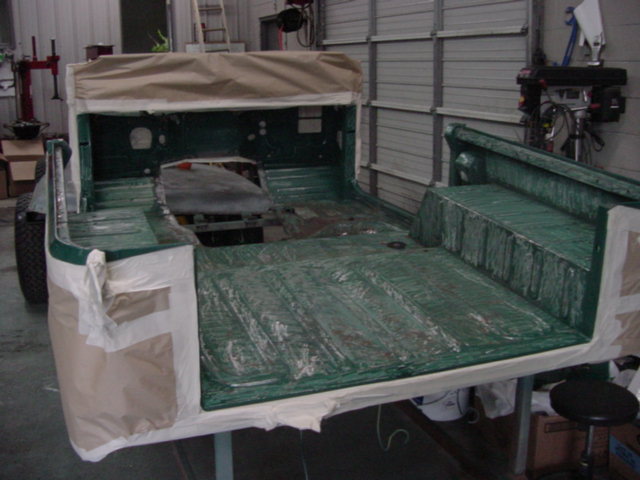
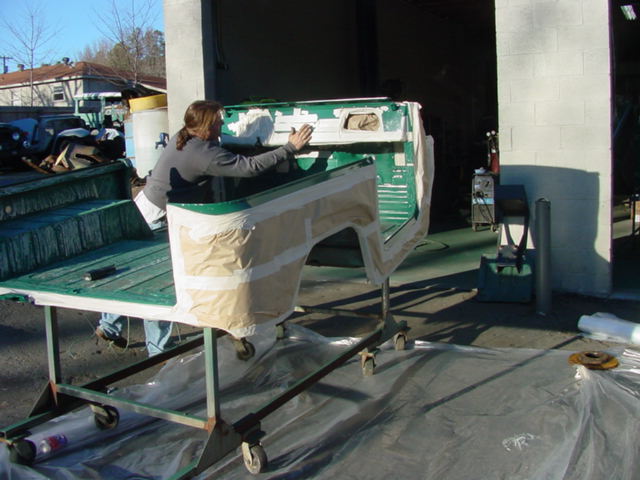
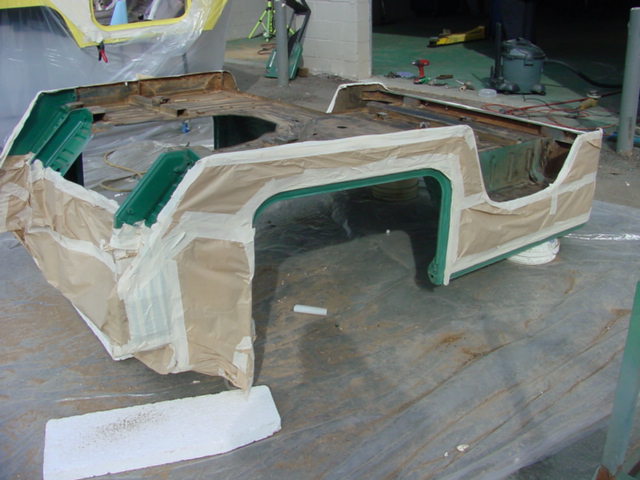
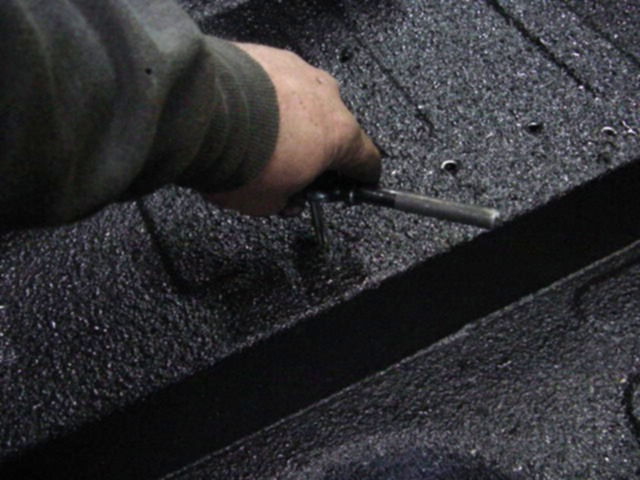
Drilling and tapping some frame and body part bolts that happened to get a
tad stuck. I built some custom racks just for painting cruisers, they seem
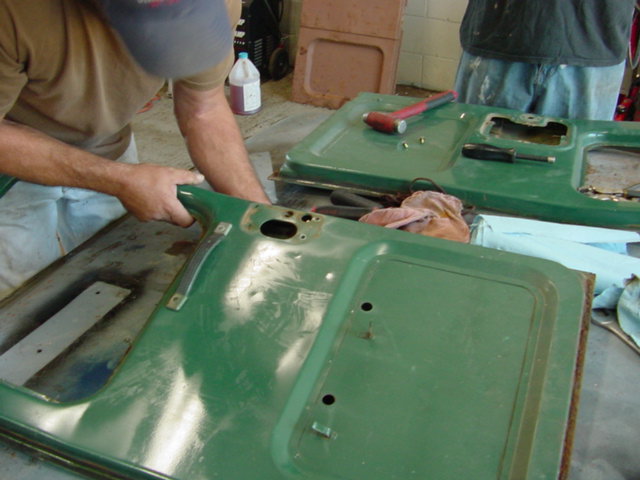
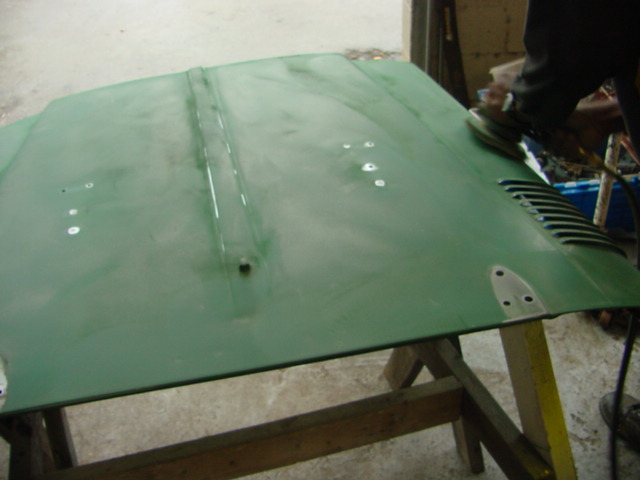
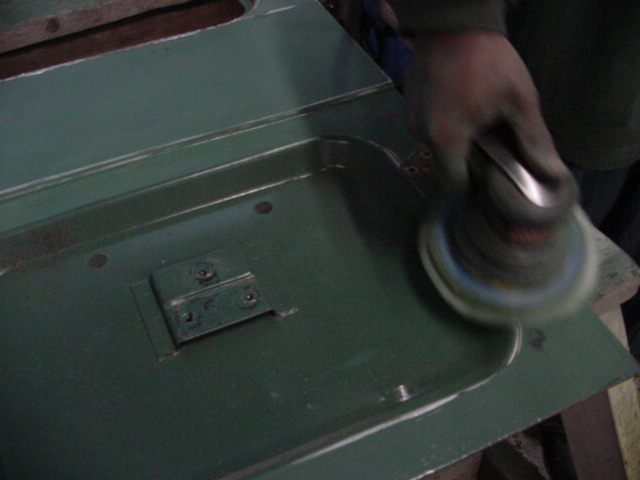
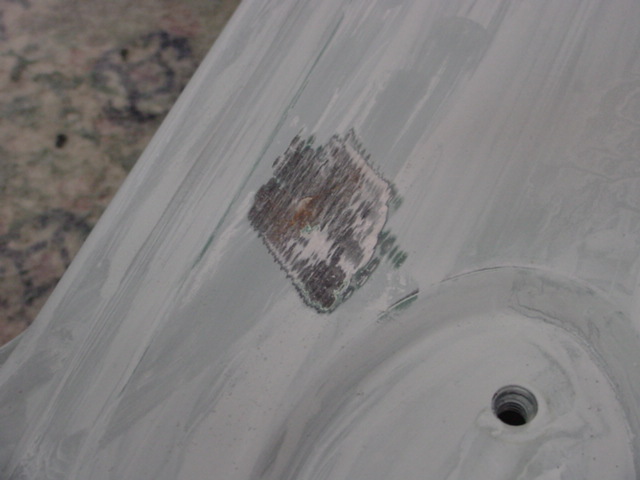
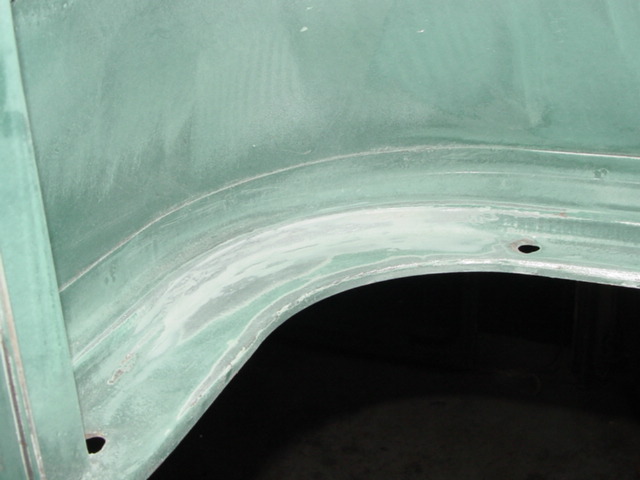
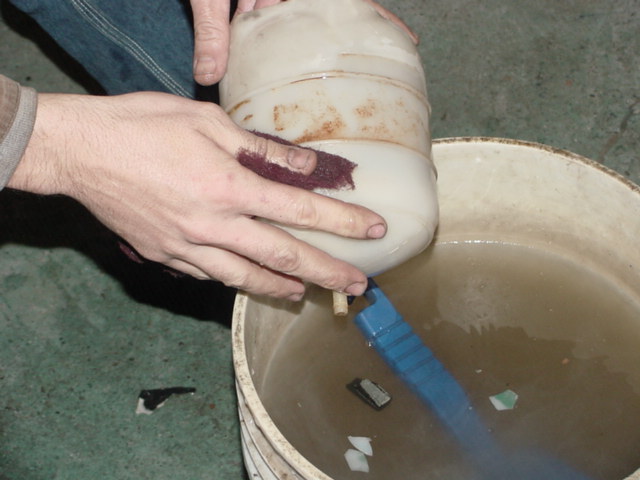
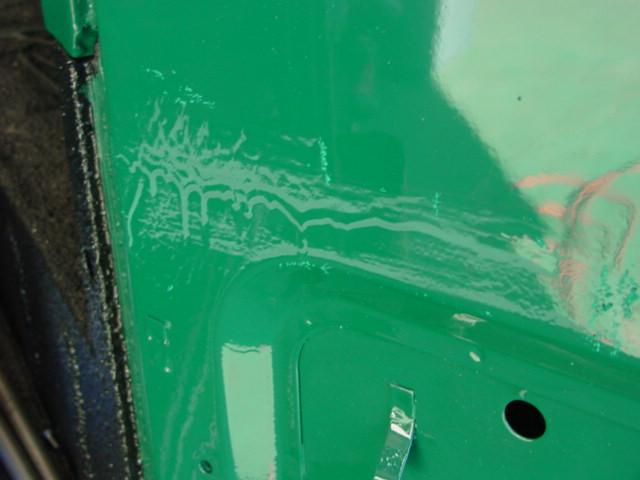
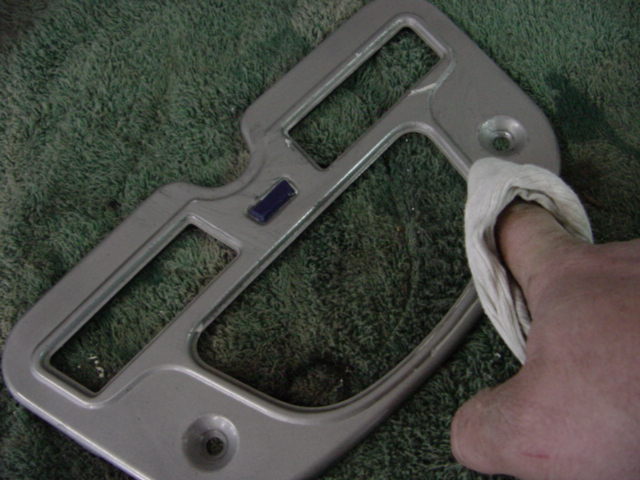
to work pretty well. Since the paint was in great shape we just sanded
most of the body parts down so that the primer would adhere good and the minimal
amount of body work could get done. The bluish stuff you see in these pics
is a fine glaze that sticks well to small areas and is for finish filler
work.
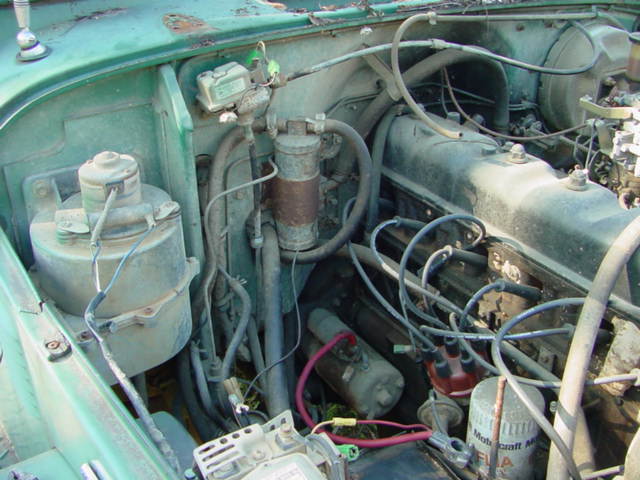
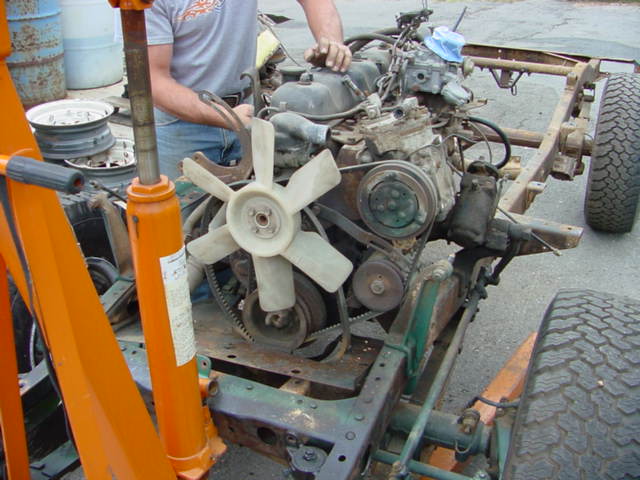
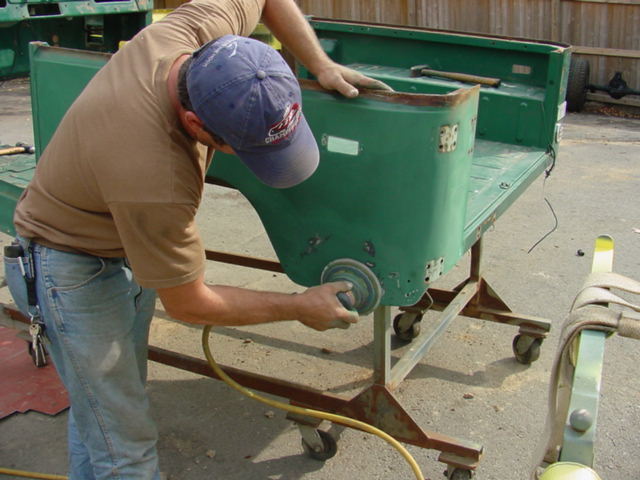
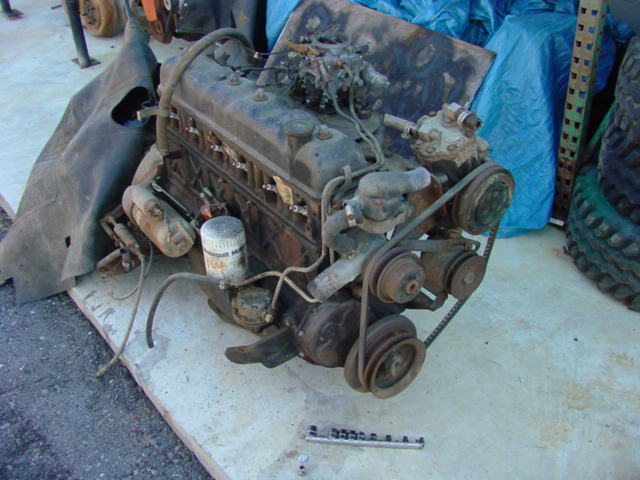
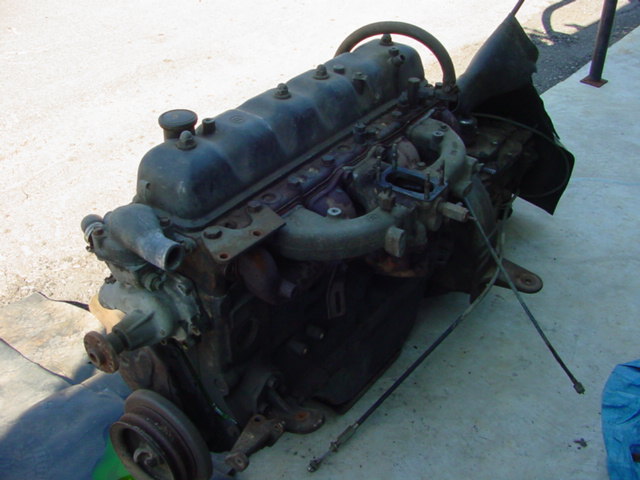
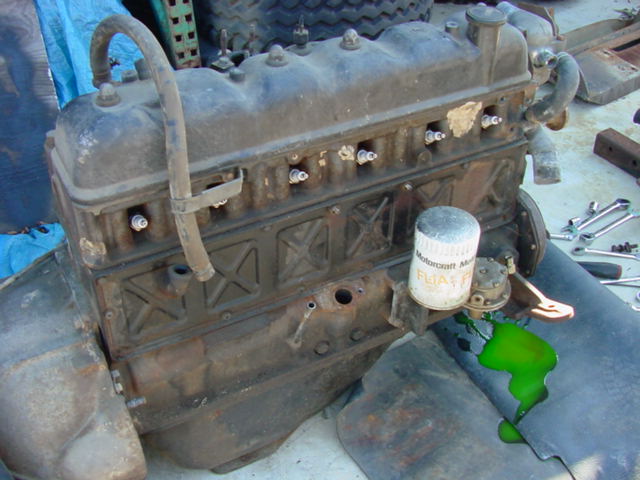
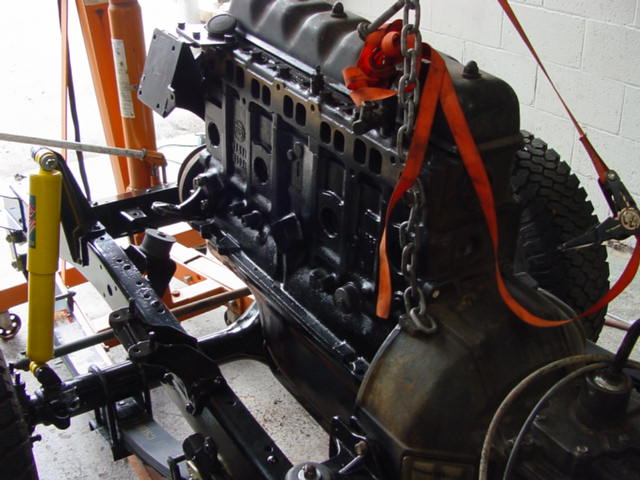
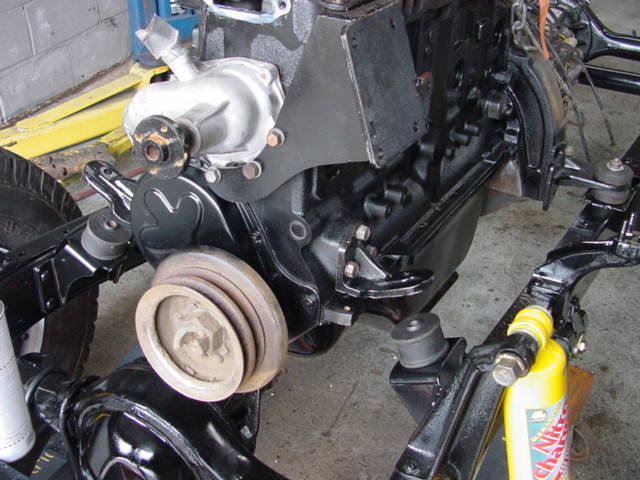
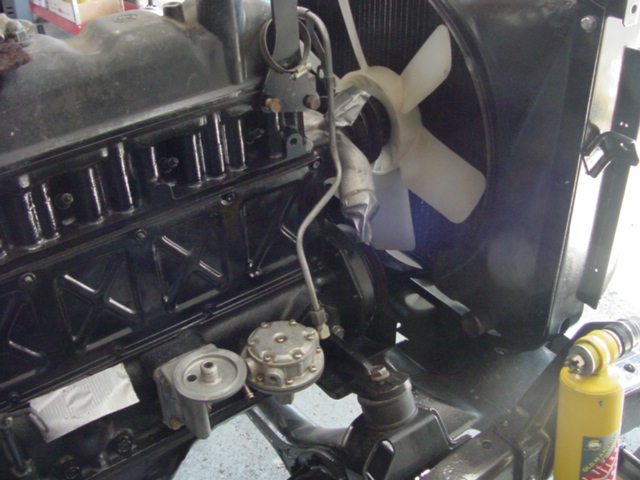
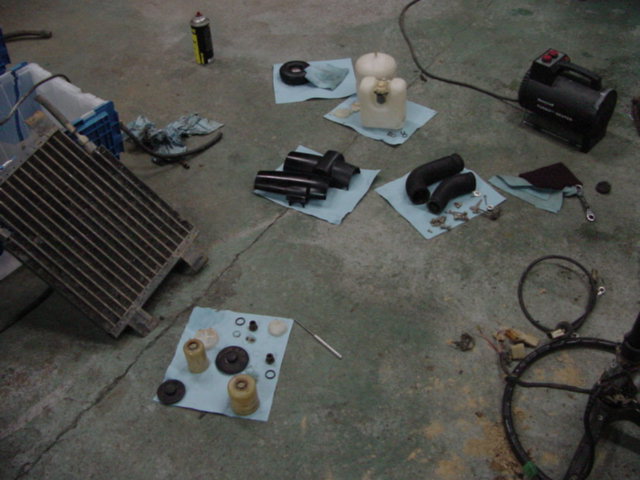
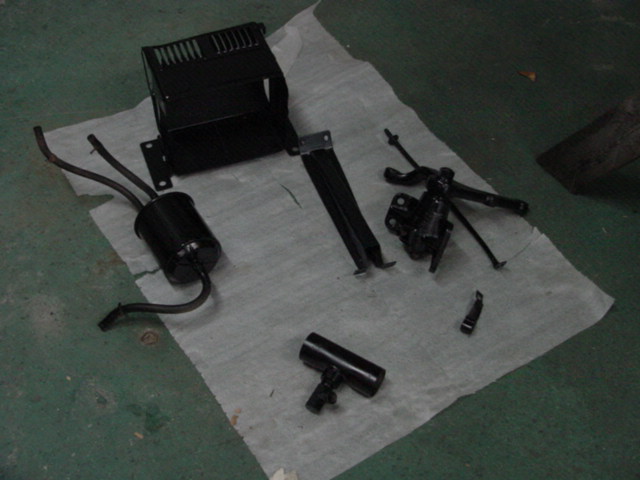
We cleaned up the motor by removing all the accessories and pressure cleaning
the entire block and driveline. Once we had it cleaned we went to town
with picks, toothbrushes and scrapers and got as much of the baked on mud as
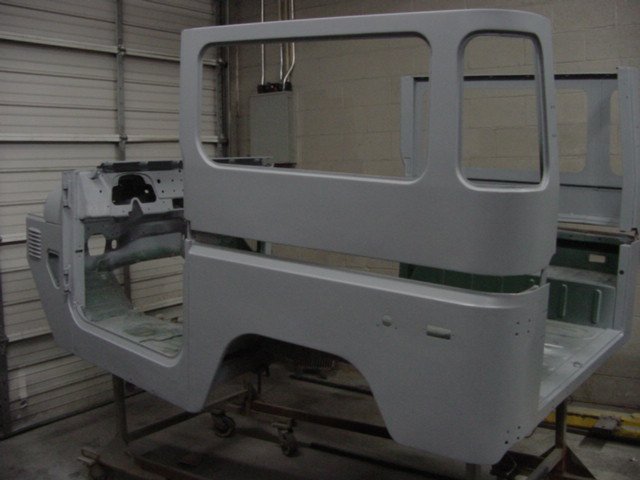
possible. The frame has returned from the powder
coater and Paul has started priming.
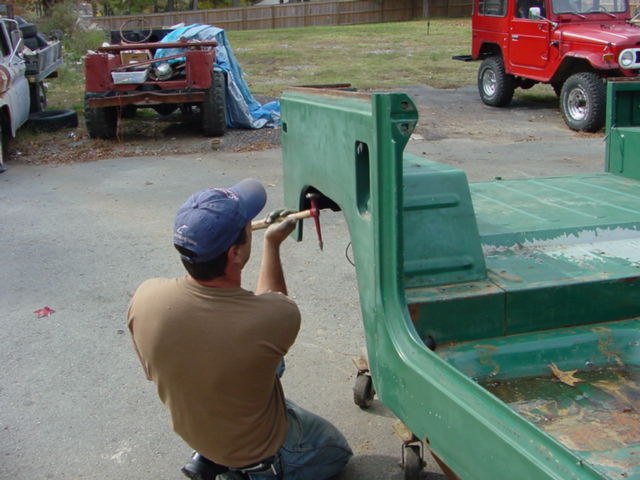
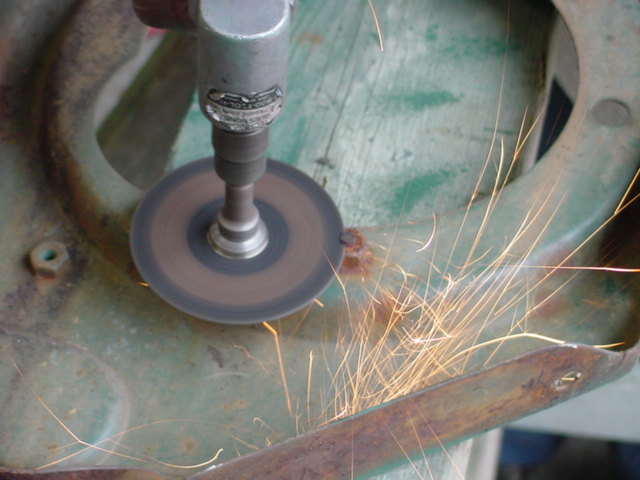
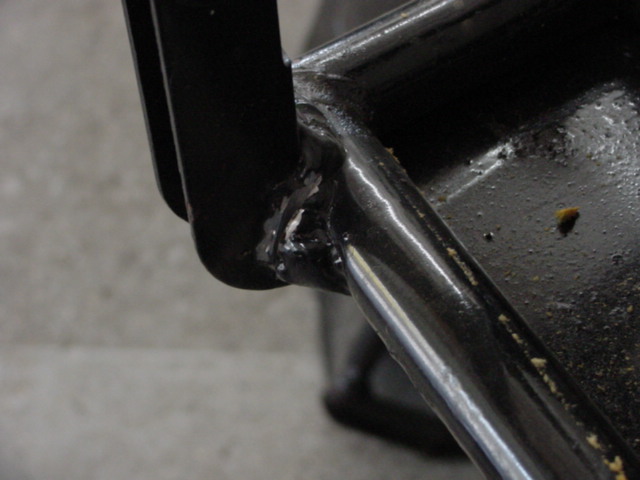
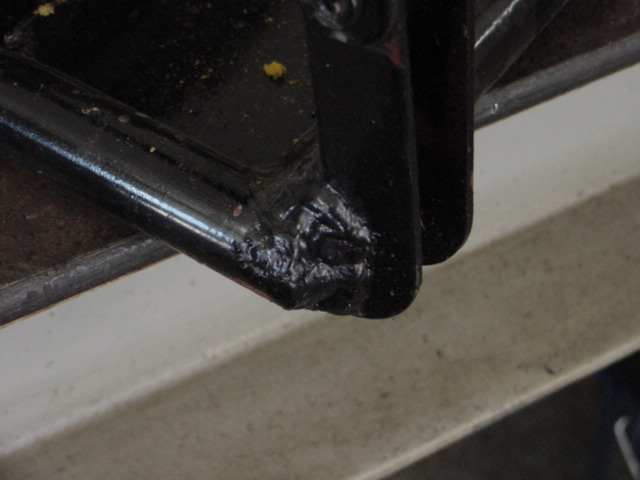
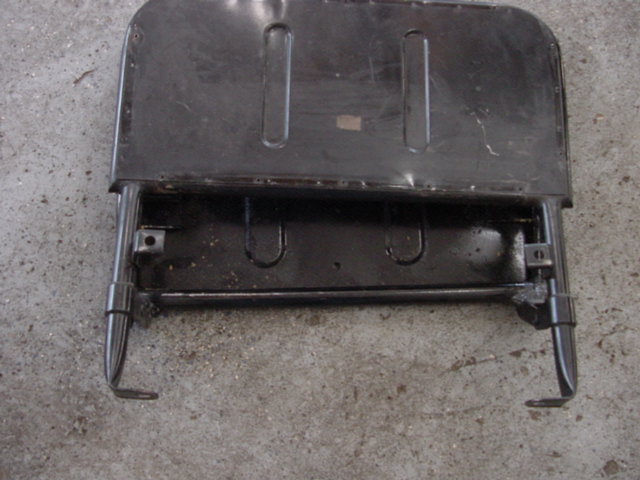
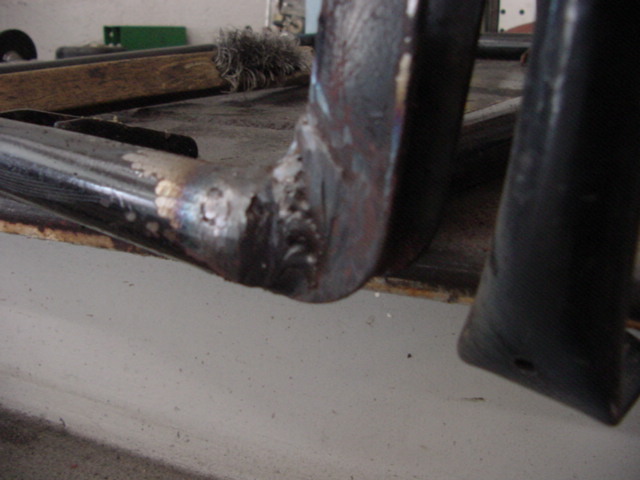
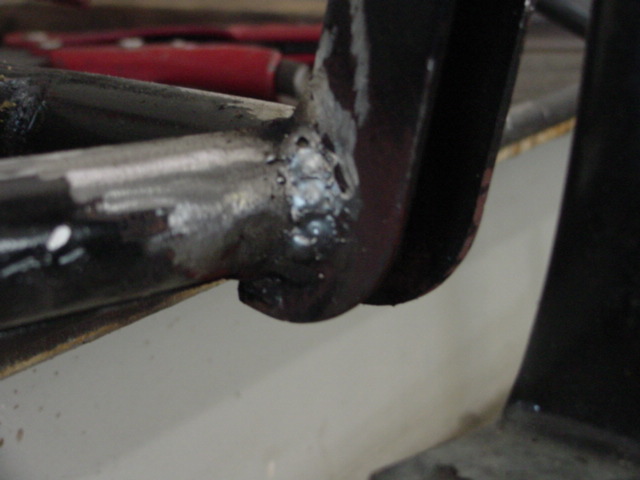
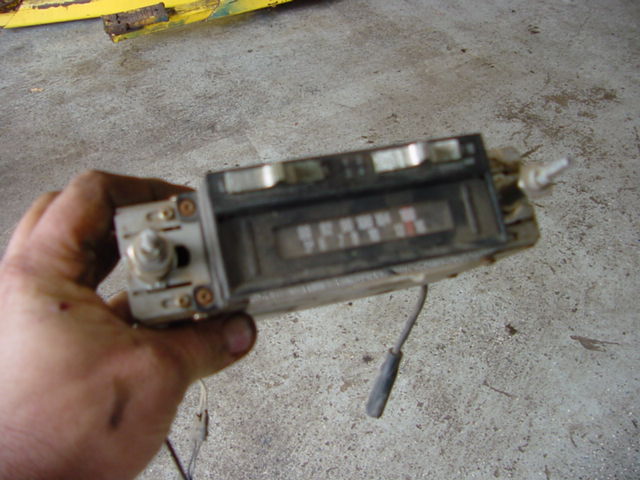
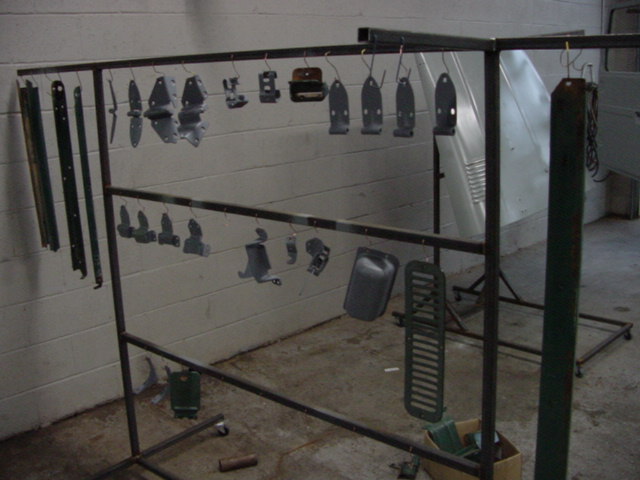
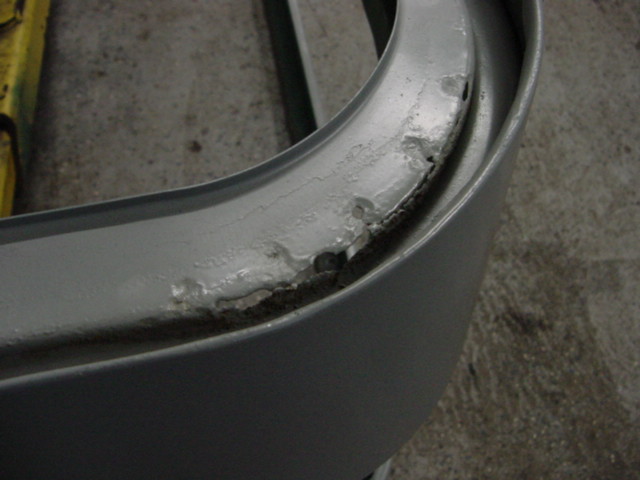
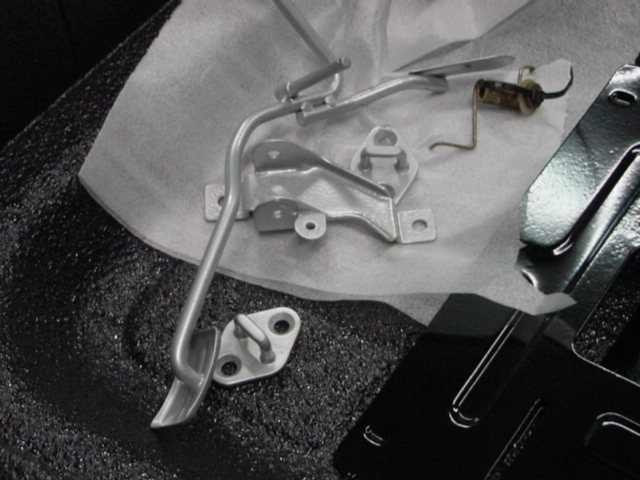
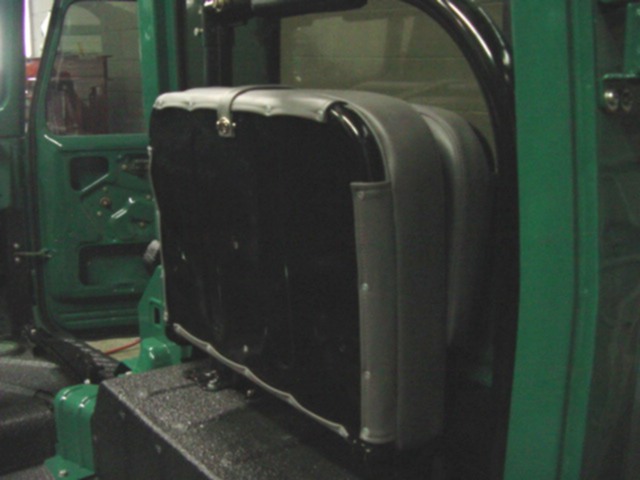
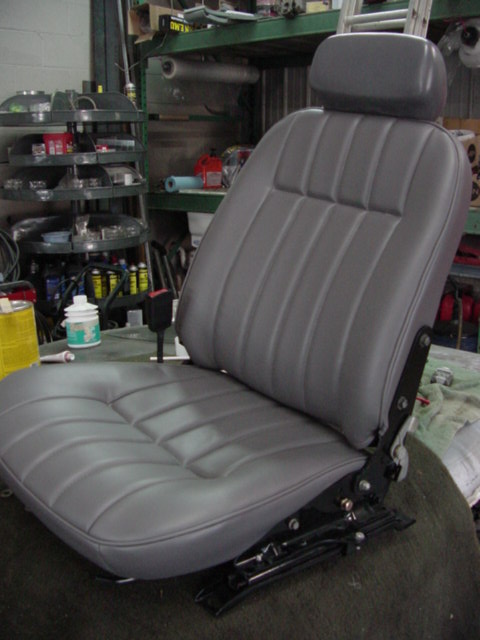
Some of the little things that people
don't appreciate mostly because they go unnoticed or until they see for
themselves. Kem's jump seat frames were rotten with nasty repair welds and
rust. We ground out the welds and redid them and repaired the rusted out
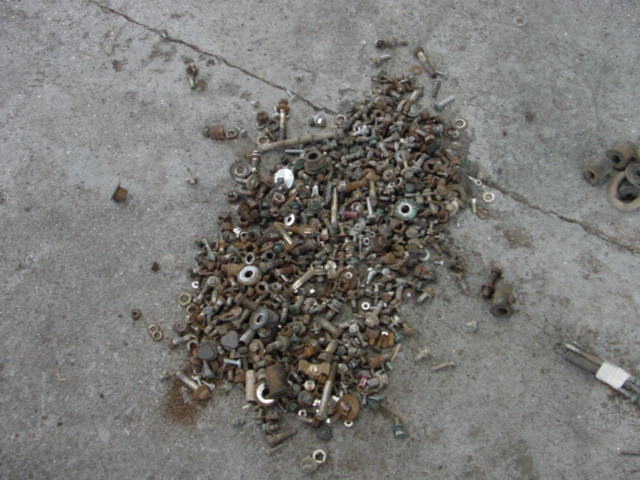
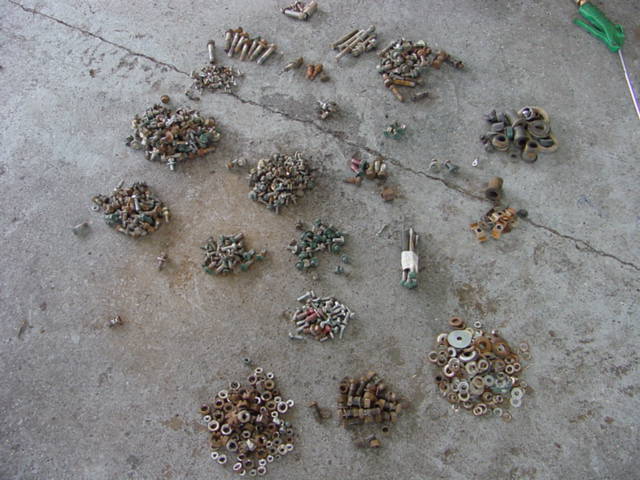
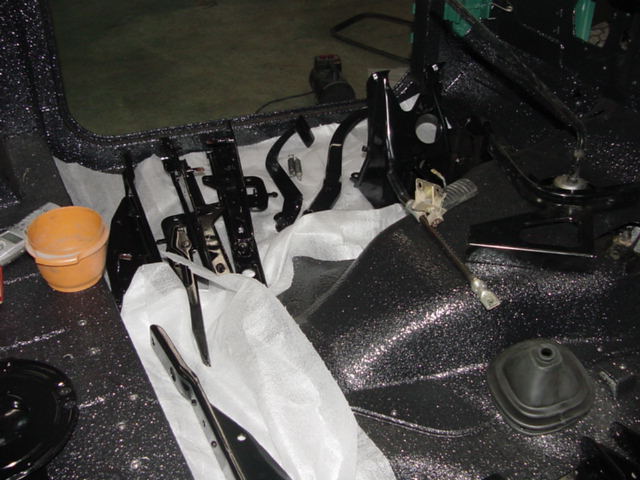
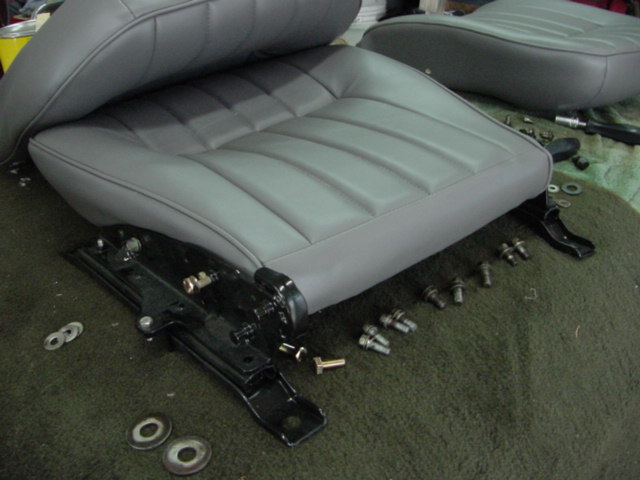
tubing. Another thing that takes a along time is simply organizing every
thing. We clean and org. all the bolts, nuts, clips, pins, and springs for
later reassembly. Usually we end up recycling most of the rusted bolts as
we prefer to use stainless fasteners when things go back together. Notice
the sweet radio.
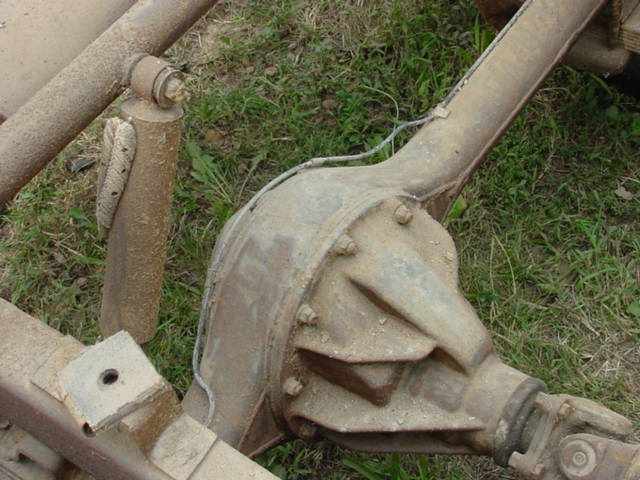
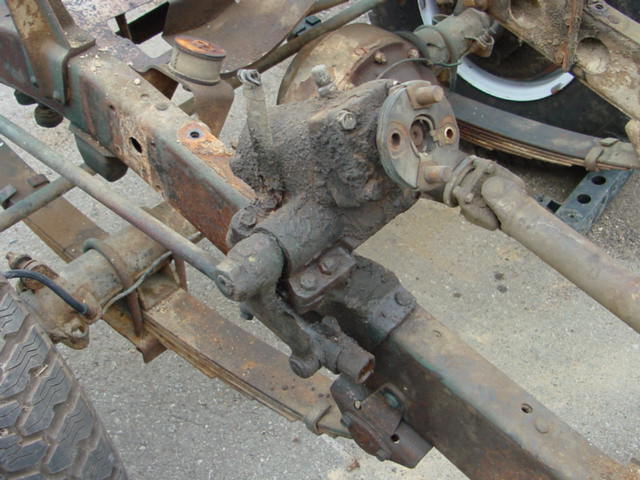
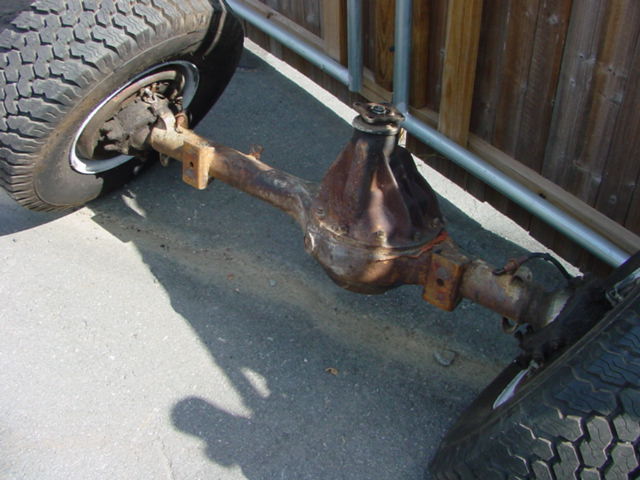
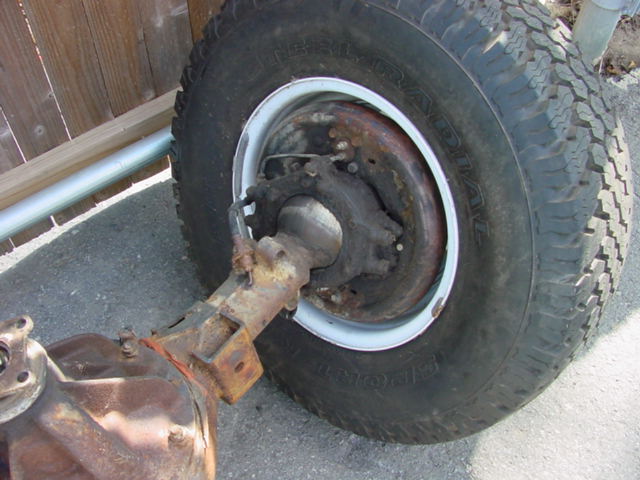
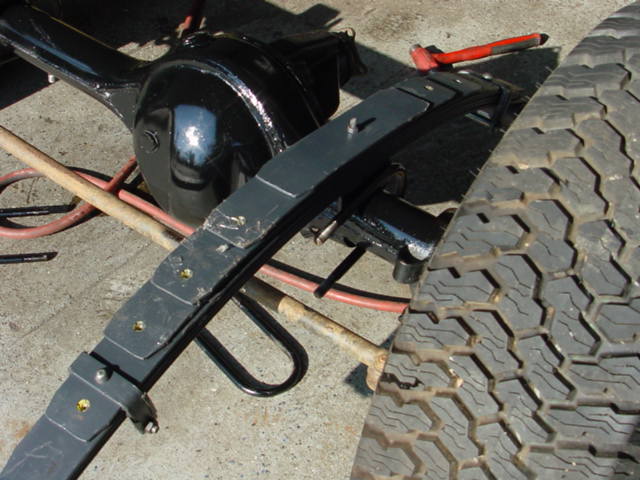
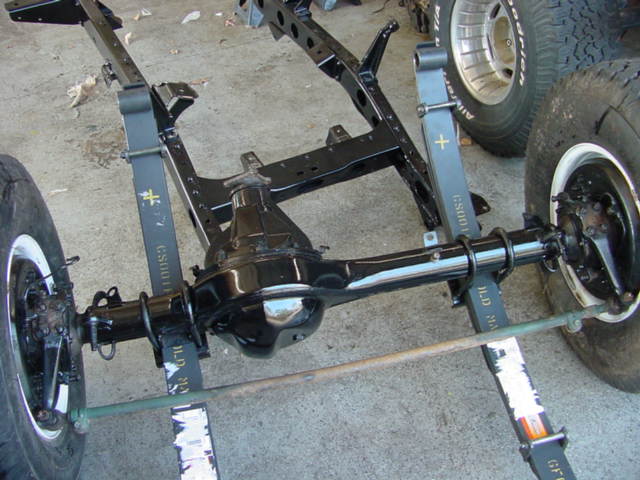
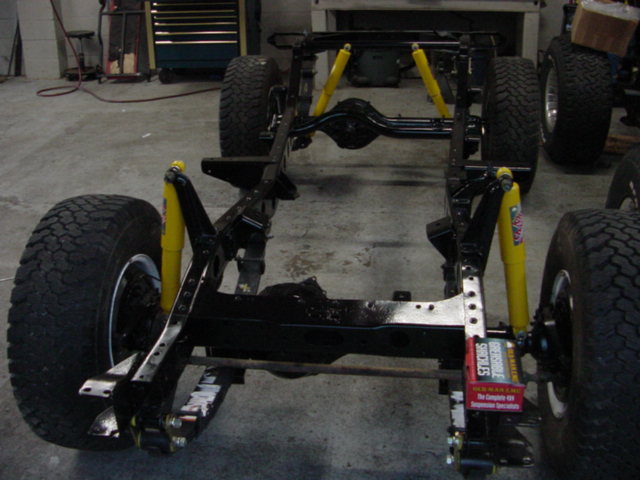
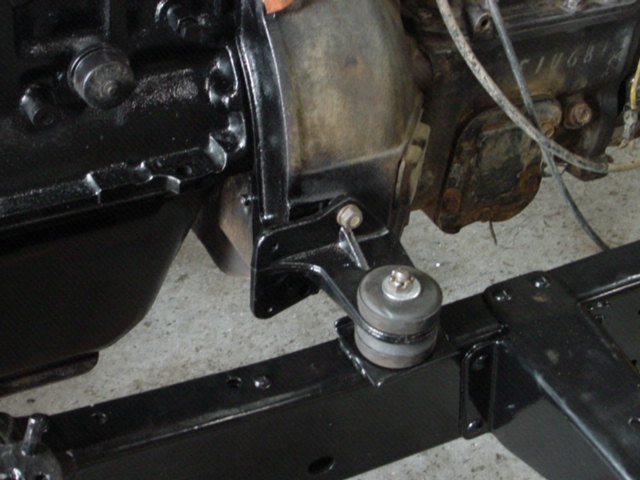
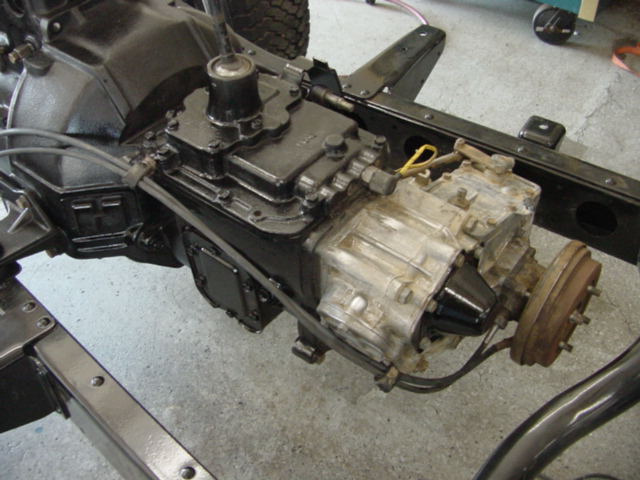
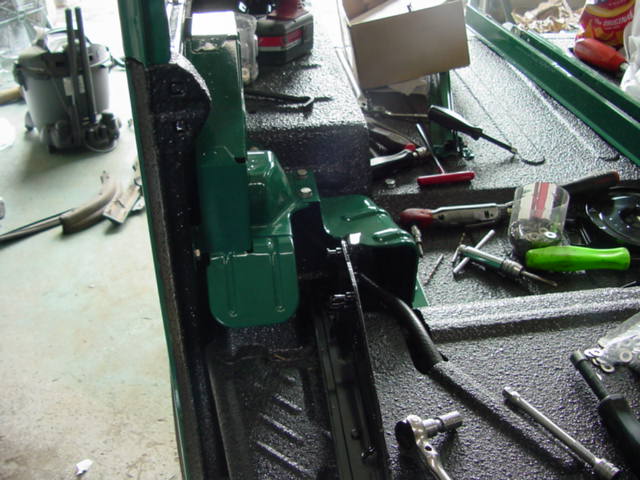
Axles going together and the chassis soon
following. Earlier I mentioned that we did not rebuild his driveline but
notice we thoroughly clean, prepped and painted everything once final assembly
began.
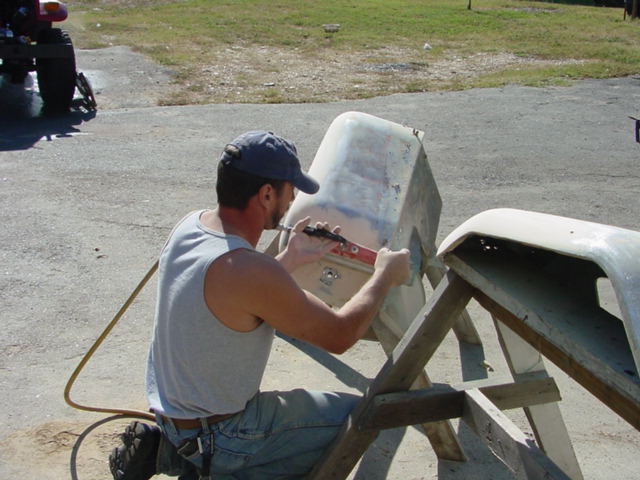
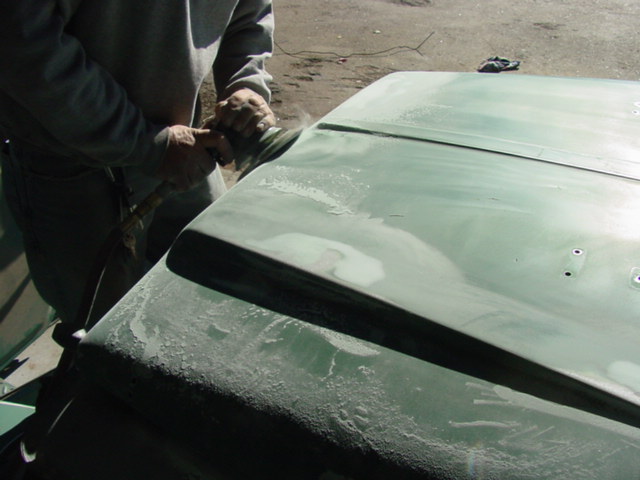
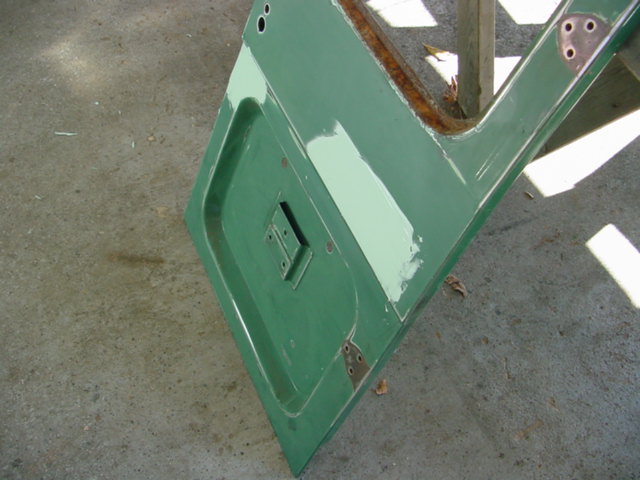
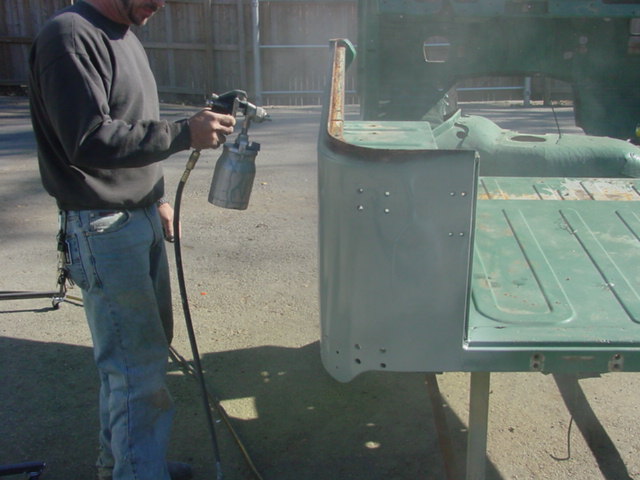
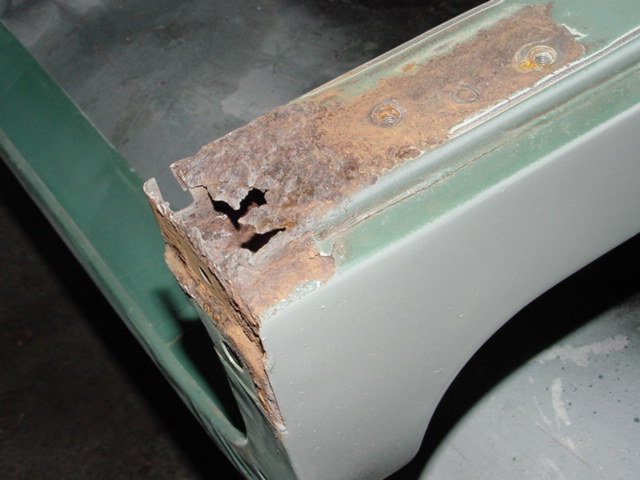
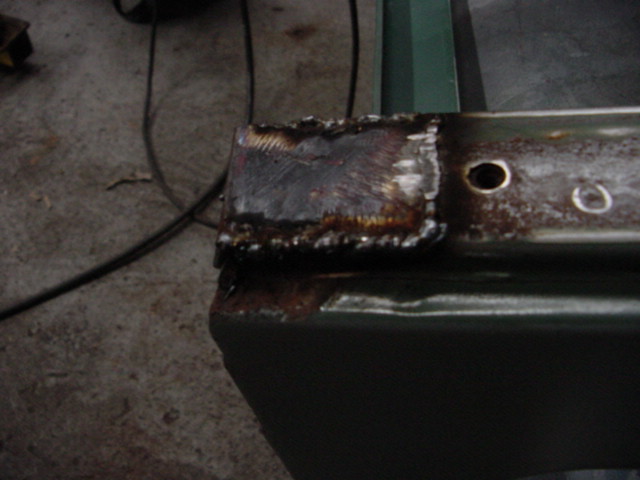
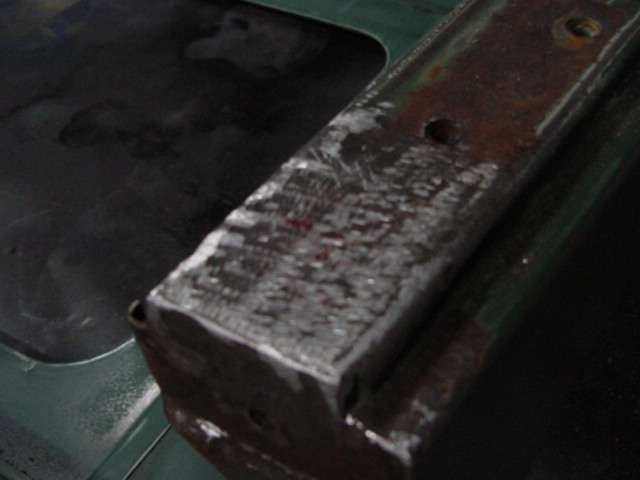
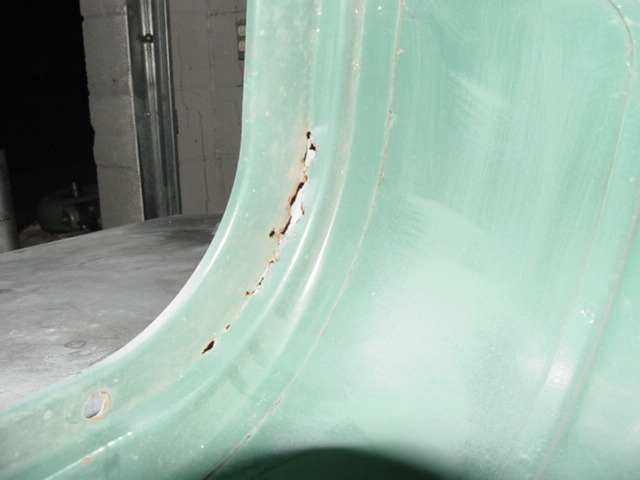
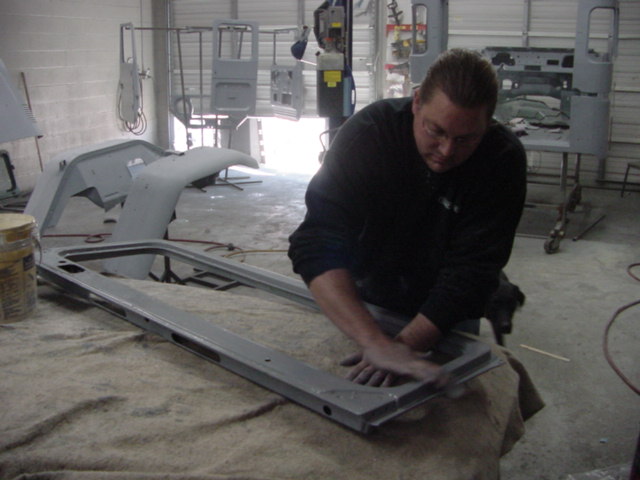
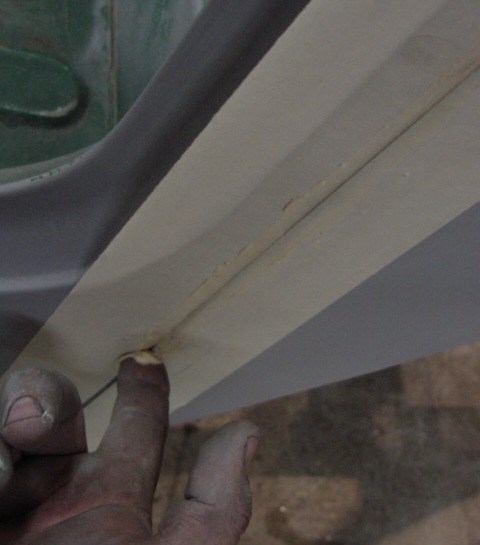
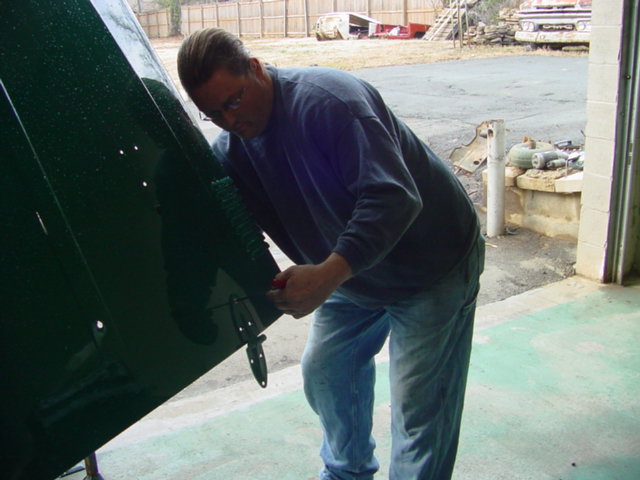
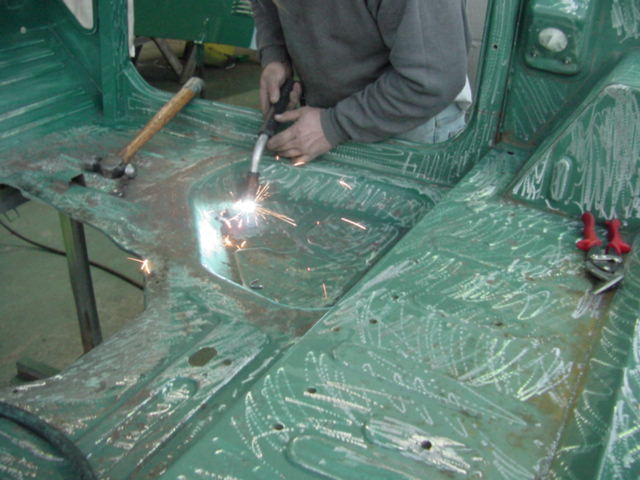
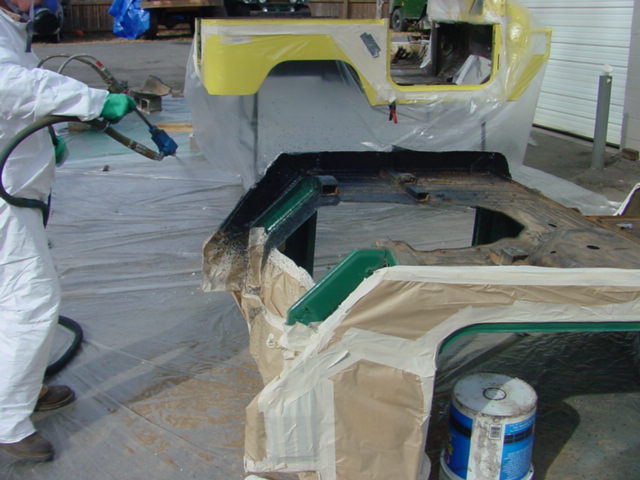
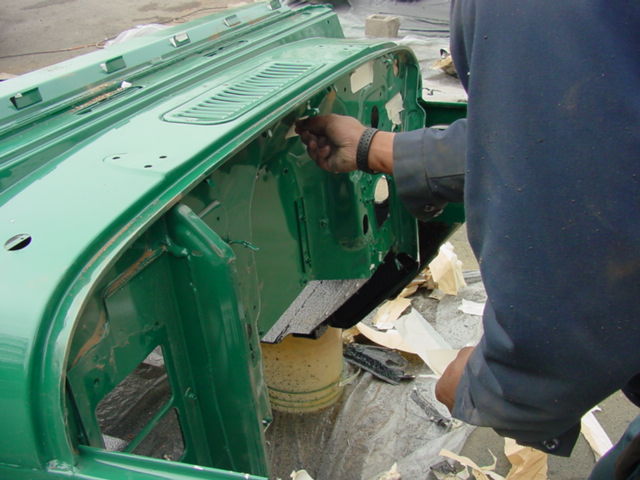
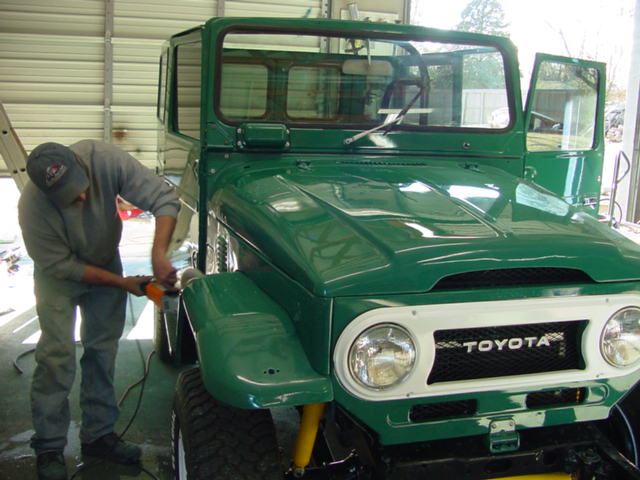
Ahhhhh the joys of bodywork....NOT!.
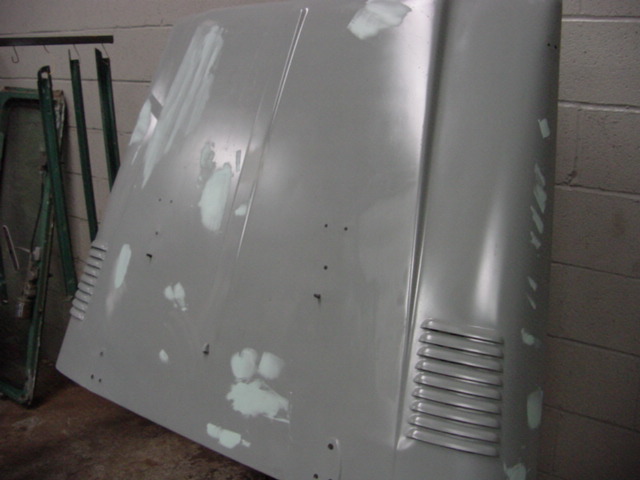
You can see some of the cancer I mentioned earlier. We cut it out and
finish ground it back to a factory fit, then glazed it, sanded and prepped it
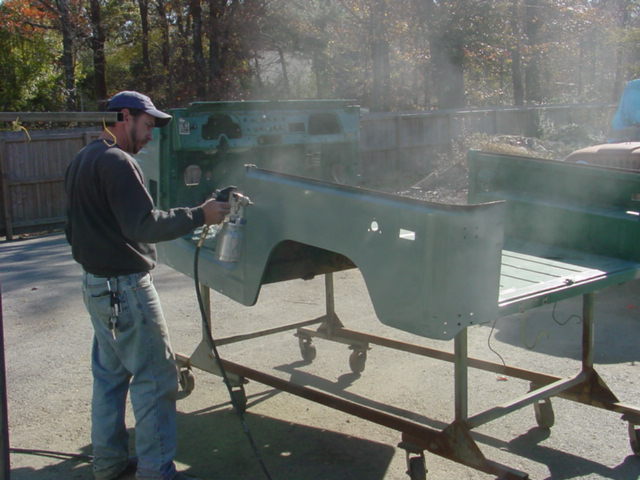
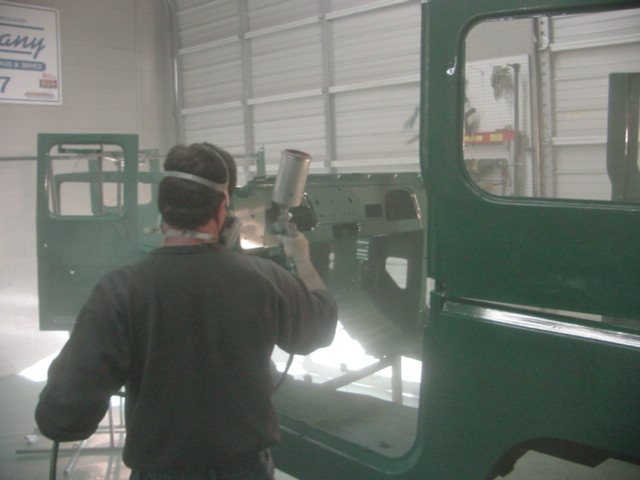
for priming. The pic of me is after priming. Usually we do an epoxy
primer, grey primer, sealer buildup of primer coats, each 'layer' coat gets wet
sanded with 400 grit. When the last wet sanding is done we wipe the parts
dry, chemically clean, then tack cloth and its pretty much on to the finish
coat.
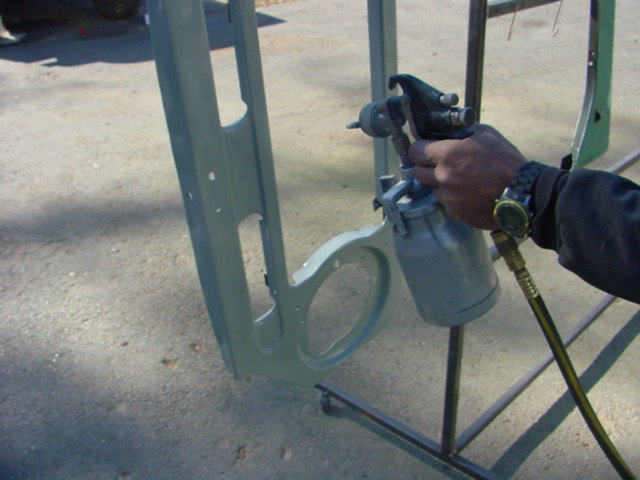
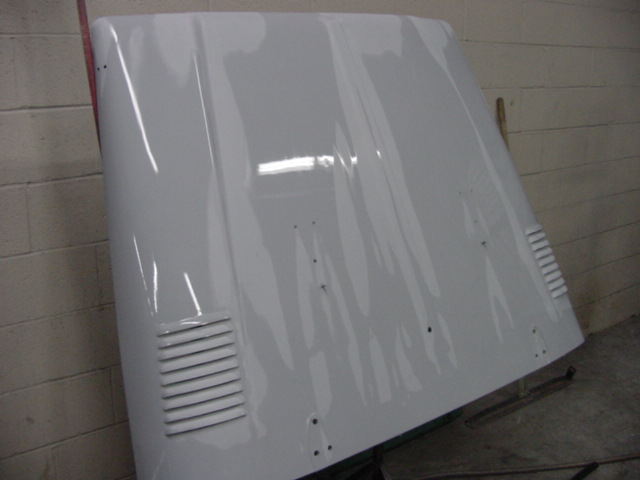
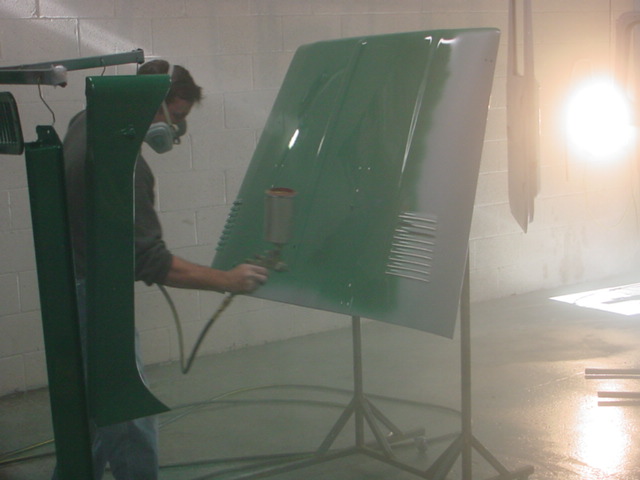
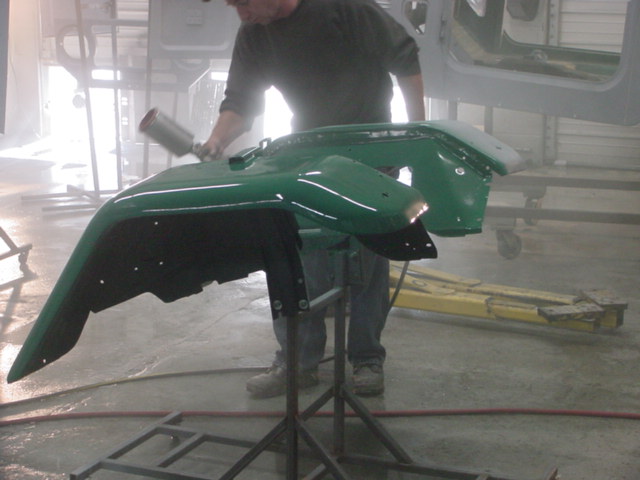
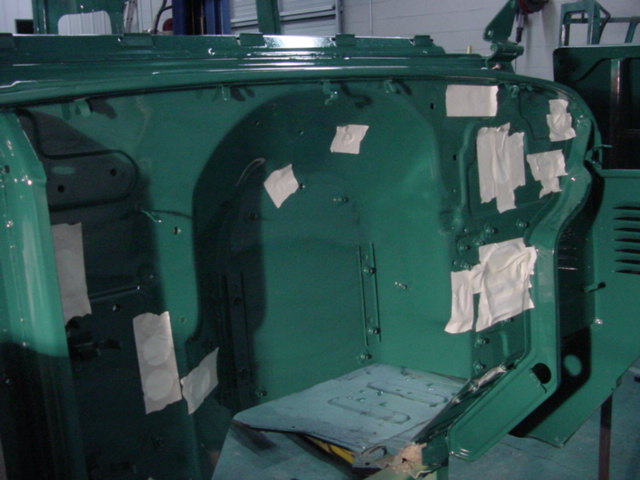
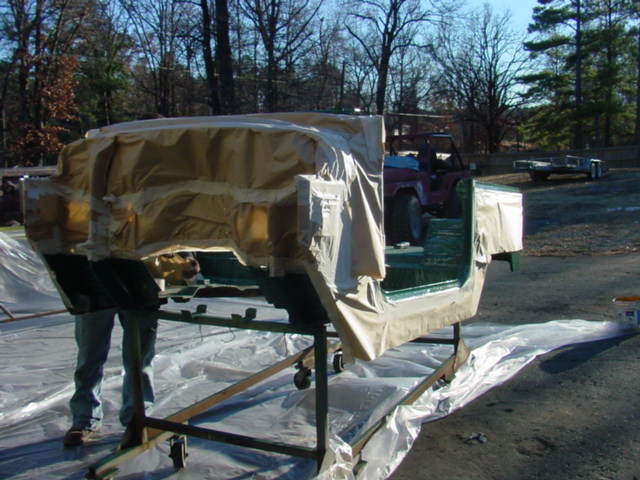
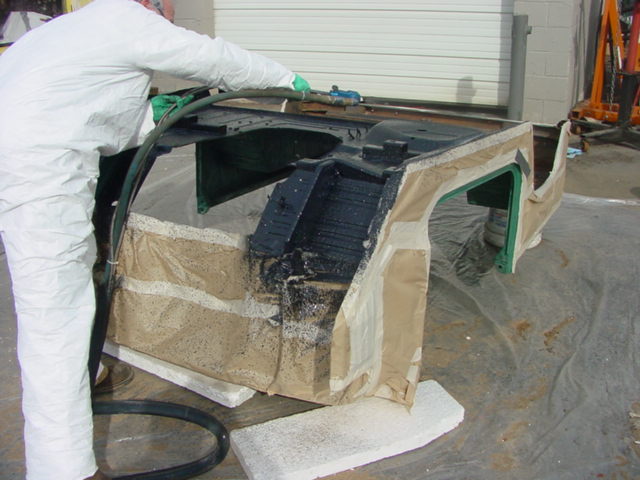
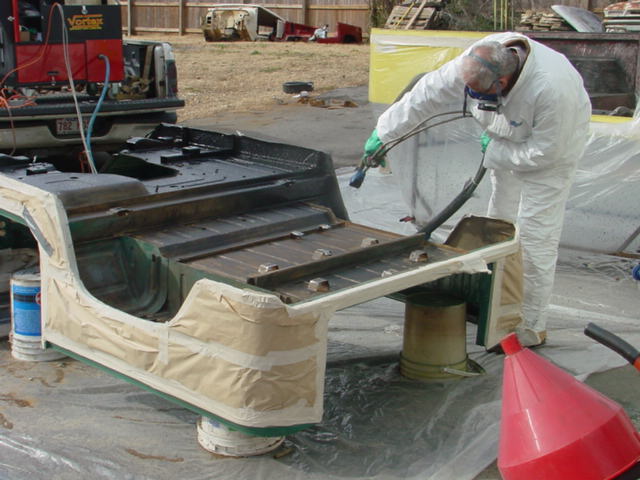
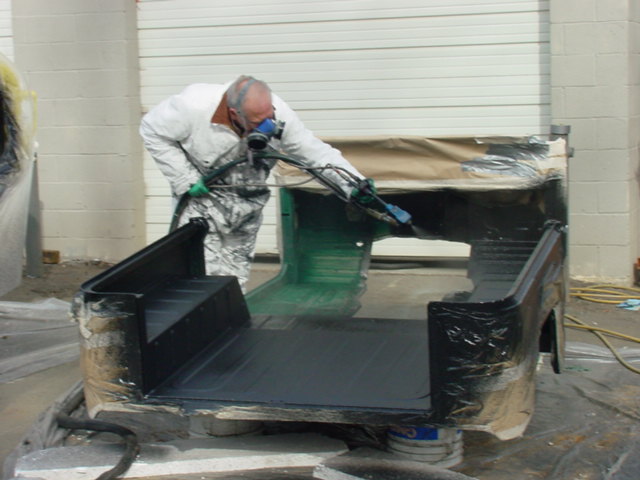
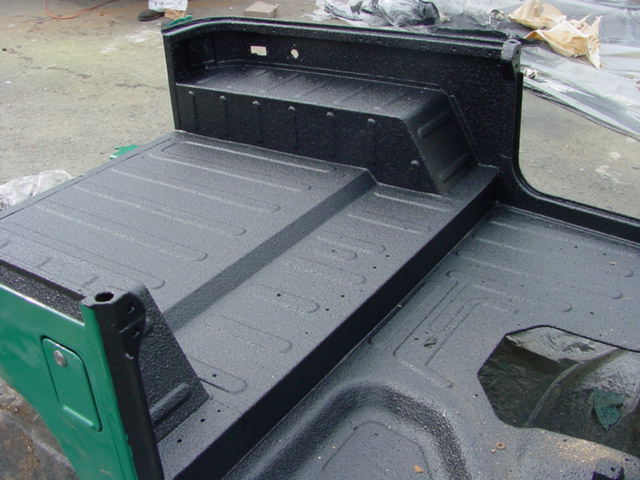
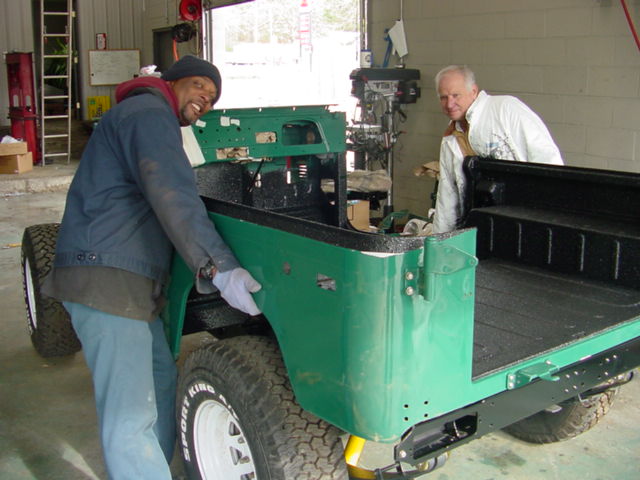
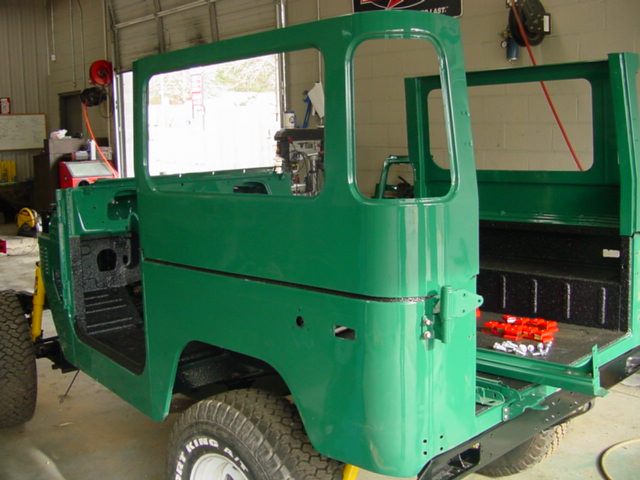
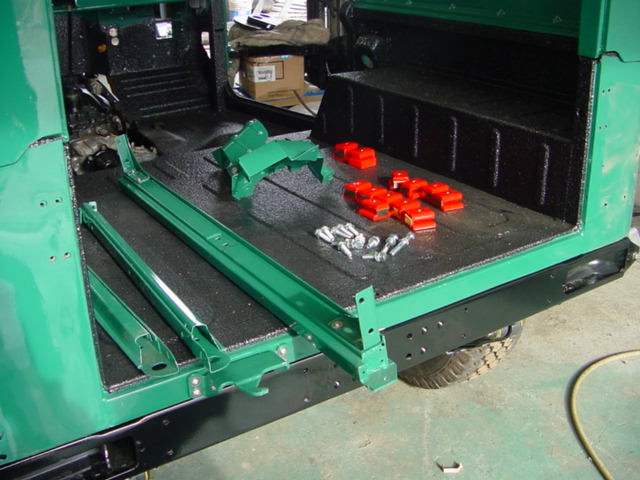
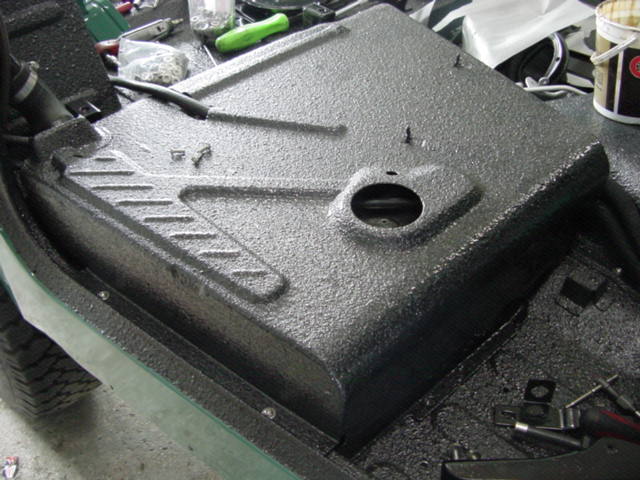
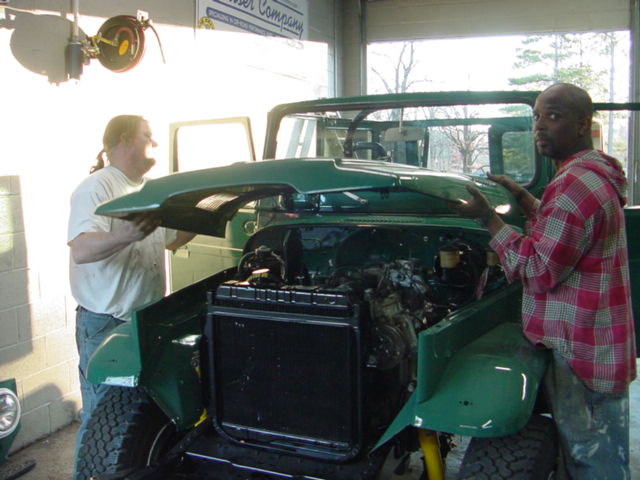
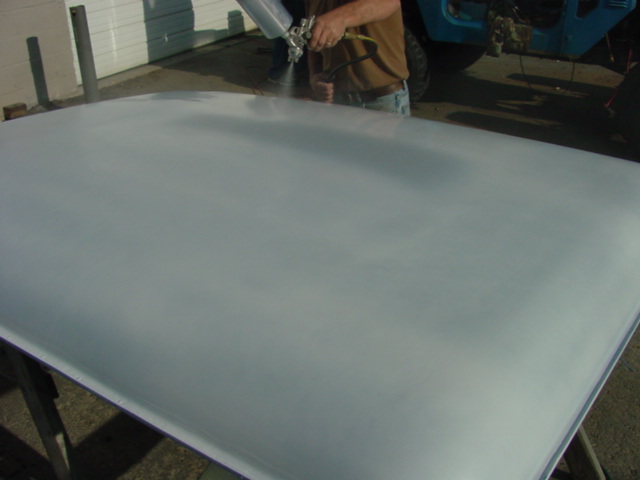
These last series show the finish coat
being applied, the liner coat being applied.... topside and bottom side and the
tub starting to go back together.
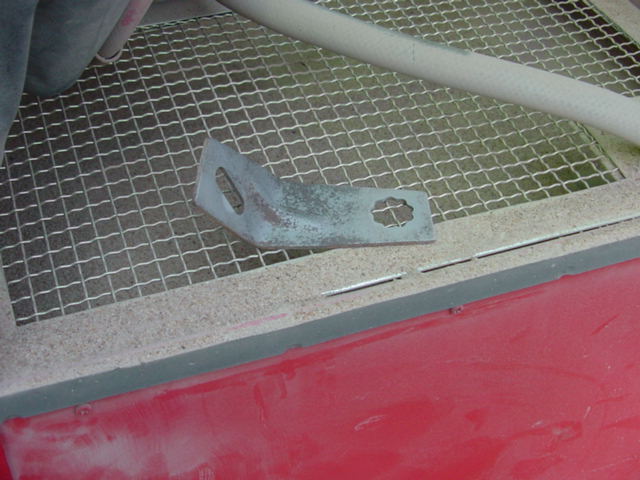
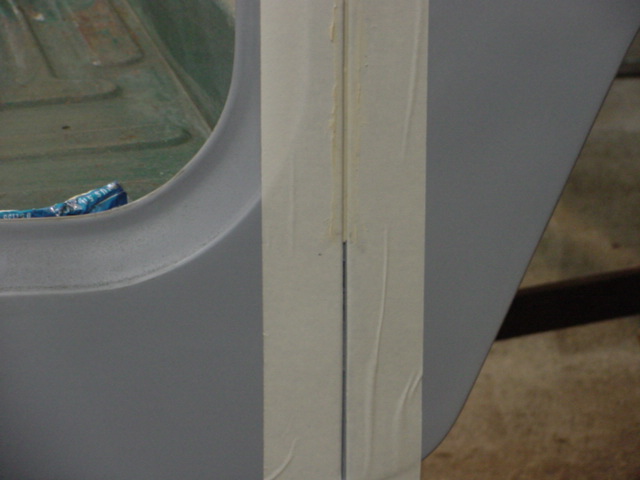
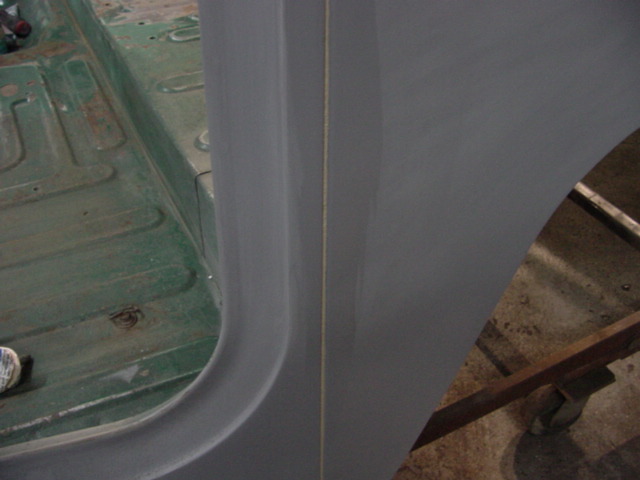
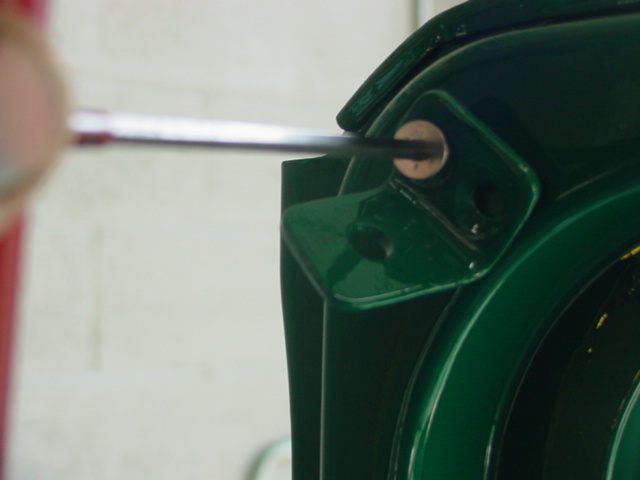
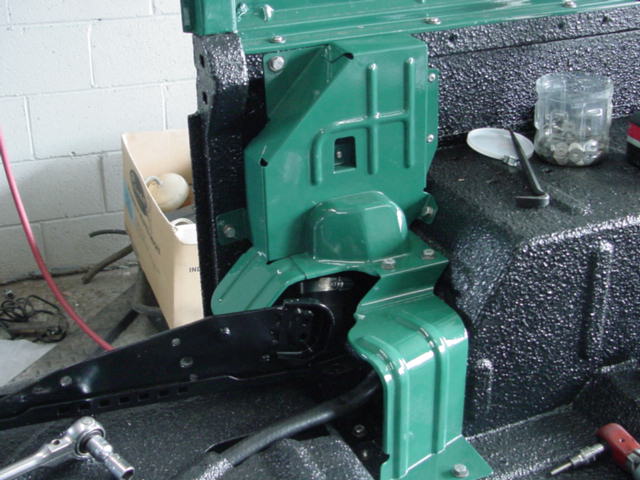
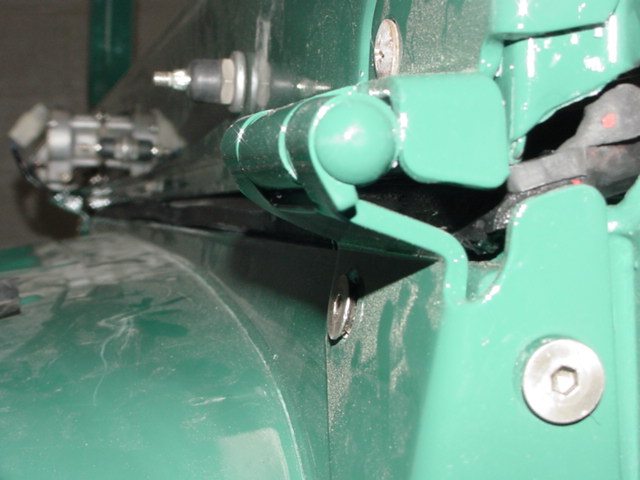
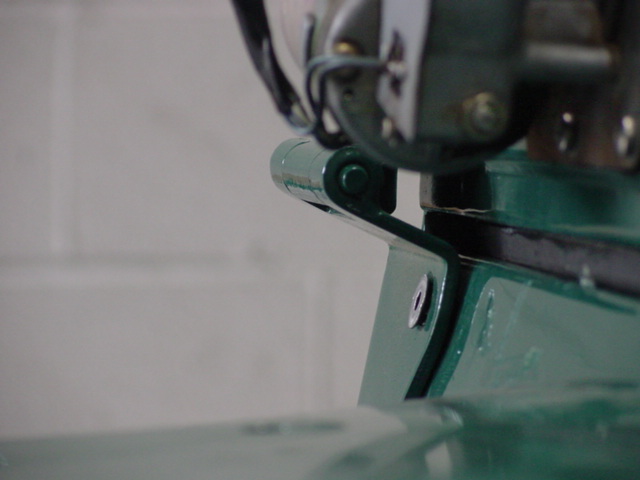
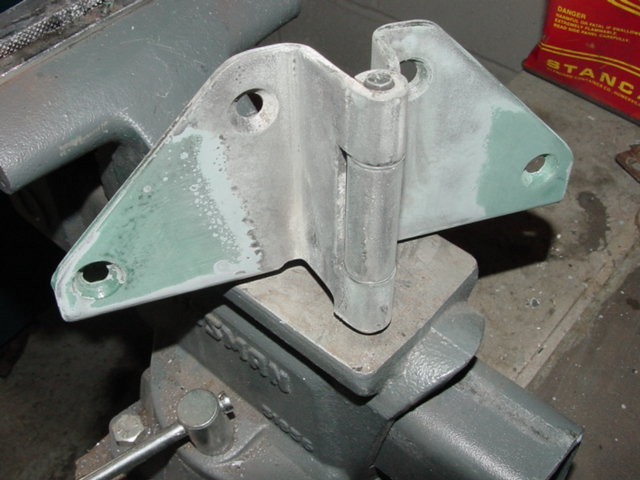
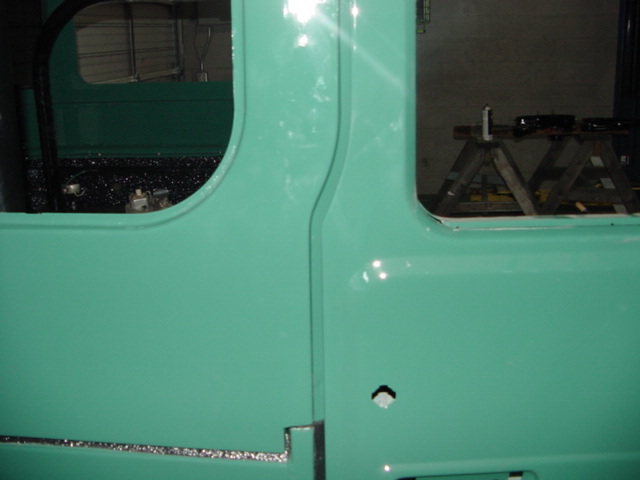
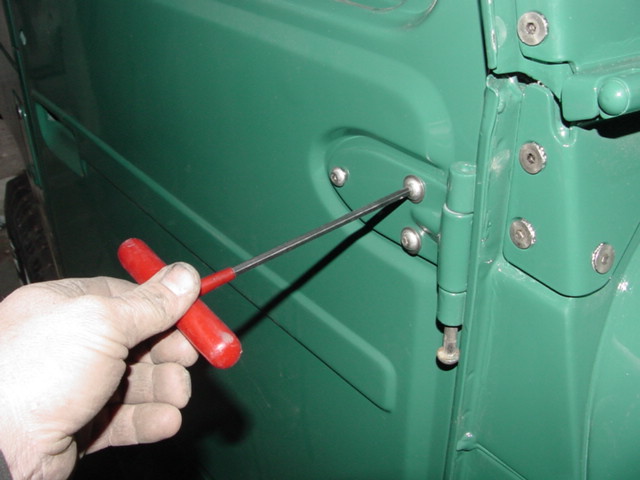
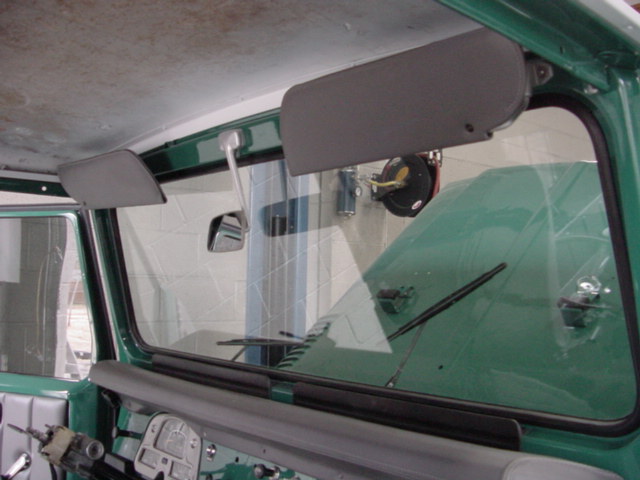
Little hurdle we had here. The
windshield hinge was tweaked on one side so that it did not close properly.
You can see the difference from the other one in the pics. So we
disassembled the hinge, heated it up and shaped it correctly, of course I had to
repaint it. But I had to paint his spare tire carrier because I left it
out of the job so it was no big deal.
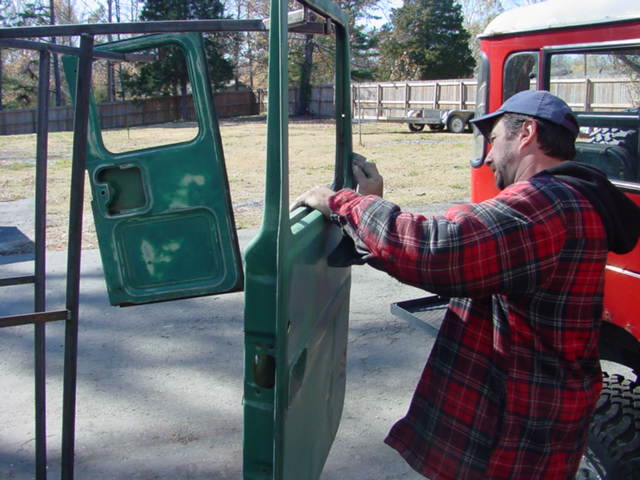
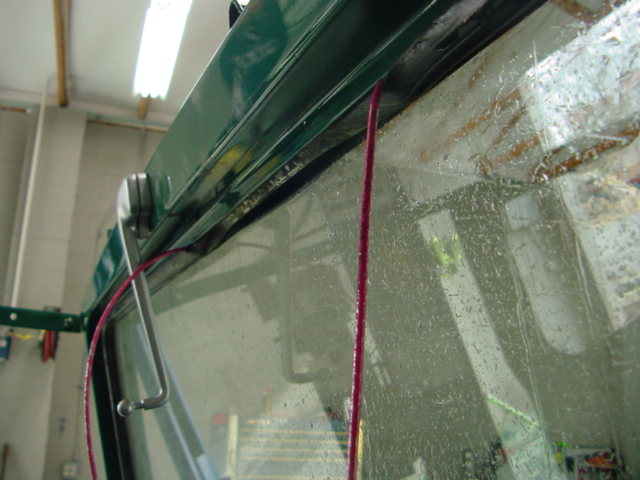
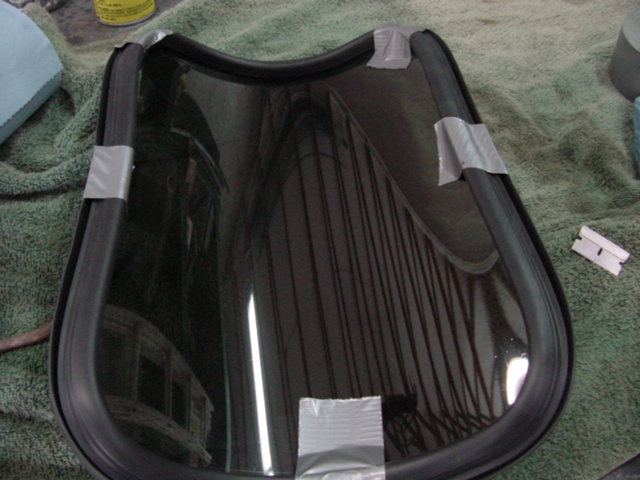
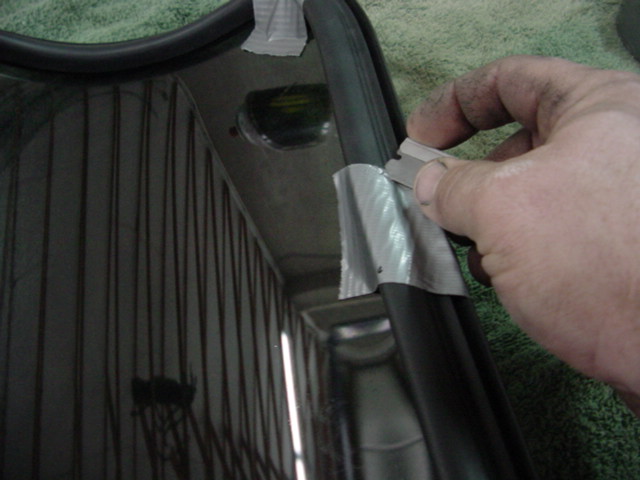
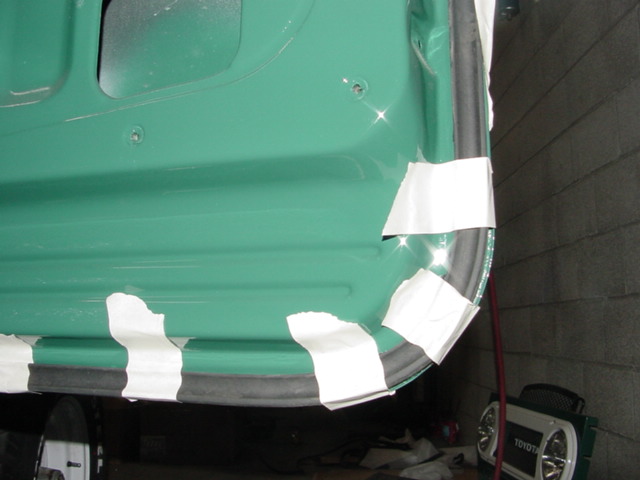
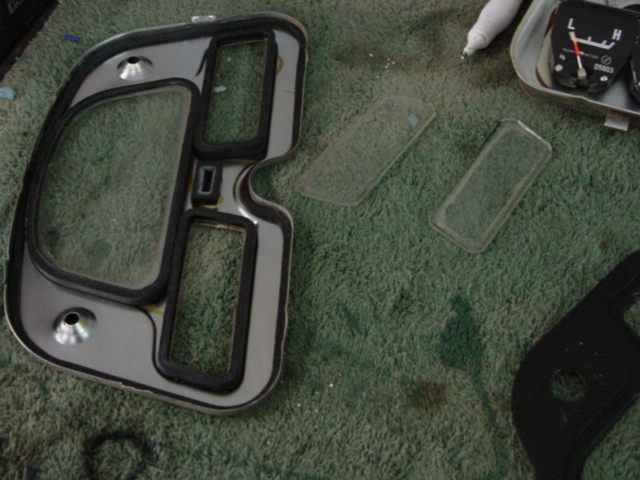
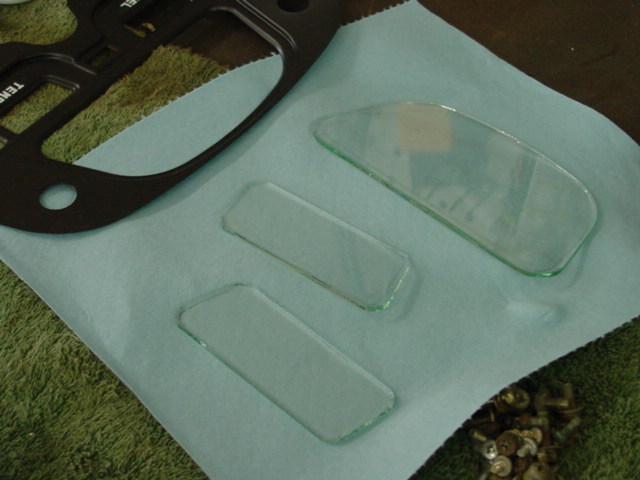
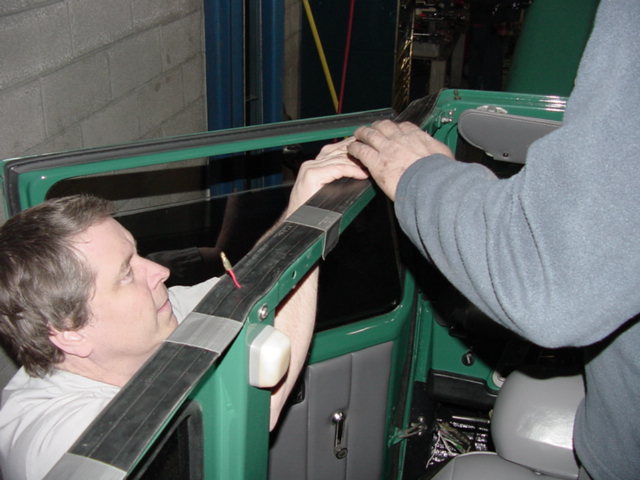
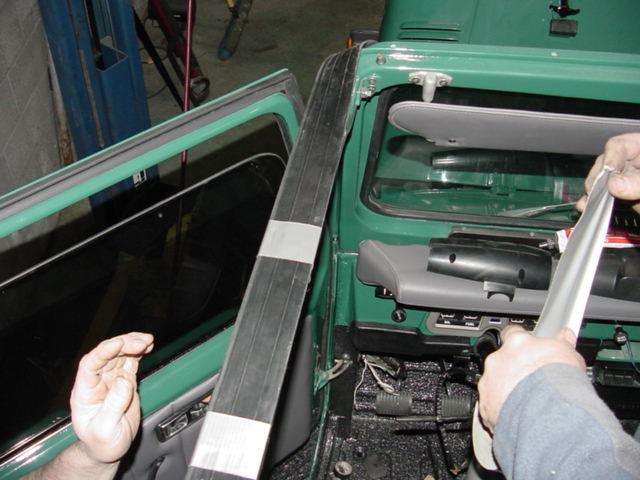
Putting in cruiser windows is actually
difficult, more so solo, which I usually am. I use tape to hold the w/s
around the glass then slit the tape where the inner flap is, then install the
rope. This helps me do this solo. I also use tape to hold down newly
installed tub to door w/s.
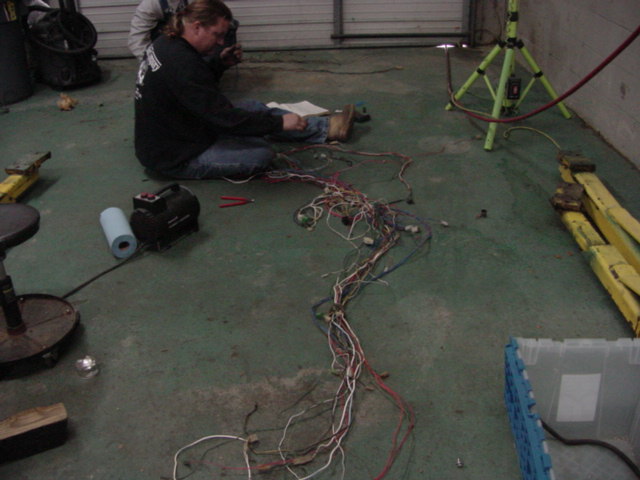
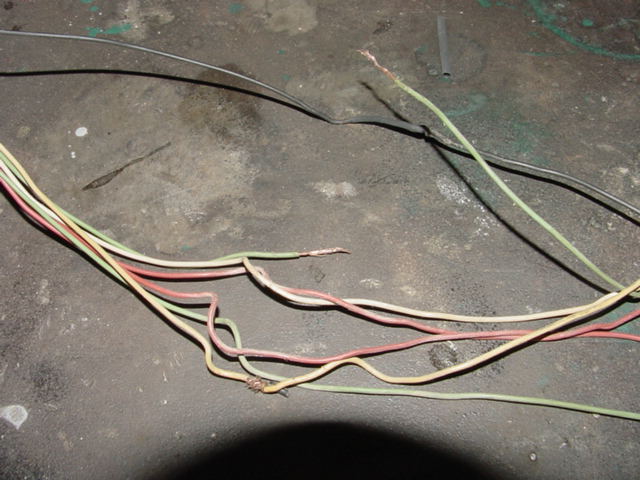
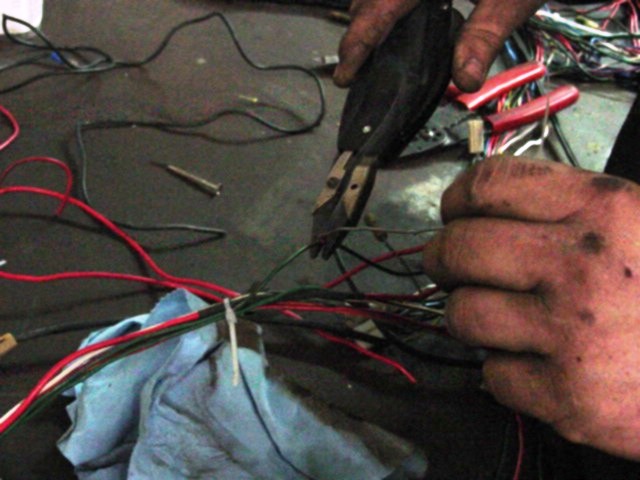
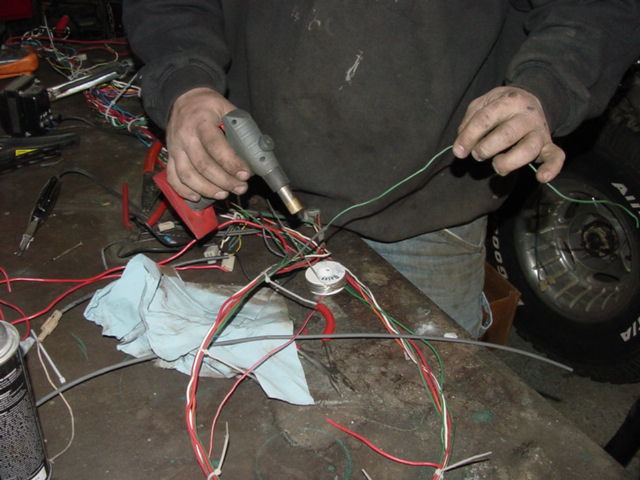
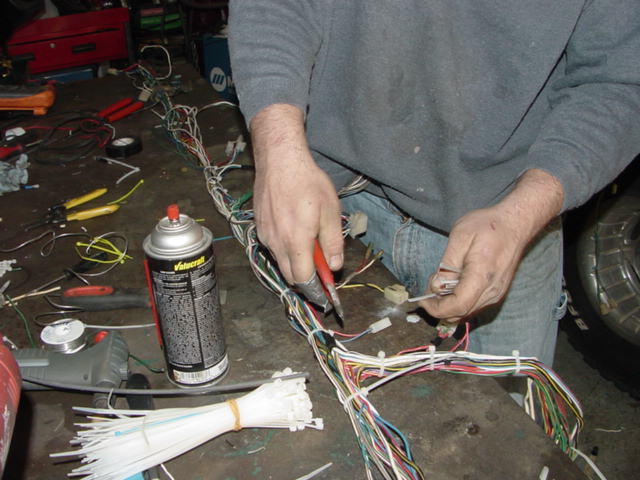
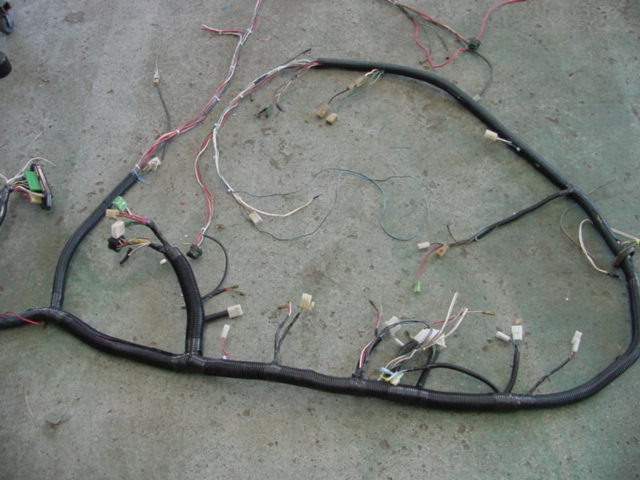
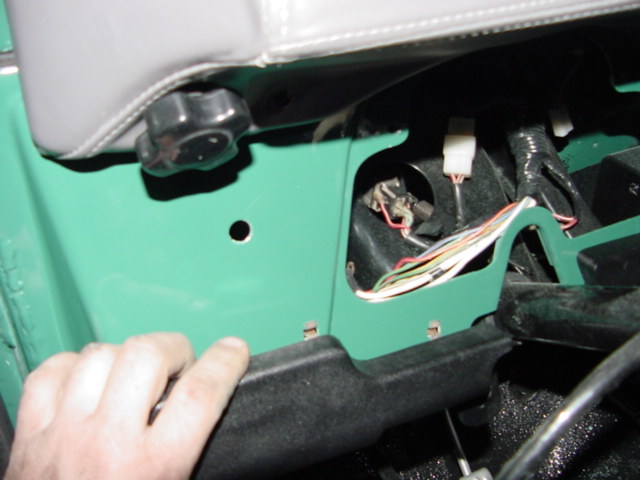
Wiring is a specialty of mine. I go
thru and check every wire for frays and such, clean the connectors, repair and
remove any bad wiring and then add any circuits you want added then reloom the
harness with later model loom.
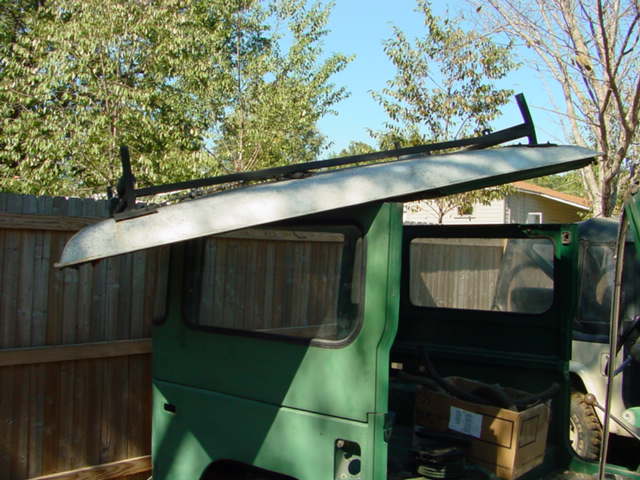
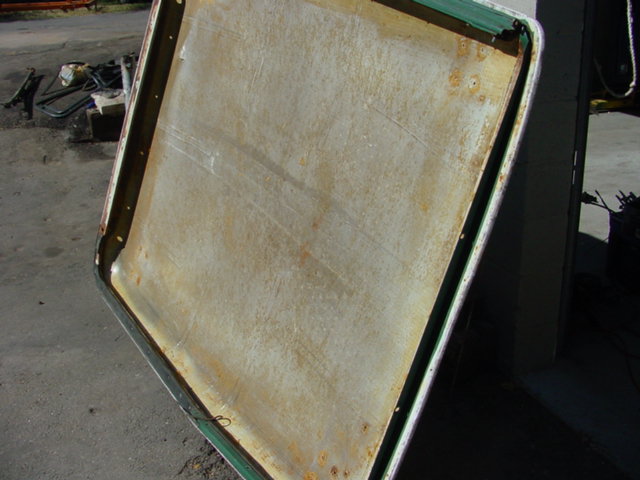
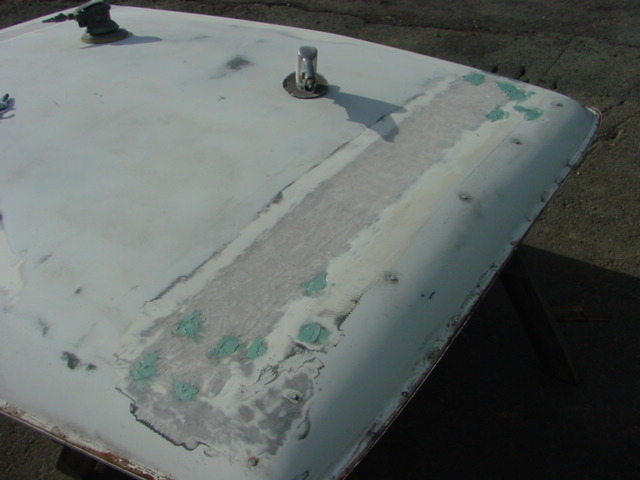
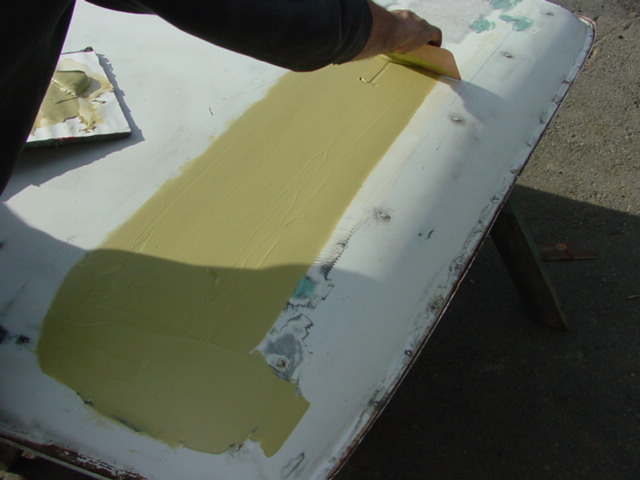
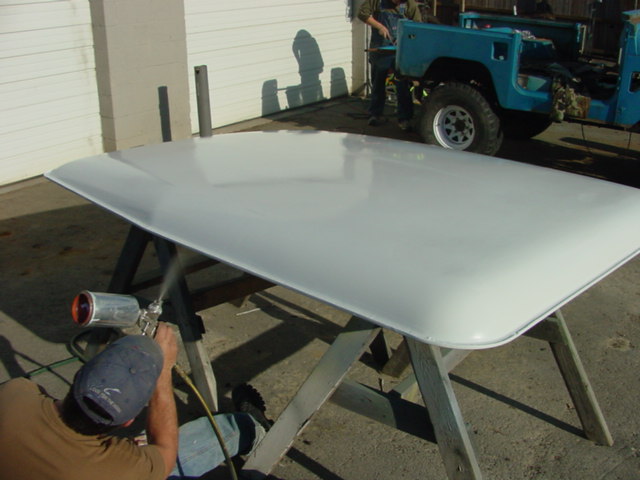
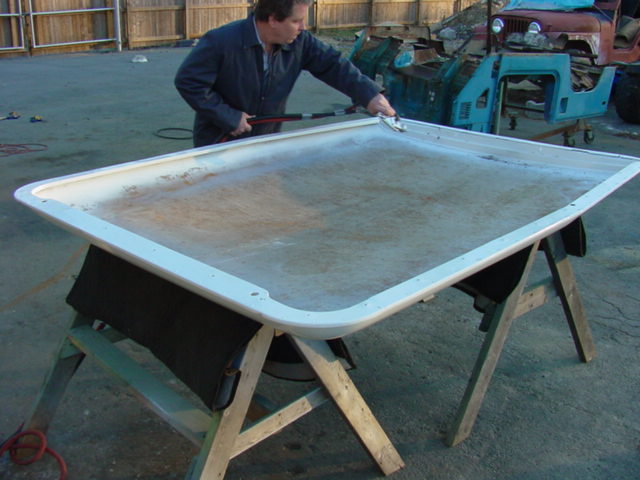
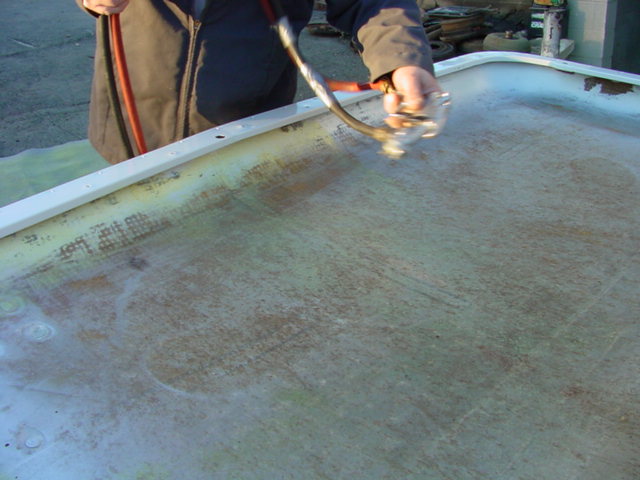
Kem's top had some damage done to it from
a rack he had on top of it. We ground out the rot and replaced it with
fiberstrand filler to give it permanent strength. I just now noticed Paul
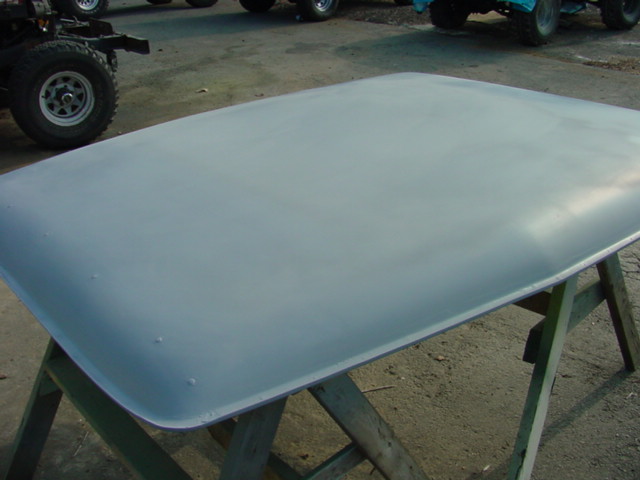
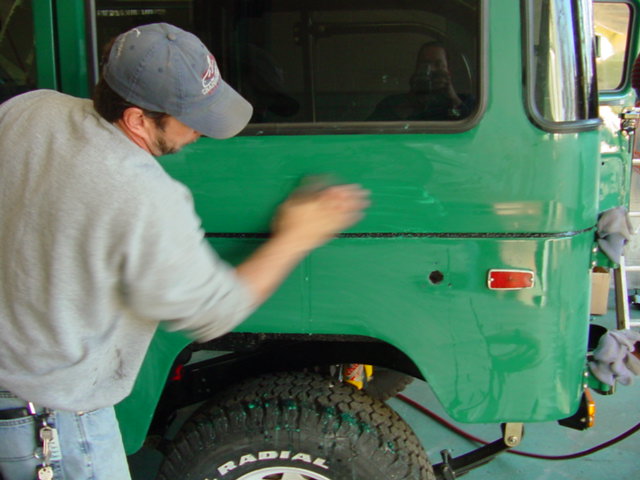
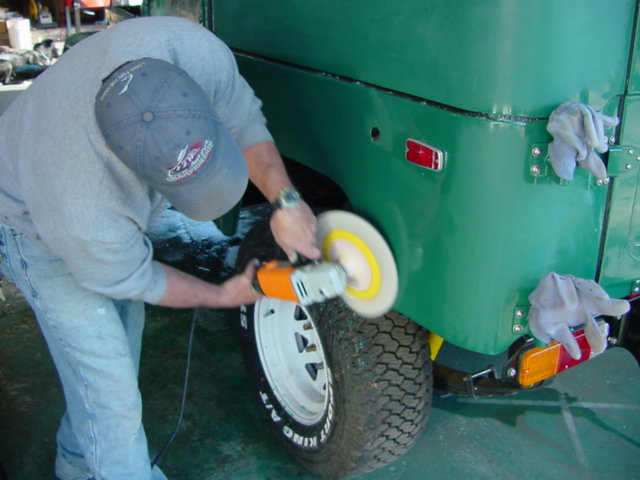
painted the top not five feet from Jim Schrader's truck....ugh...Next came the
buffing, I left it to Paul because quite frankly it pretty much is an awful
experience.
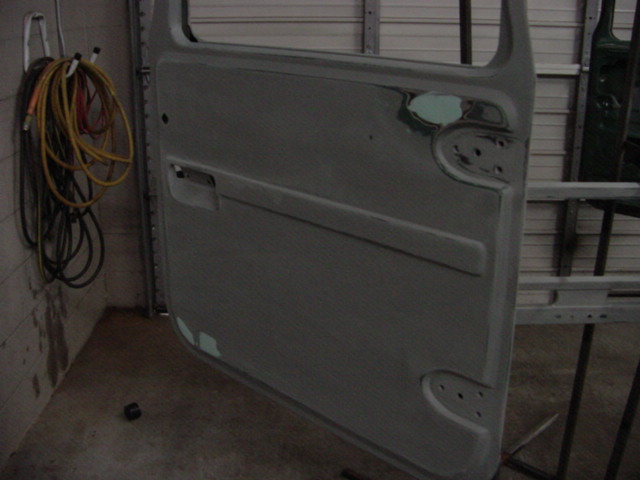
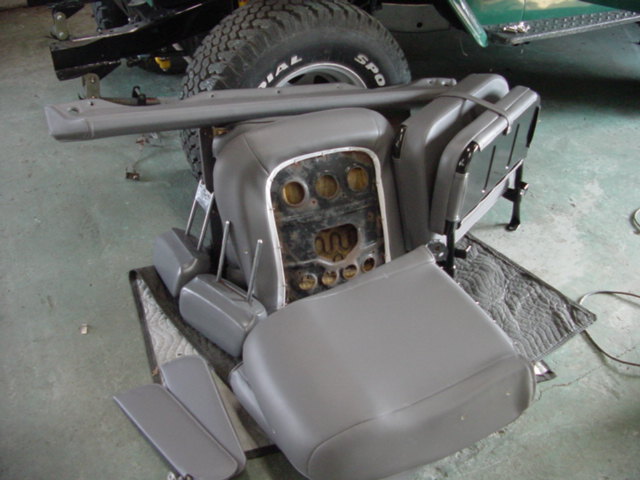
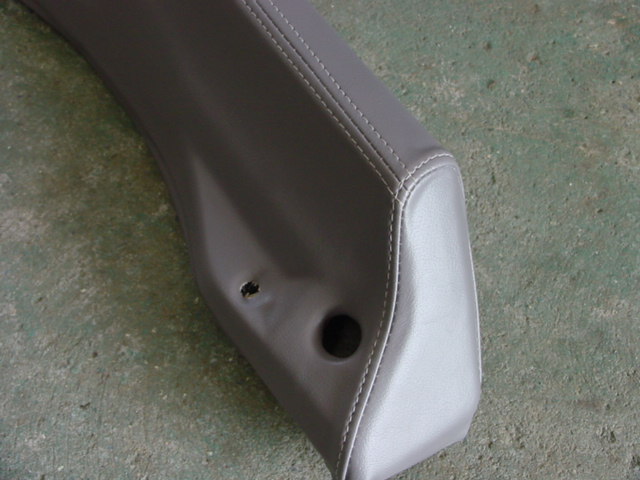
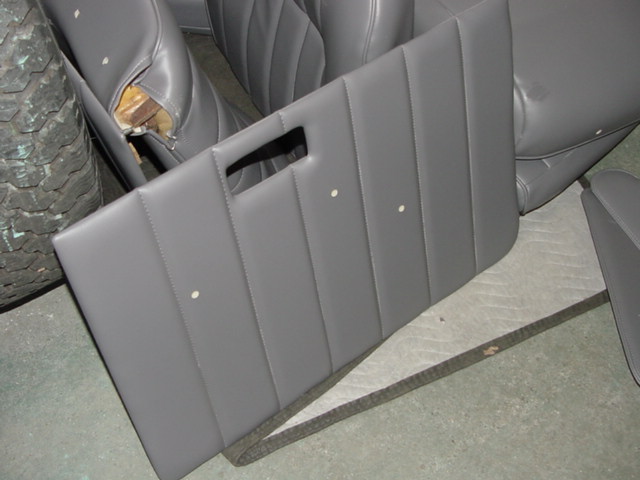
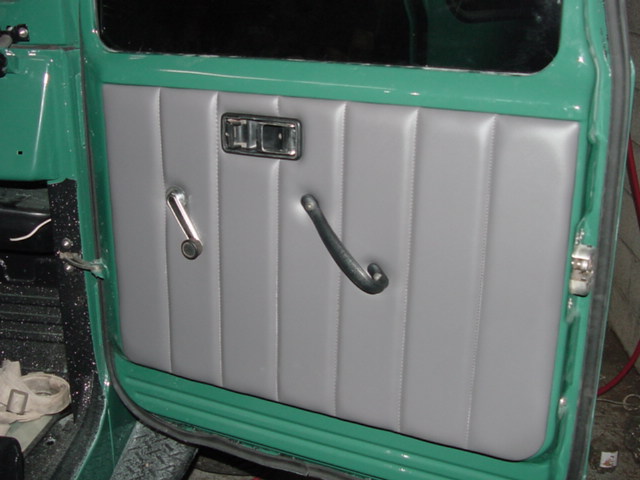
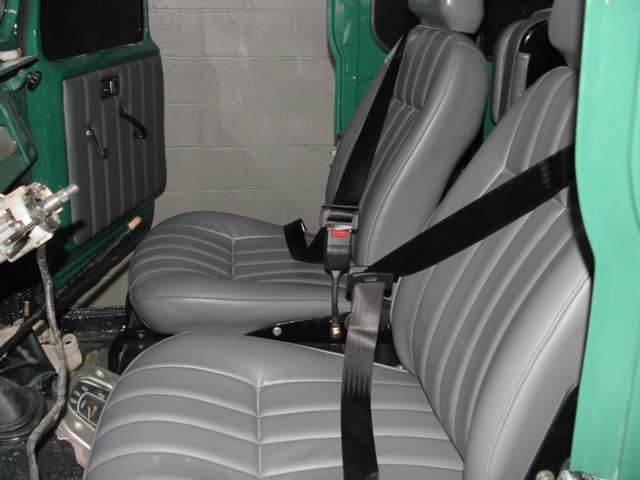
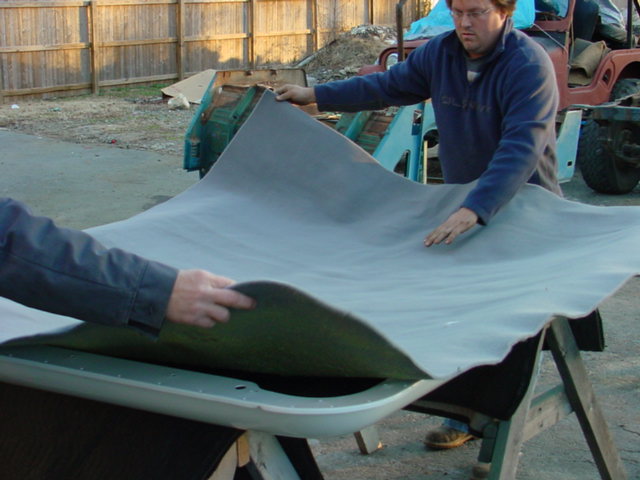
Kem decided on a grey interior. The
guys at Acey's do awesome custom work and they alway turn out quality pieces.
The remake the door panels for me out of thicker material and punch out the
appropriate holes.
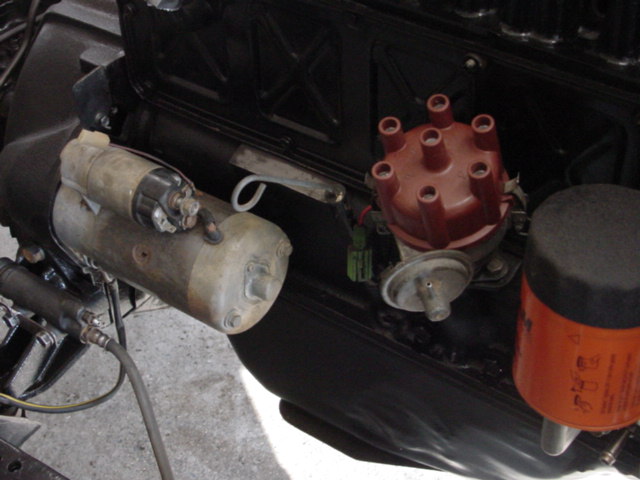
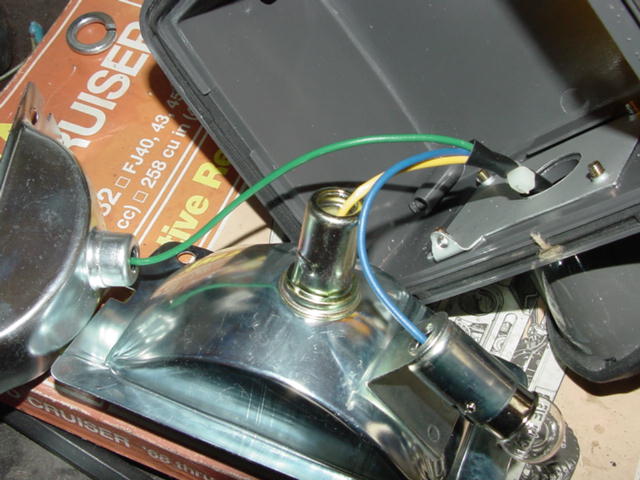
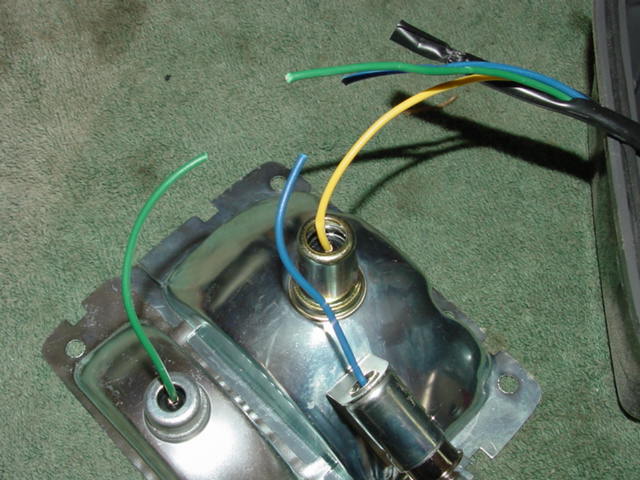
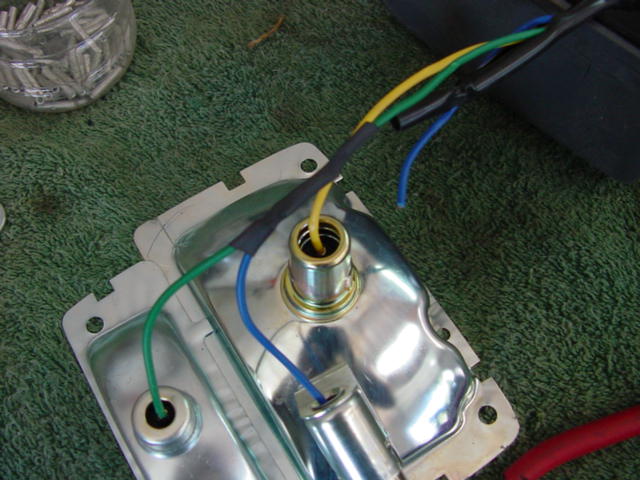
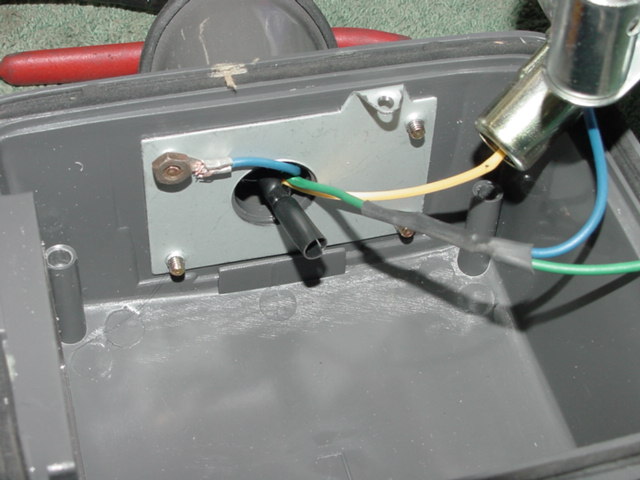
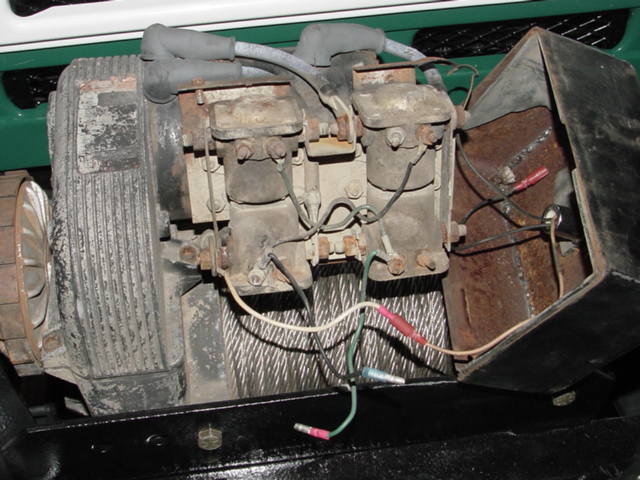
Here you can see a couple of things we
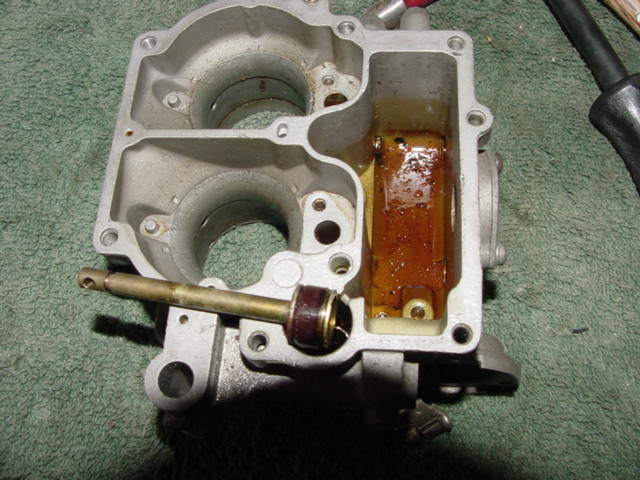
needed to fix. First the non ground wire turn signals. I love em and
hate em. They are a good quality part, but why the hell dont they ground
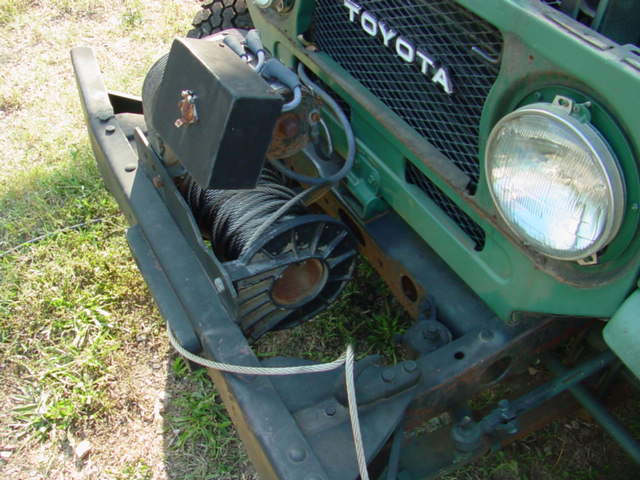
the units. The carb has wads of varnish in the bottom of it as well as the
fuel pump from sitting up so long. The winch also had to be rewired a bit.
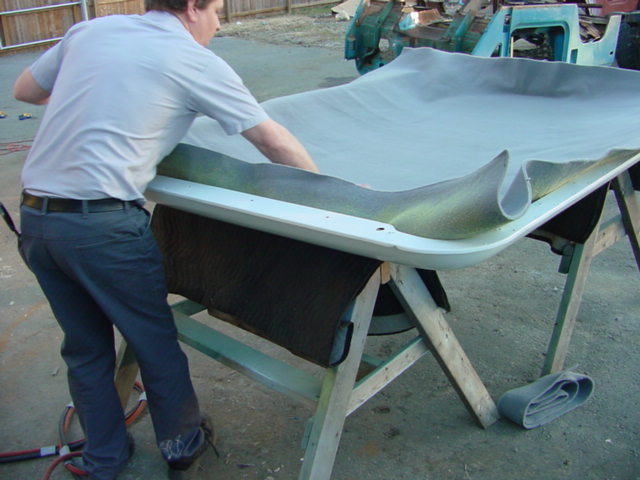
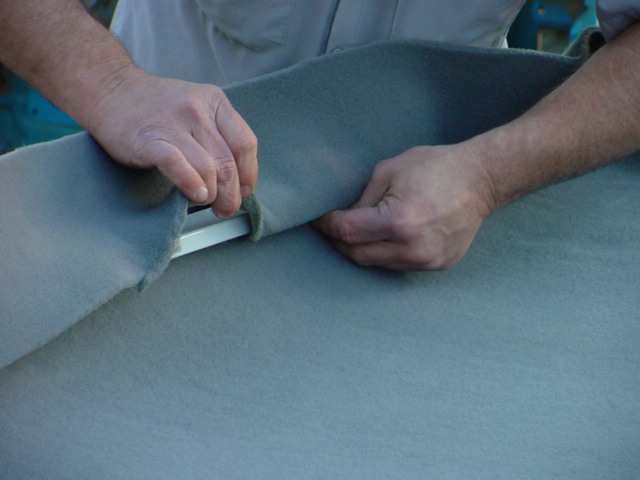
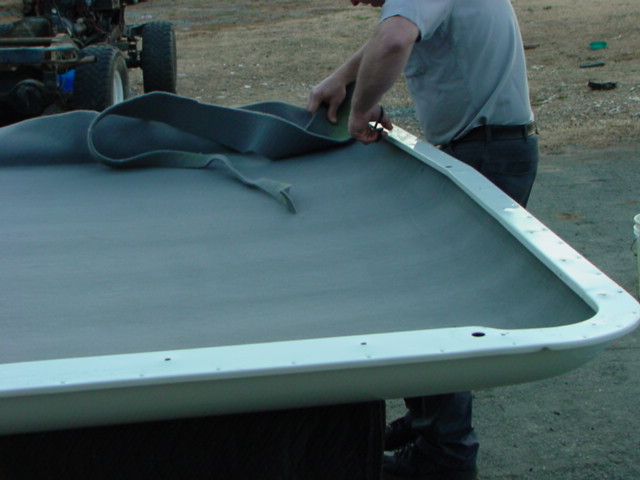
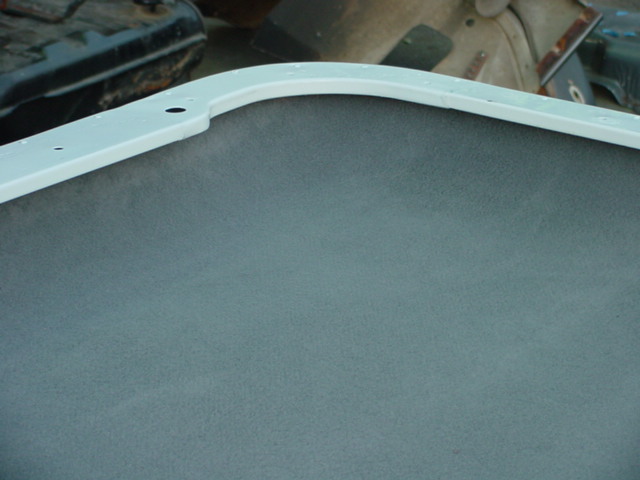
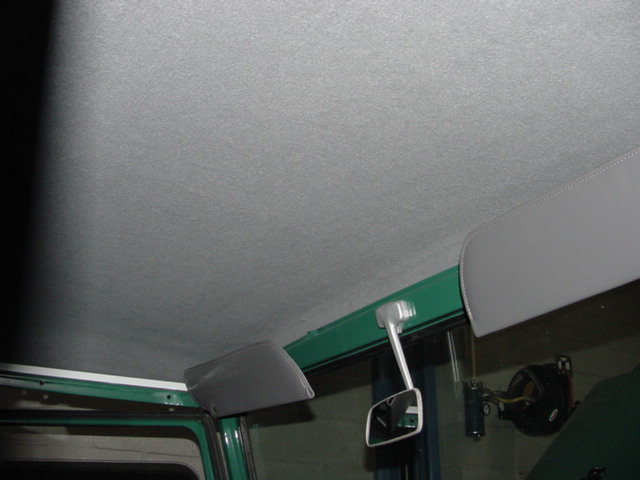
Tim from Acey's came over and did the
headliner for me and helped me prep the gasket for the driprail.
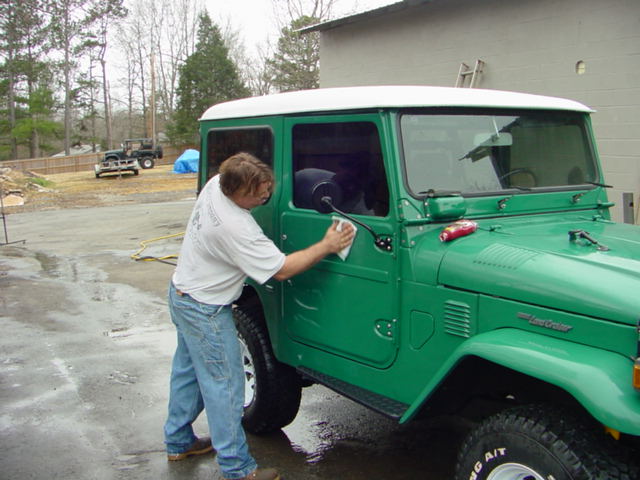
Kem Merrill and his finished truck.
He will be back in the spring for me to finish up the A/C system and Stereo
system
The Cruiser Company
Copyright © 2000 The Cruiser Company. All rights reserved.
Friday, March 07, 2008