Scott Eichorn's FJ40
One of my recent projects is a 1971 FJ40 being pretty much totally
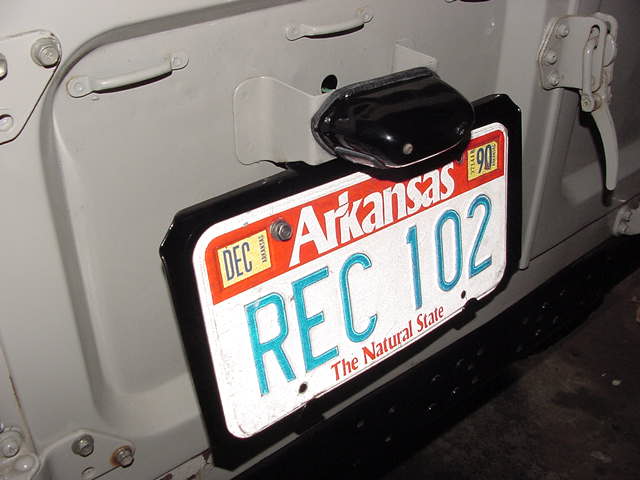
redone. The vehicle is owned by Dr. Scott Eichhorn of Searcy,
Arkansas. Scott has had the truck for quite some time and has managed to
have the exterior of the truck smoothed up and painted (Thank You). He is
building the truck for his son so we discussed all his options and decided
to go with a Vortec 350, a 4L60e, four wheel disc brakes, AGR power steering
with a variable ratio steering gear, handling kit with a new lift
suspension and shocks, new Sport Seats with harnesses and a full roll
cage. Other things we are doing to the truck include complete disassembly
to powder coating everything we can, lining everything we can,
relooming and inspecting his factory wiring harness, and refurbishing all the
trucks accessories during reassembly. Check out the pics below.
 |
 |
 |
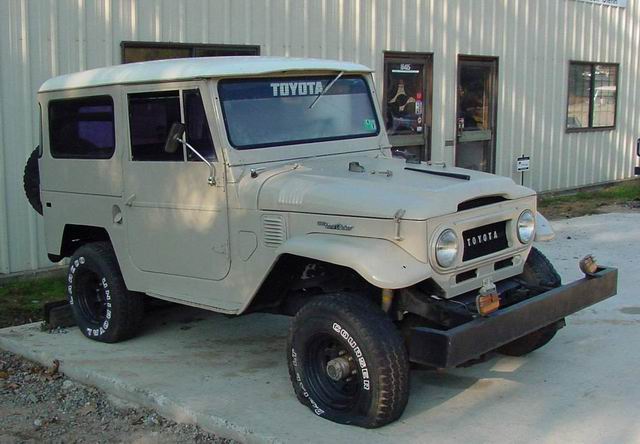
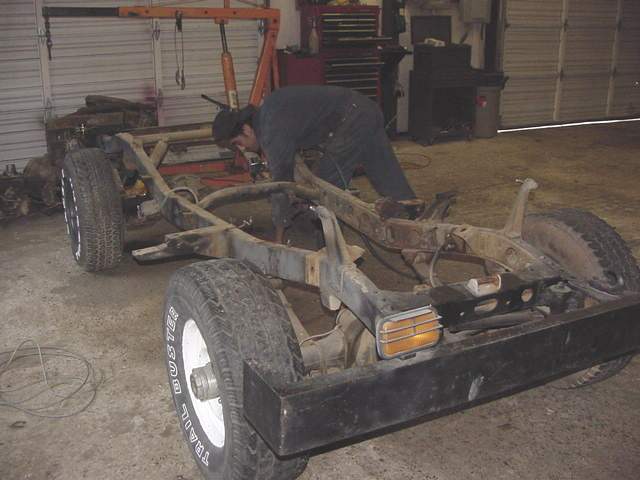
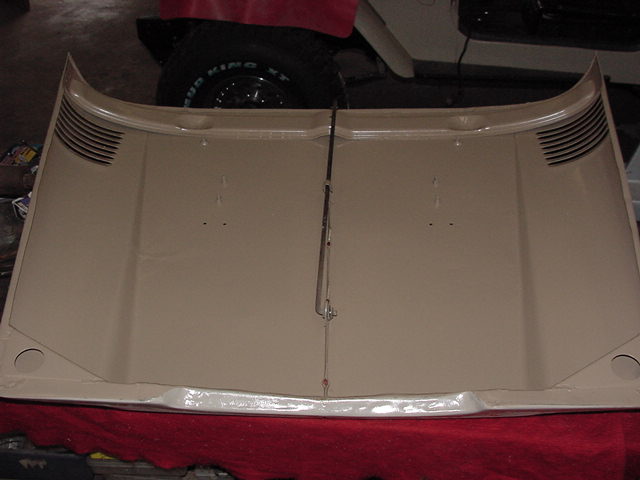
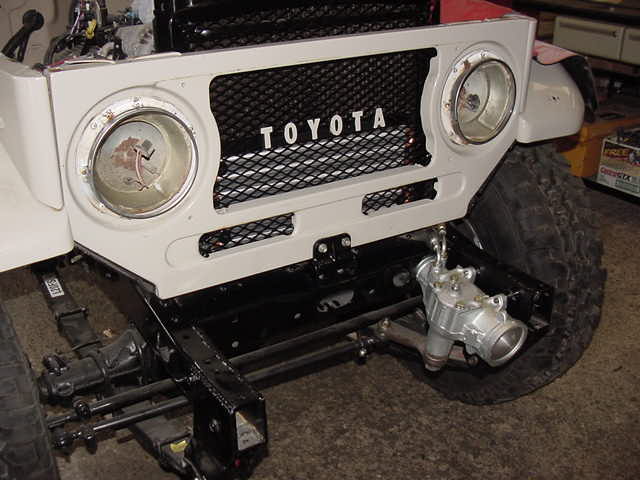
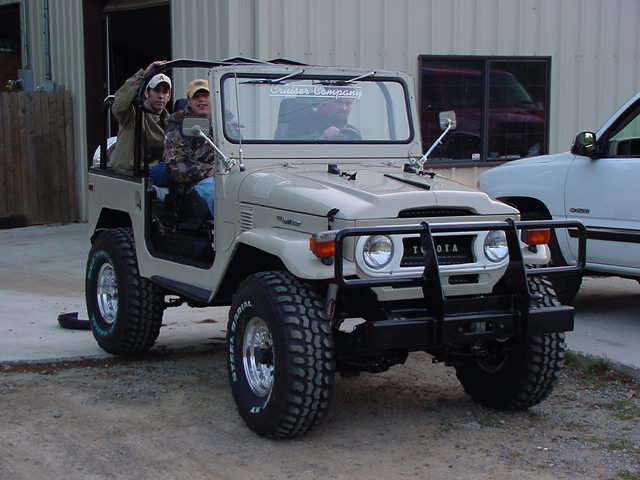
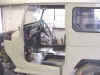
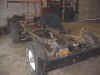
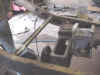
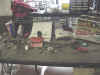
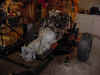
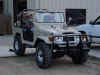
You
can see the exterior of the truck is in excellent shape. |
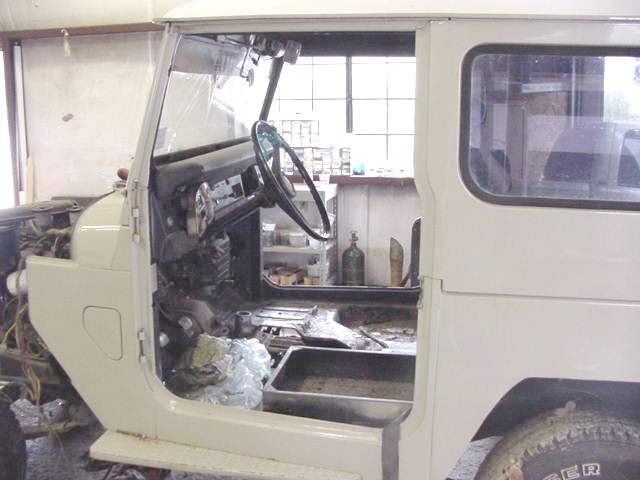
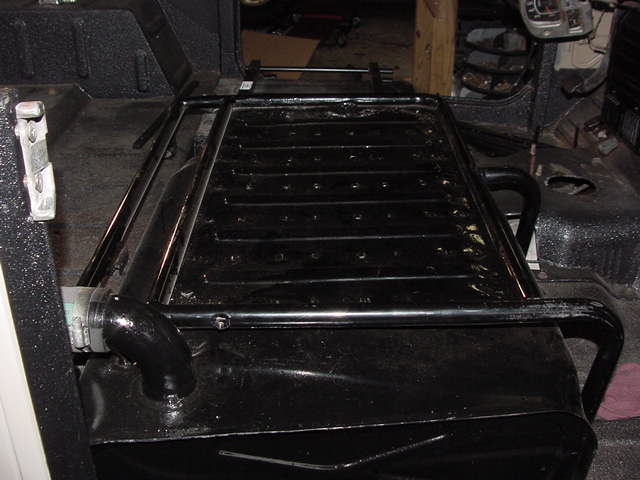
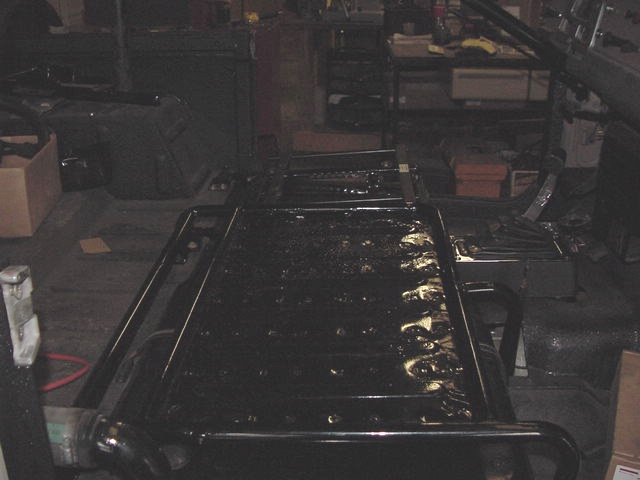
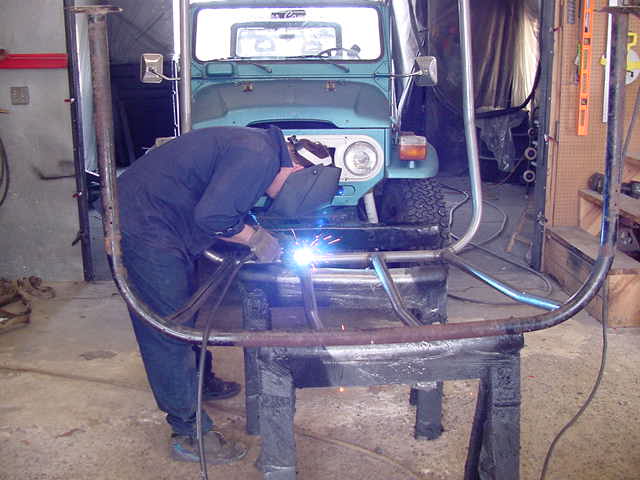
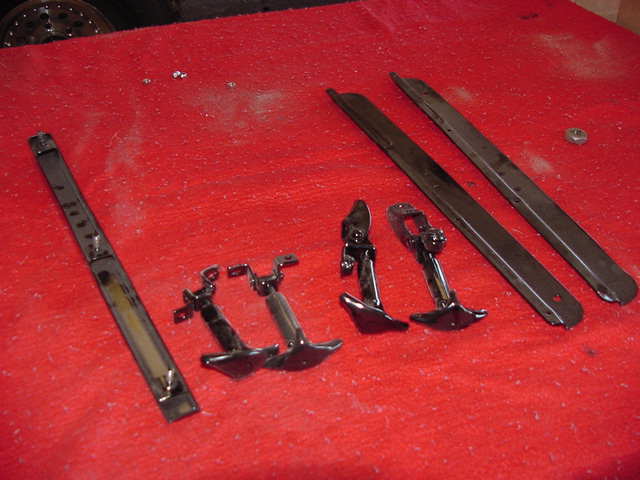
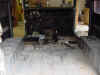
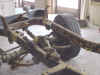
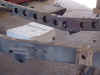
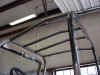
| Keiko
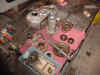
slacking off on my time (just kidding Keiko). Check out the excellent fab
work on the roll cage feet. The nitty gritty and dirty and grimy and
oily |
 |
 |
 |
 |
 |
 |
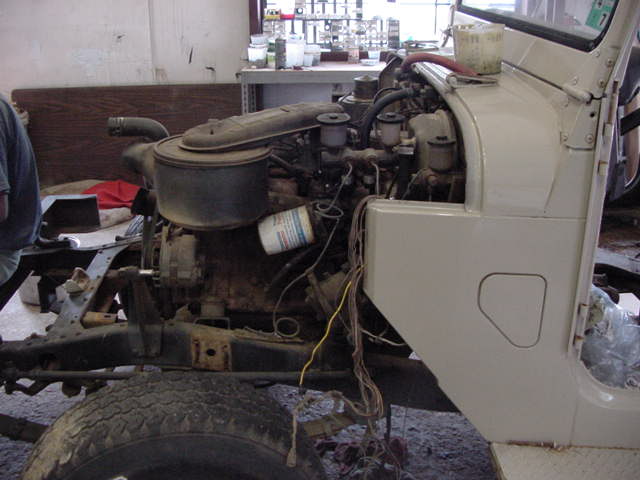
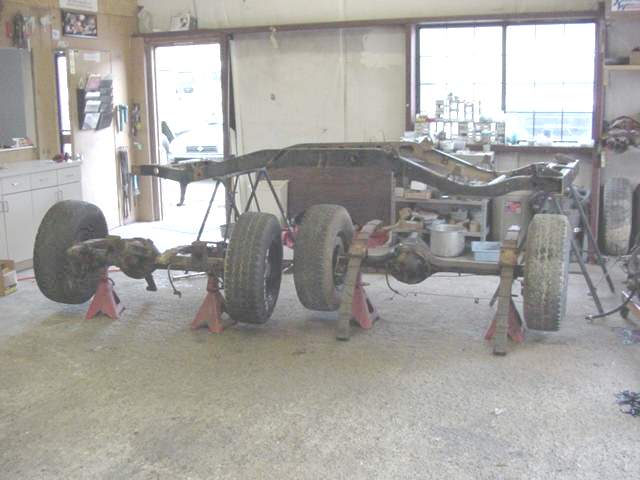
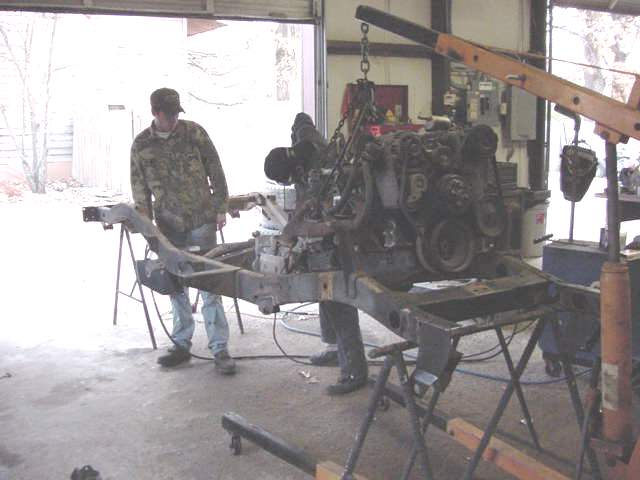
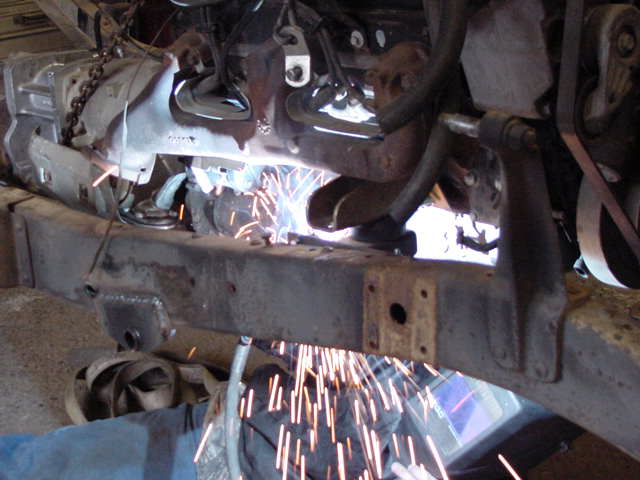
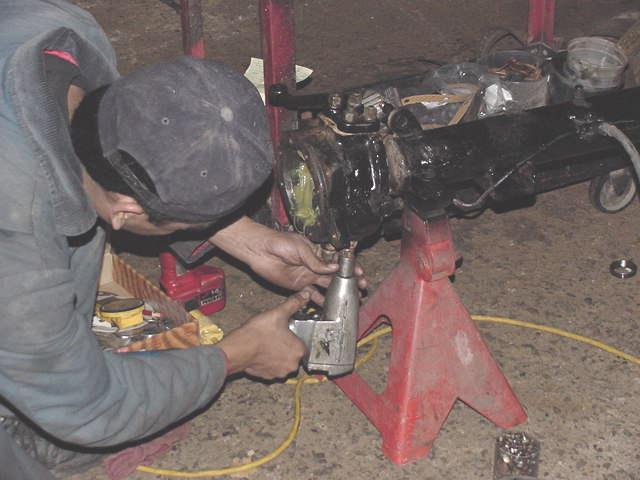
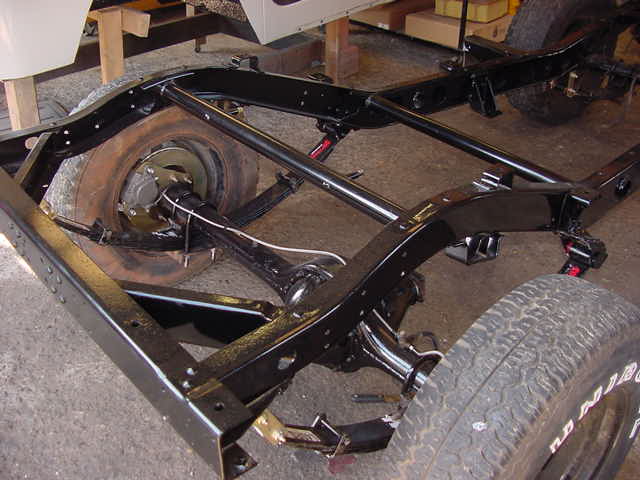
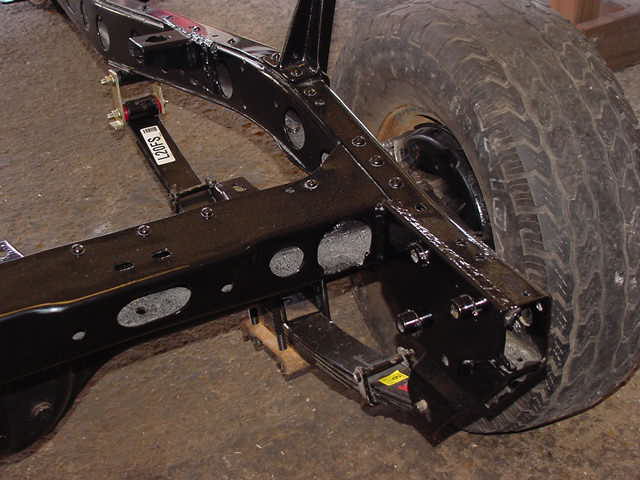
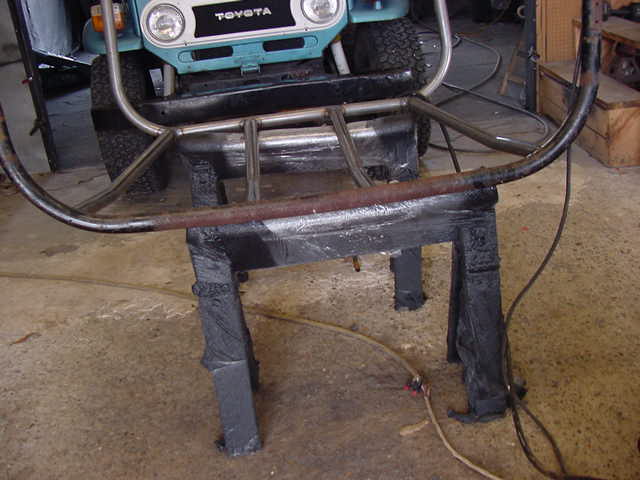
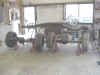
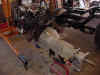
Here is where the fun
starts. Check out how we prep the frame over the next few pics. The
results are worth the extra effort. |
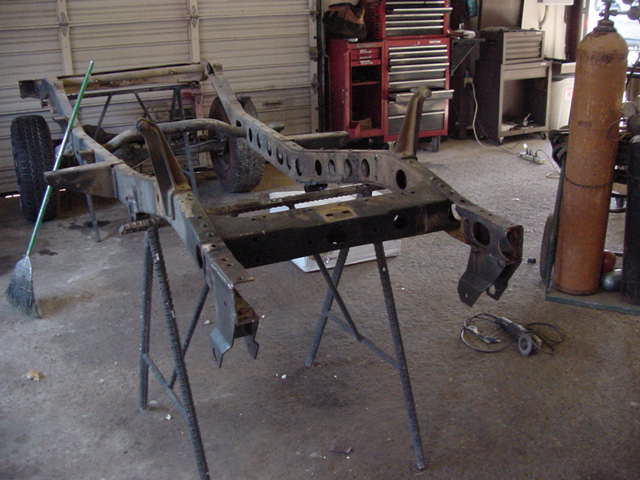
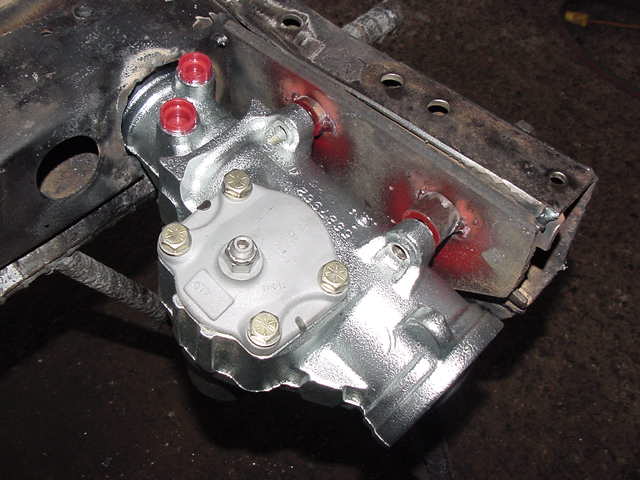
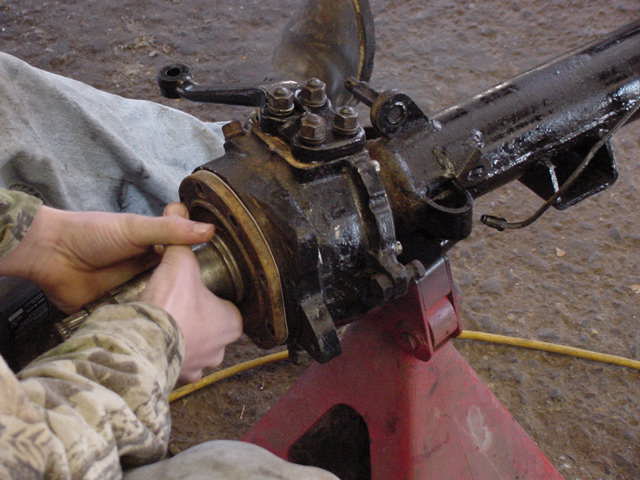
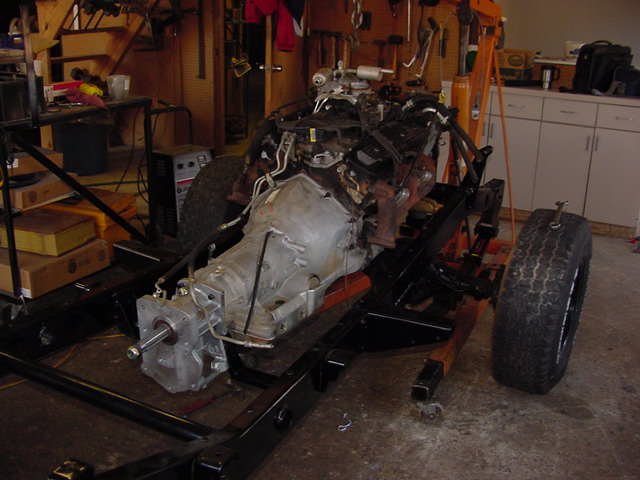
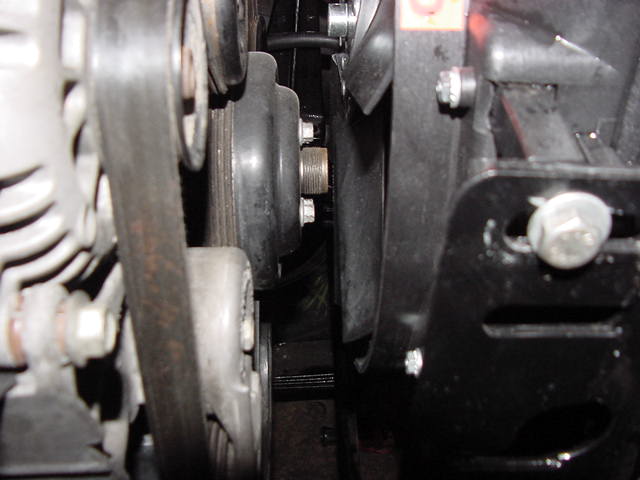
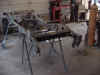
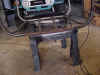
| Making
sure it all fits. We started with the pulley- radiator gap to fit an
electric fan and went back from there as this sets the driveline position. |
 |
 |
 |
 |
 |
 |
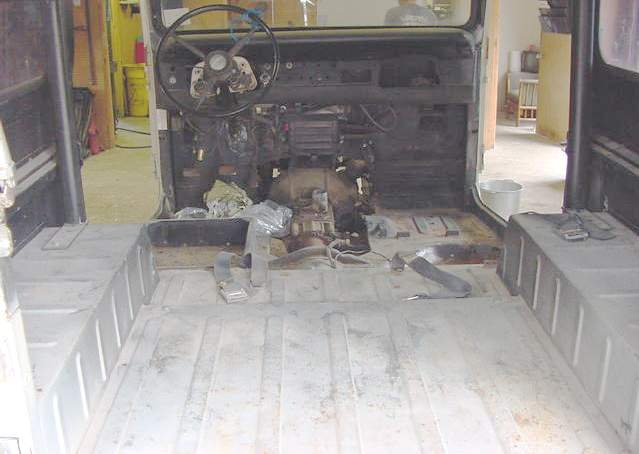
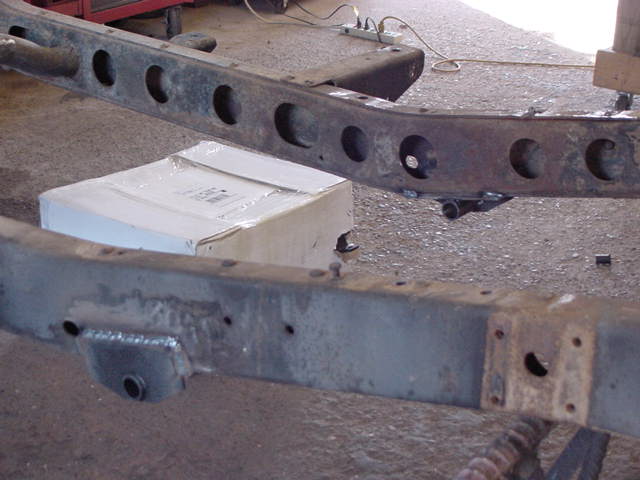
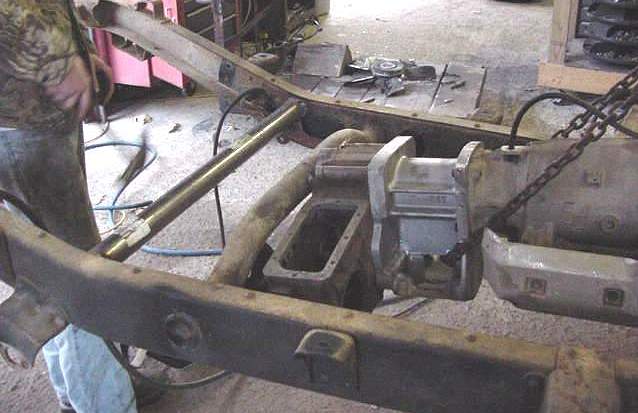
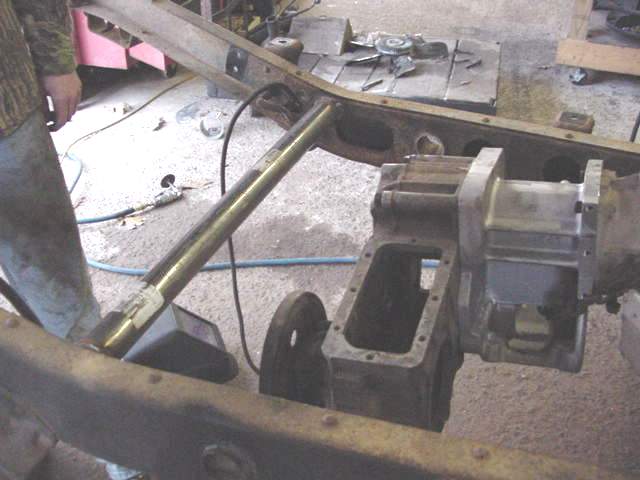
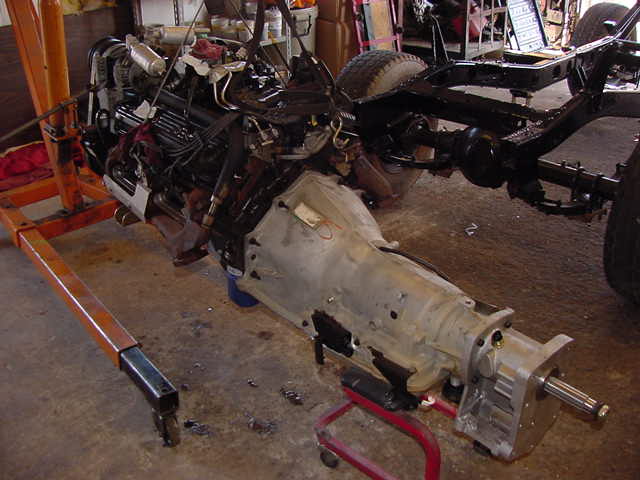
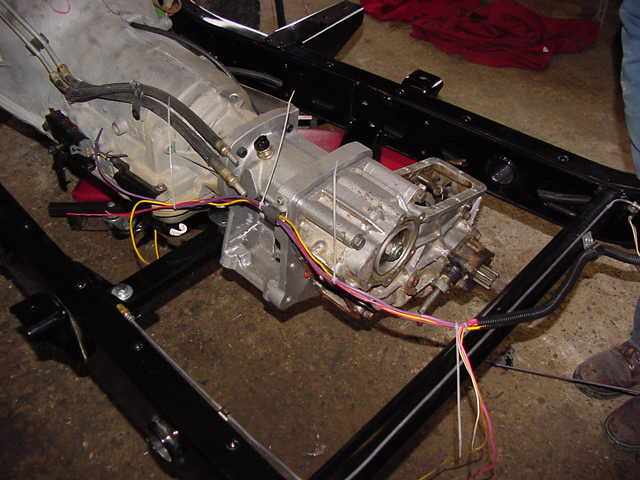
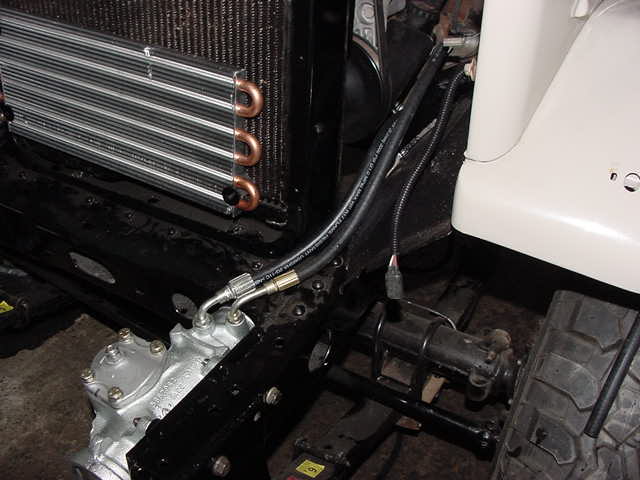
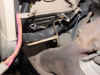
The driveline was so long we
had to redo the factory frame support. I'll use the new support to
mount the fuel pump and to redo the rear brake line |
 |
 |
 |
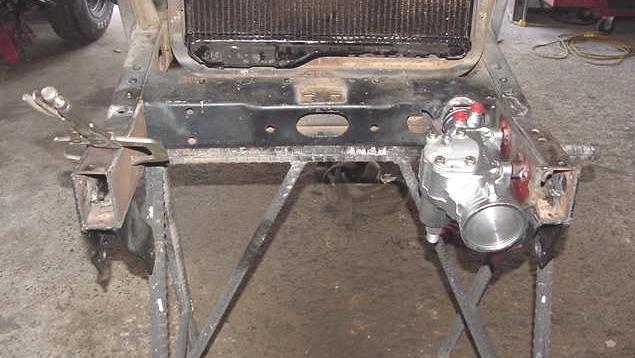
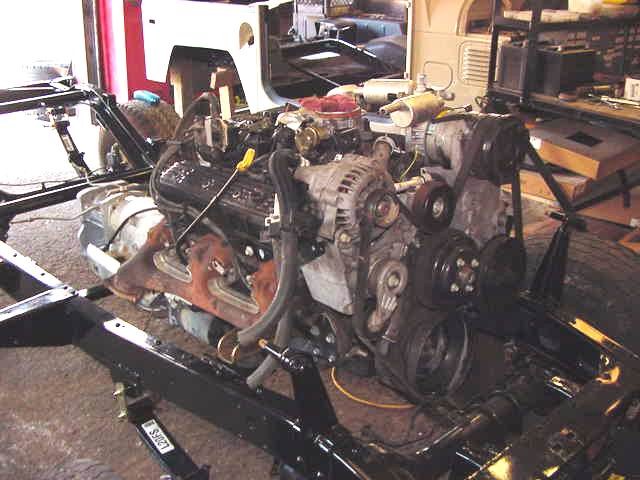
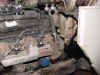
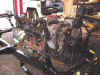
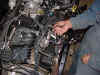
I was unsure if the factory
manifolds were going to work. Fitting properly pays off. The
manifolds work hence the EGR items will work as well. |
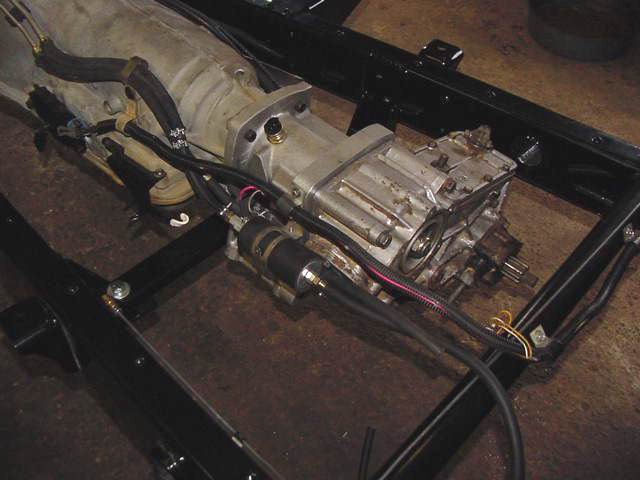
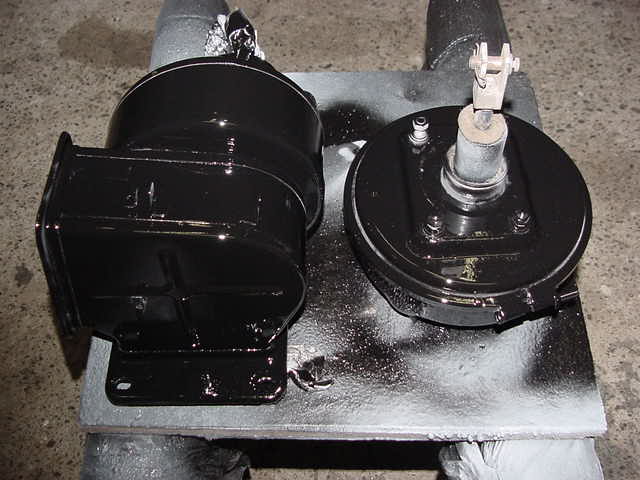
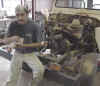
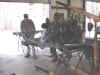
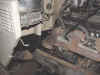
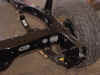
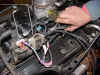
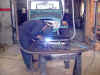
| Generally
I frown on doing a V8 in an early model w/o upgrading the brakes so here
Keiko is actually working again on the upgrade process. |
 |
 |
 |
 |
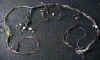 |
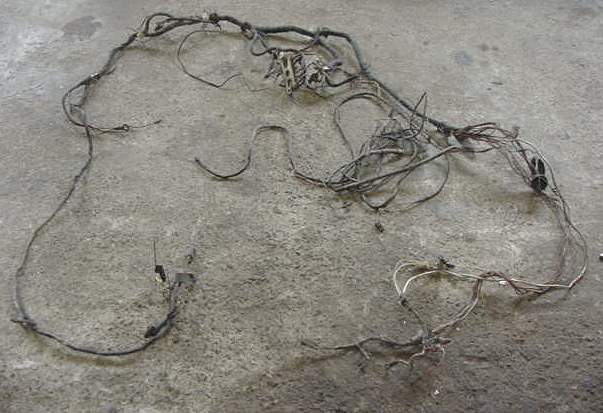
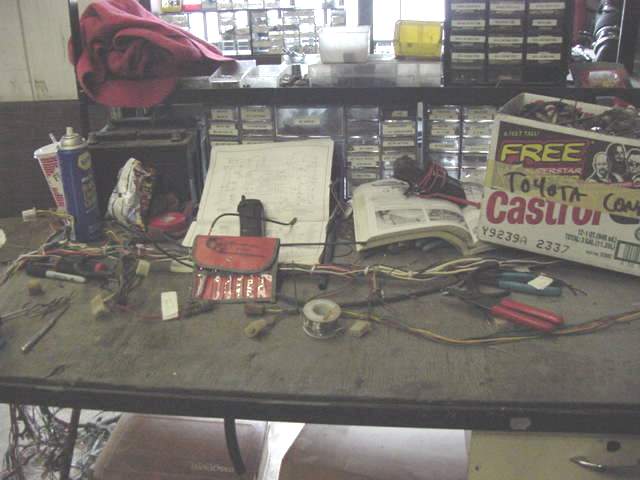
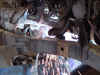
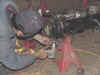
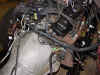
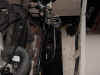
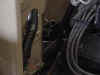
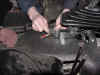
This is one of the hardest
things we do here. Take a firetrap harness, redo it for the V8
installation and redo the factory wiring. Carnage!! |
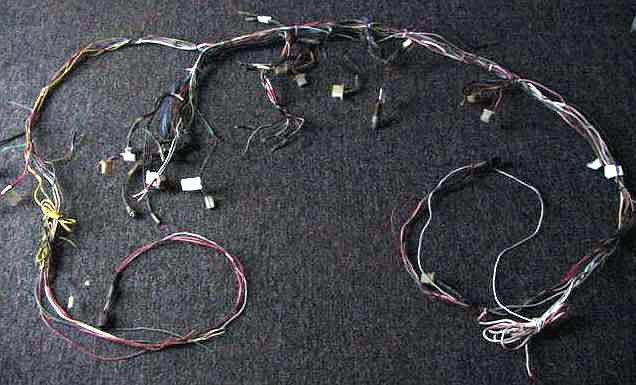
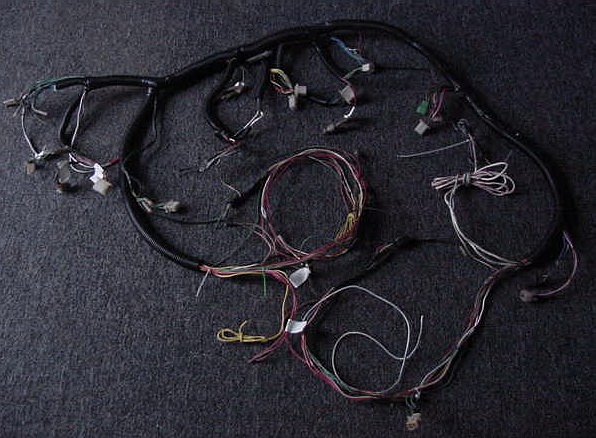
| Too
many people forget the harness. We rewired this one with the V8
requirements installed. Very clean, very clean |
 |
 |
 |
 |
 |
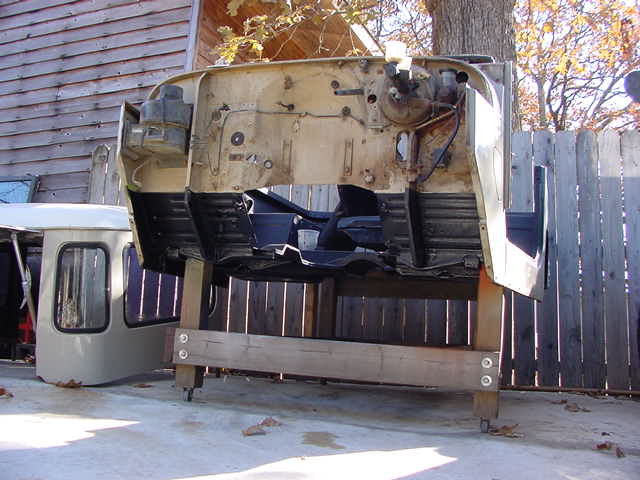
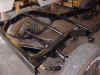
Once we got the frame
back the reassembly and final fittings could begin. With the tub off
every thing goes together pretty quickly. |
| This
is the part I like. Everyday the chassis reflects your efforts. You
can see the progress taking place. |
 |
 |
 |
 |
 |
 |
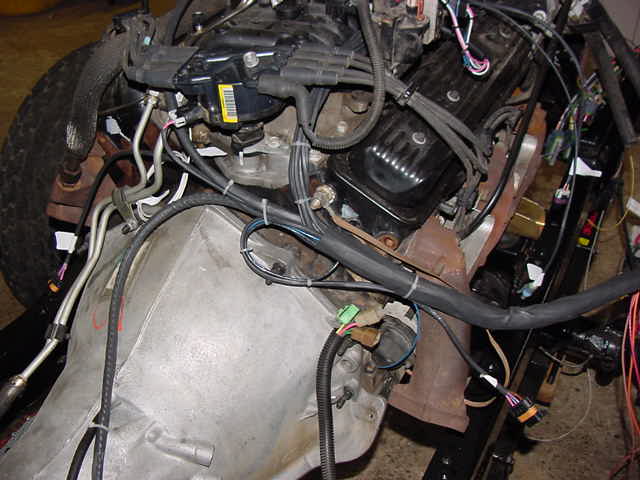
With the
tub off and a little planning the fuel lines, pump and harness can be
tucked away so that they look and function like stock. |
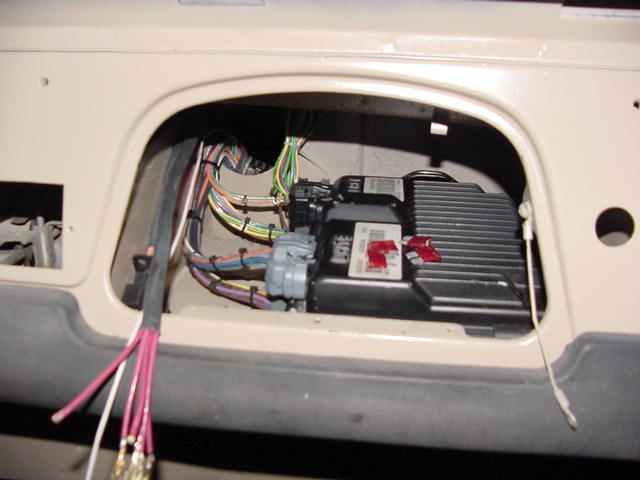
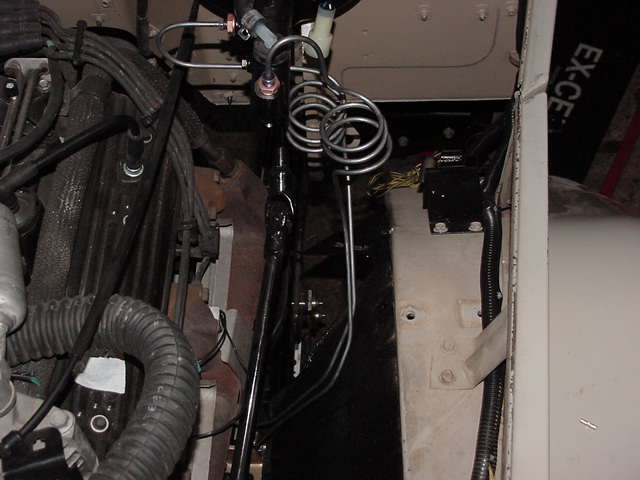
| The
S&P Electronics harness is custom made for me so that I can literally
plug into the cruiser harness. This allows a very clean install. |
 |
 |
 |
 |
 |
 |
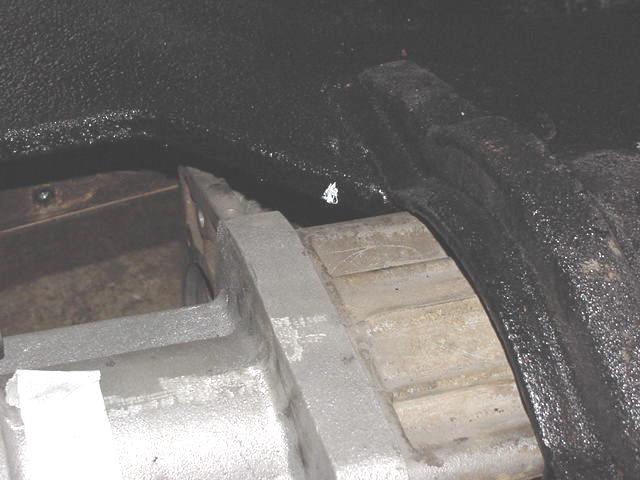
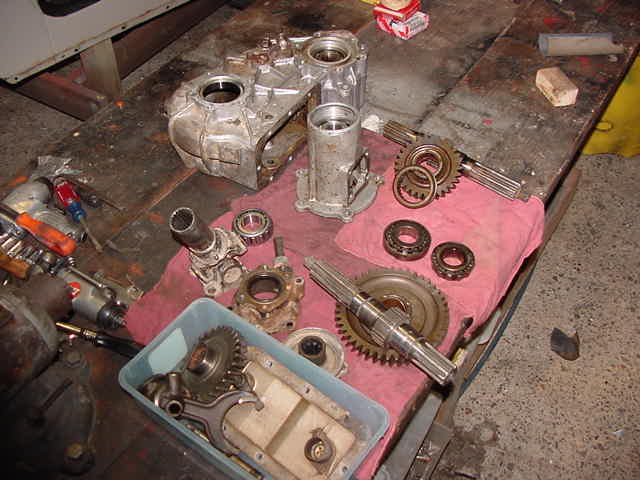
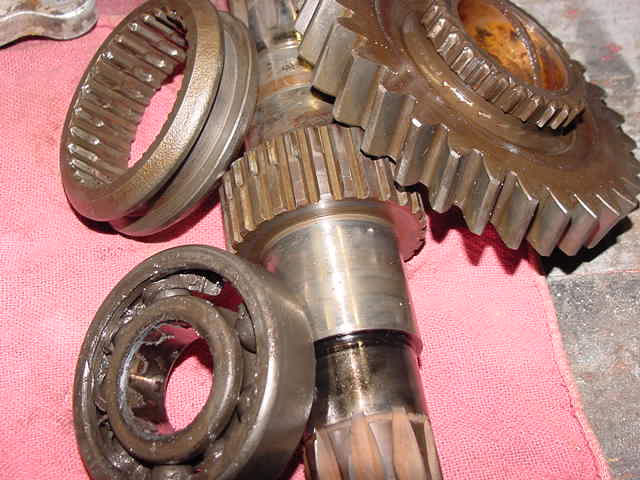
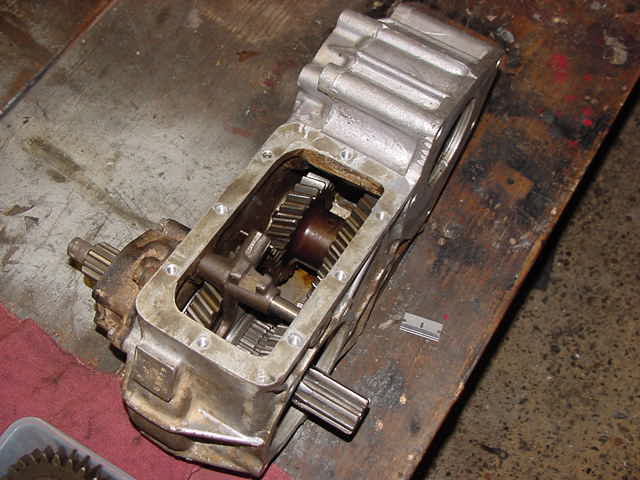
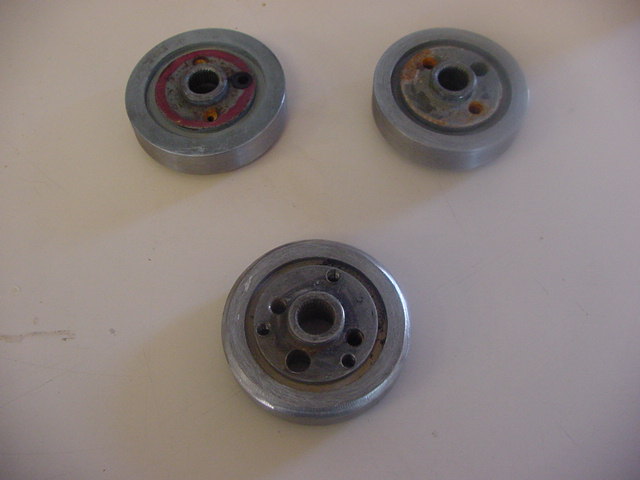
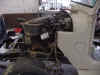
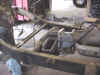
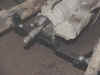
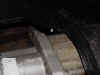
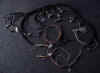
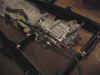
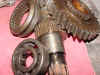
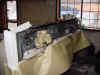
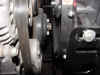
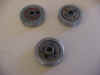
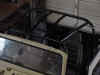
Scott's
transfer case was basically destroyed. Look carefully at the teeth
of the gears and shaft and check out the front nose cone
bearing. |
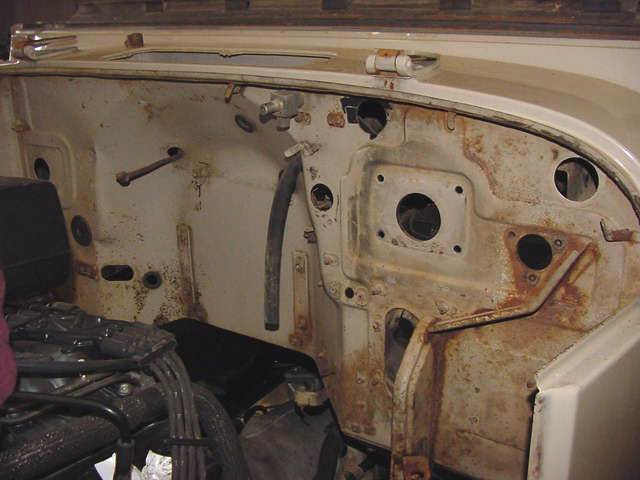
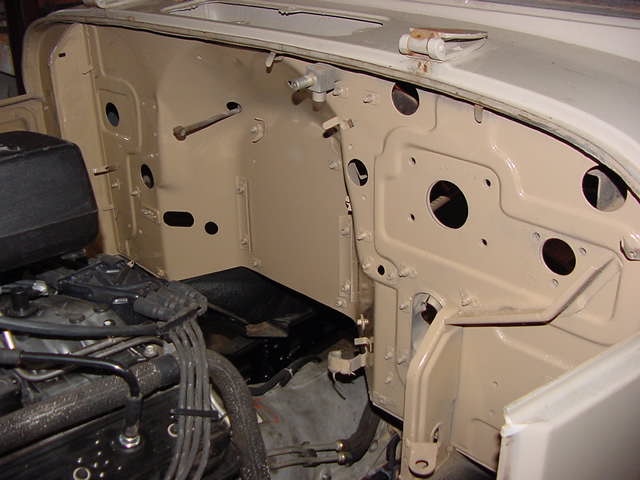
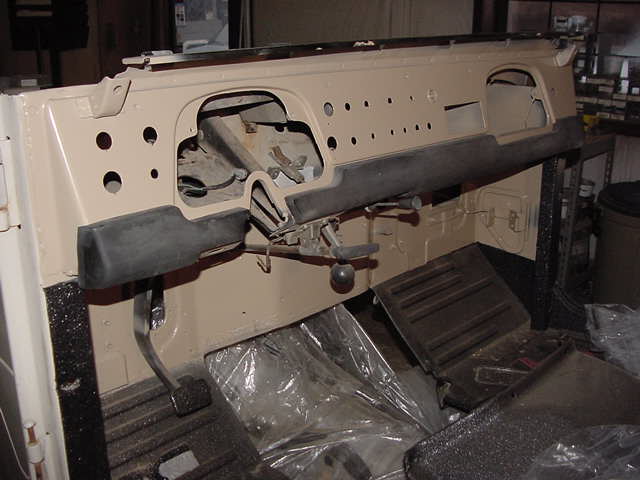
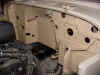
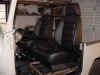
| Scott
had the body done somewhere else but they did not do the interior so I
decided to touch up everything I could for a more finished truck when I
delivered it to Scott. |
 |
 |
 |
 |
 |
 |
 |
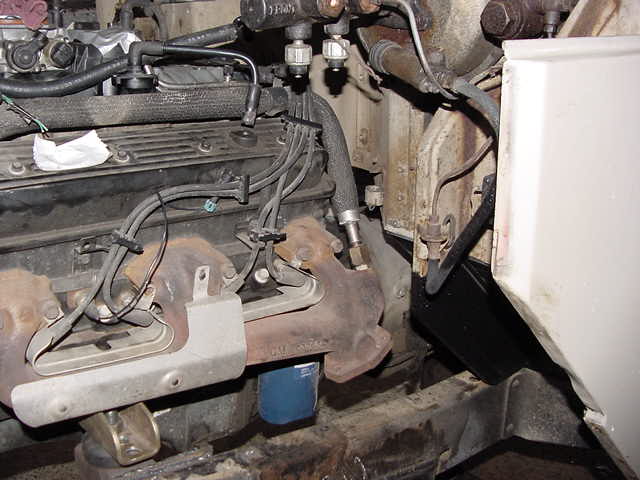
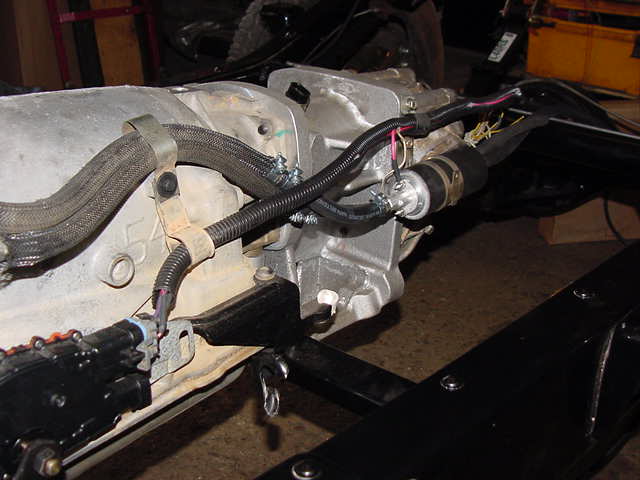
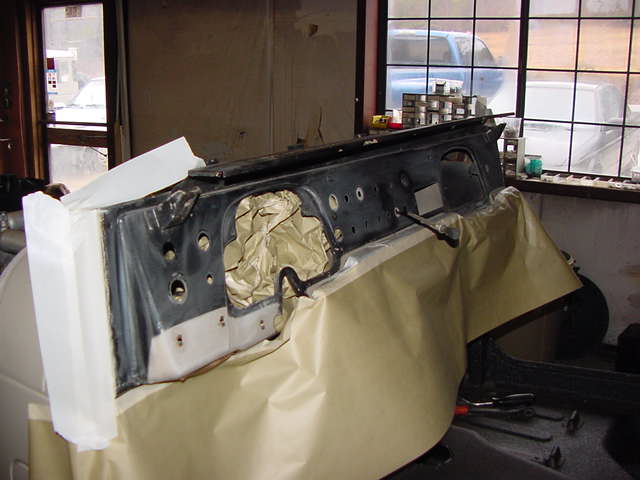
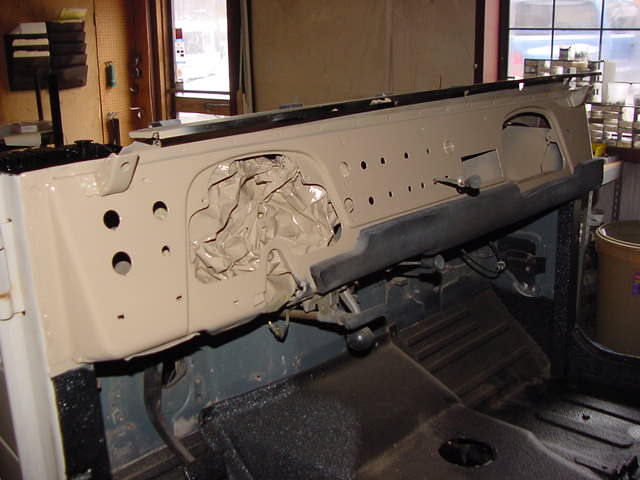
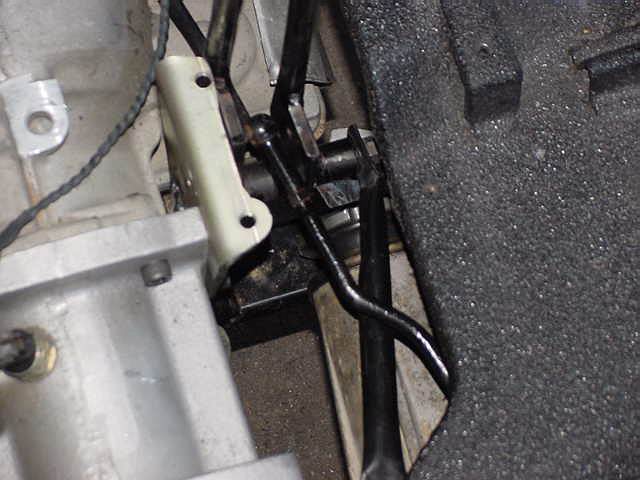
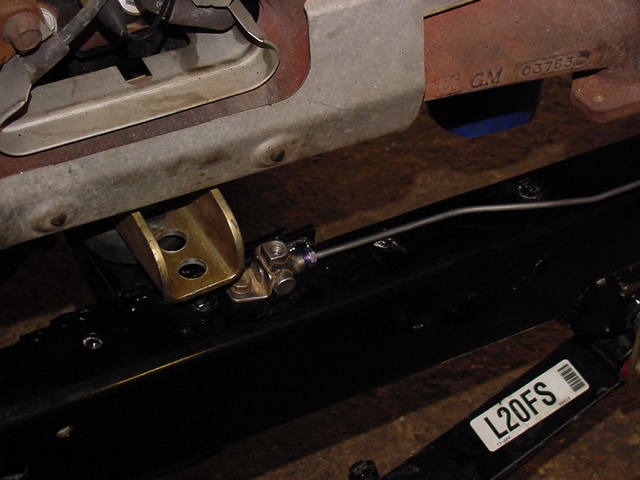
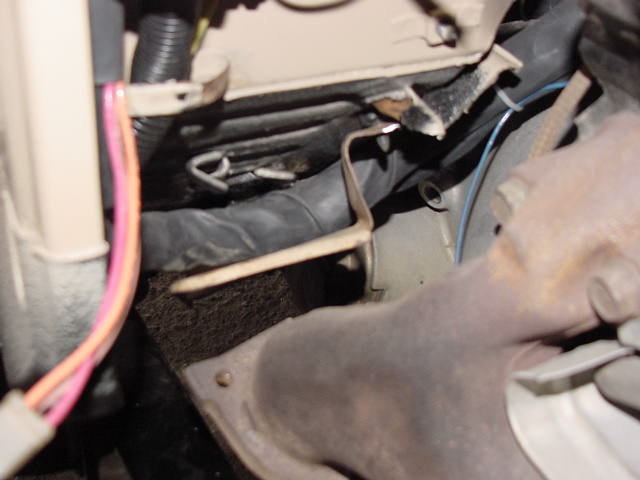
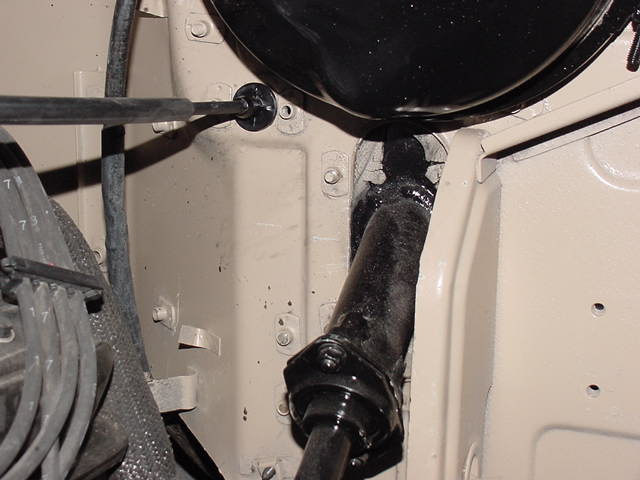
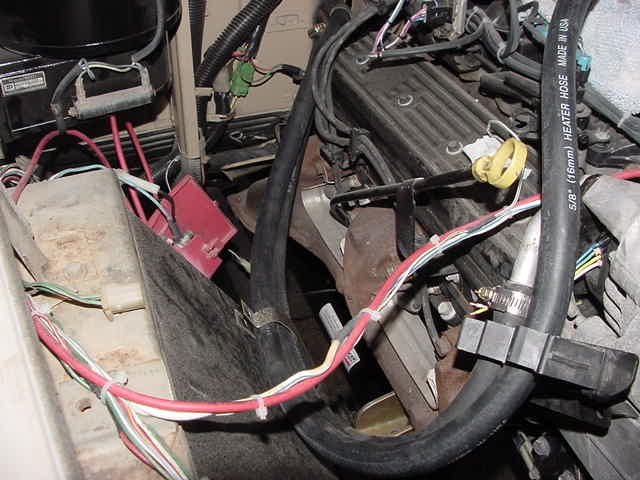
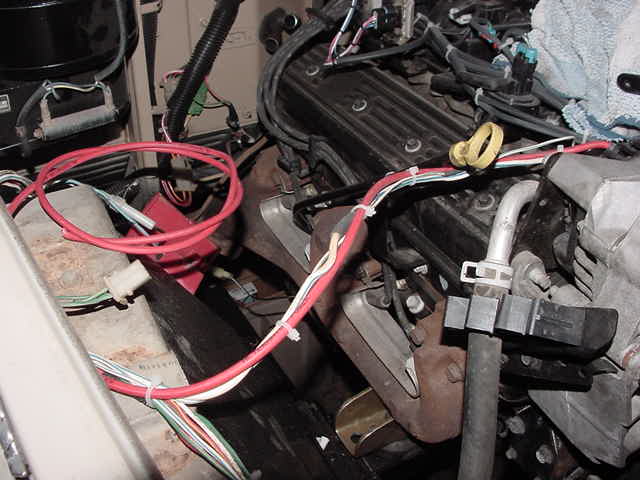
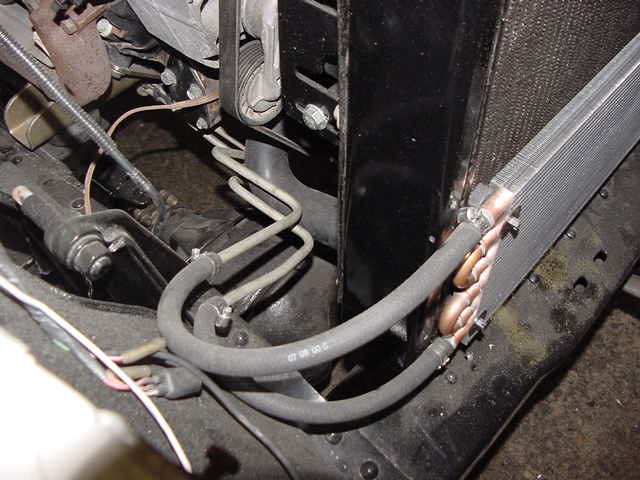
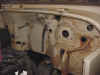
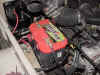
The
custom brake lines really help to clean up the firewall. I fab'd a
heat shield for the harness and the heater hose pipes. |
| With
the tub fitted and everything clearing the bolt up phase begins. |
 |
 |
 |
 |
 |
 |
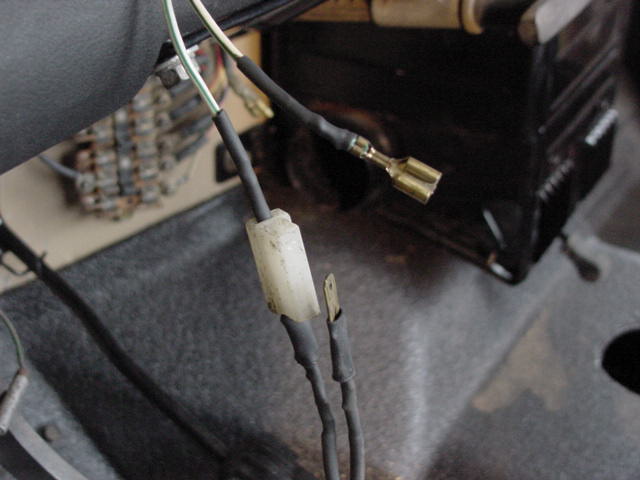
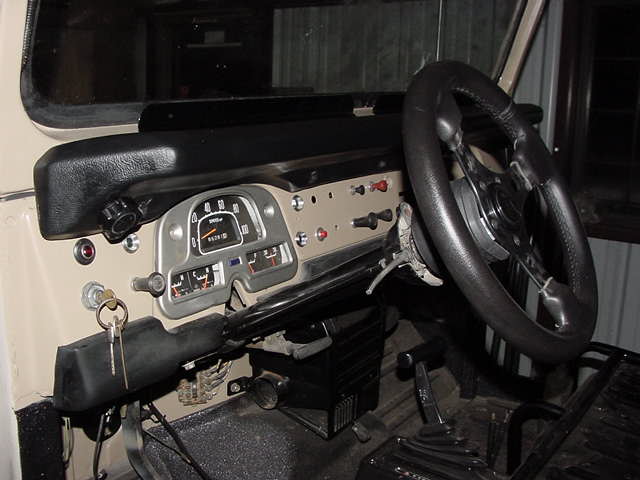
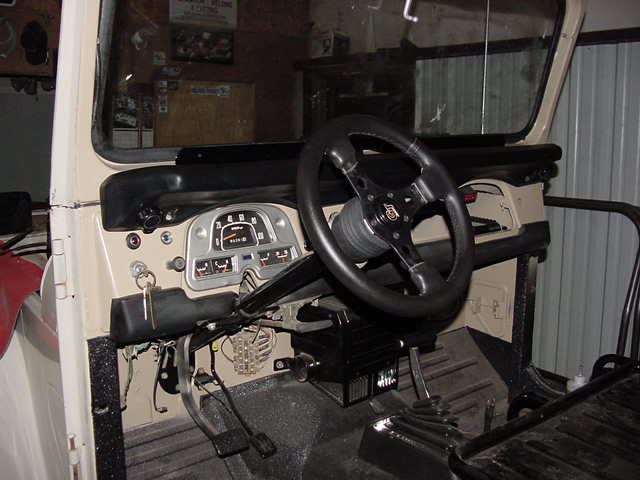
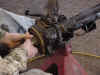
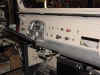
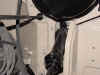
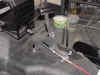
The
steering wheel presented many interesting hours of scratching my head on
how to get an early model horn button to work since the shaft is the
ground. Any suggestions? |
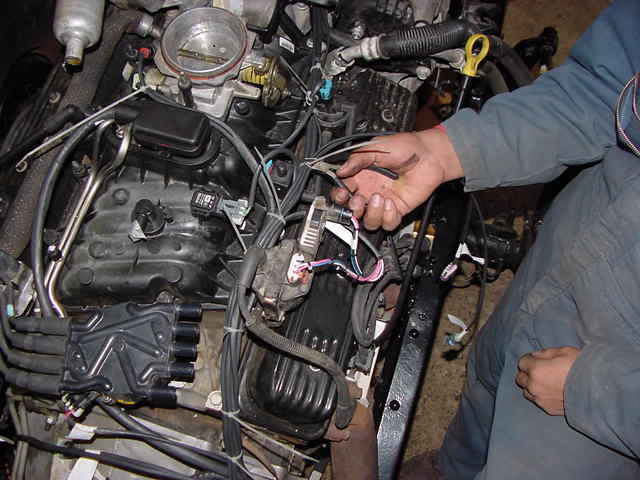
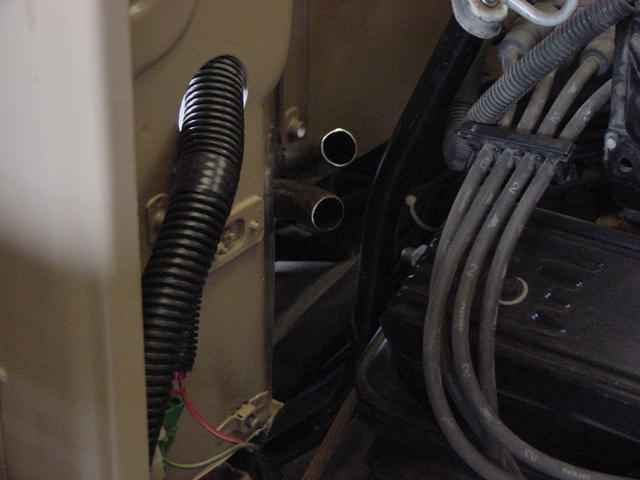
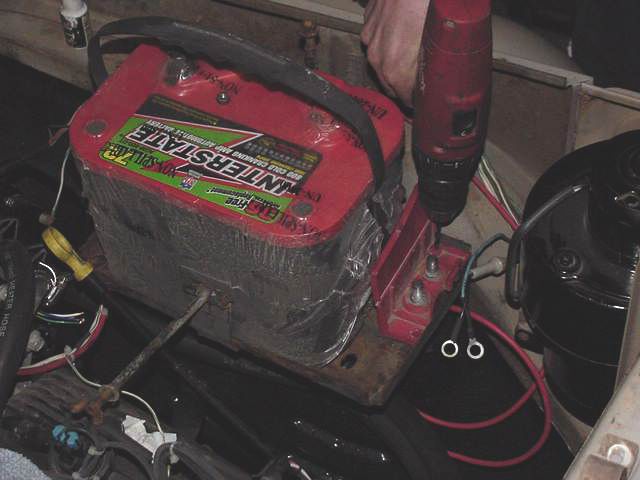
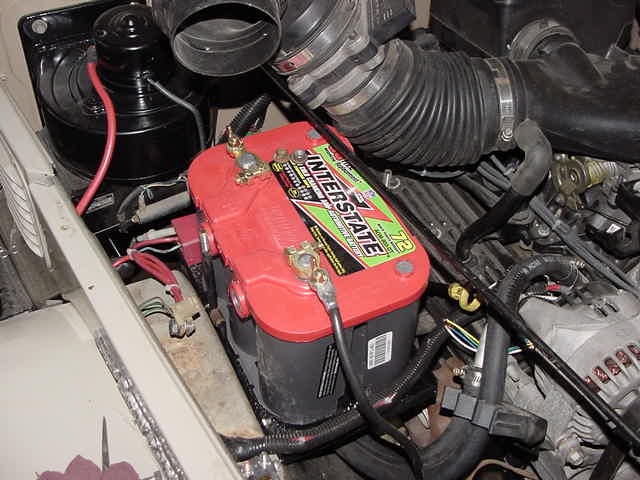
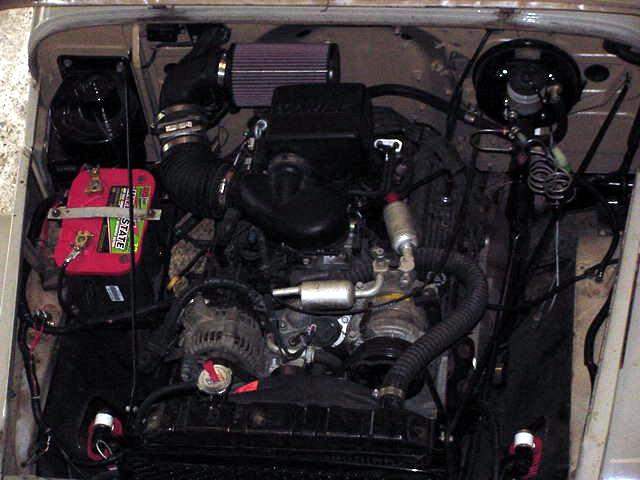
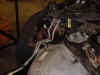
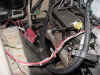
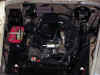
| We
lined the fenders and put together the engine compartment. The
alternator wires, hoses, and battery box were put in next. |
 |
 |
 |
 |
 |
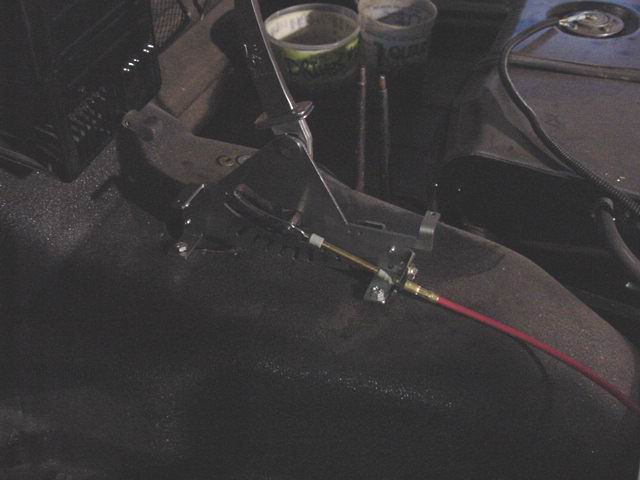
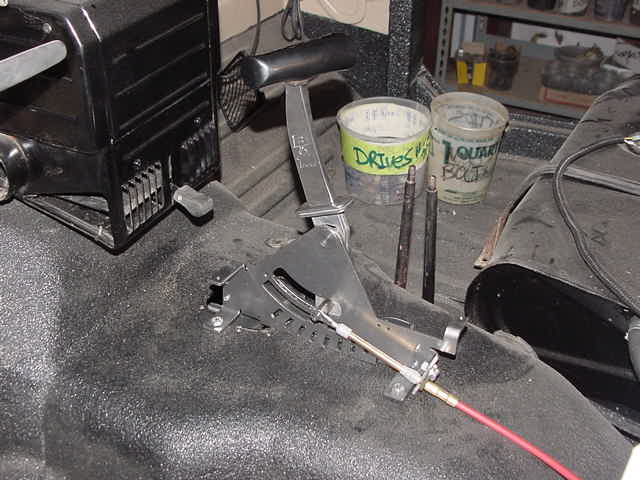
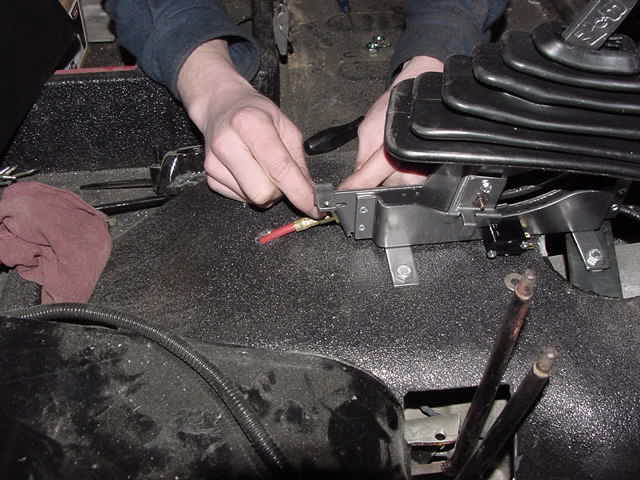
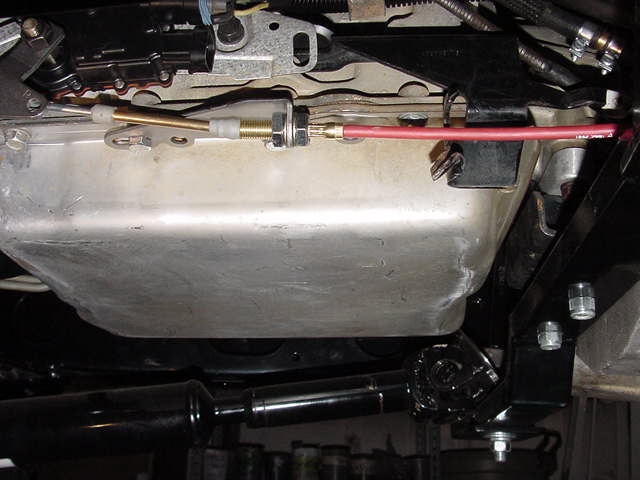
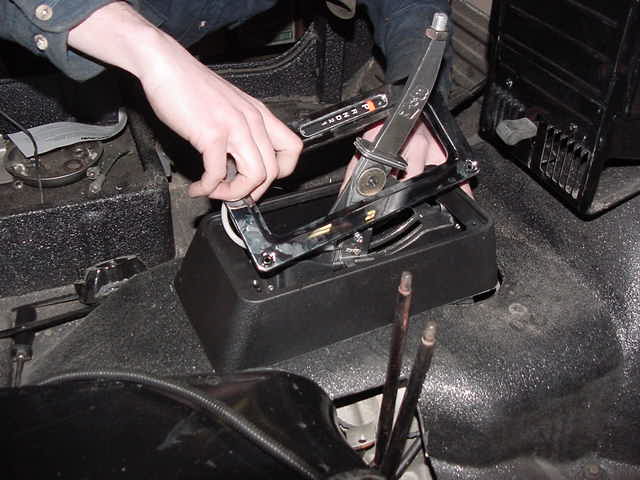
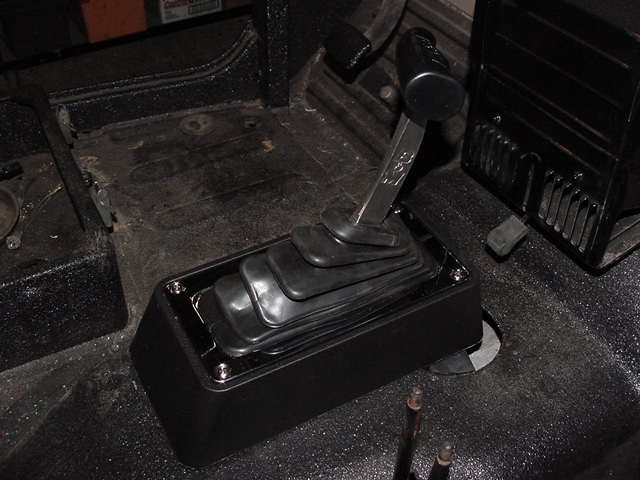
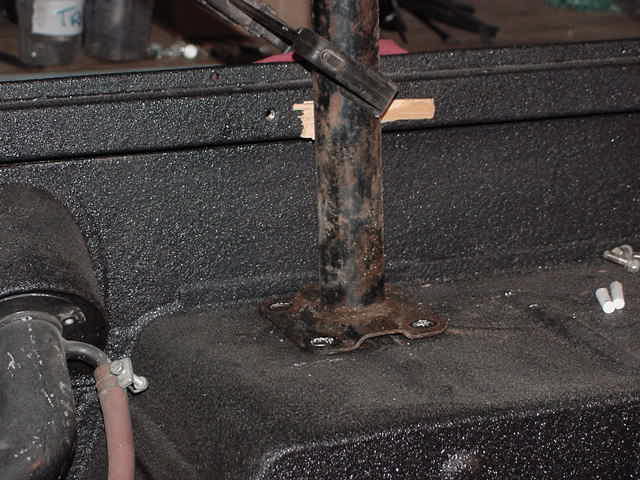
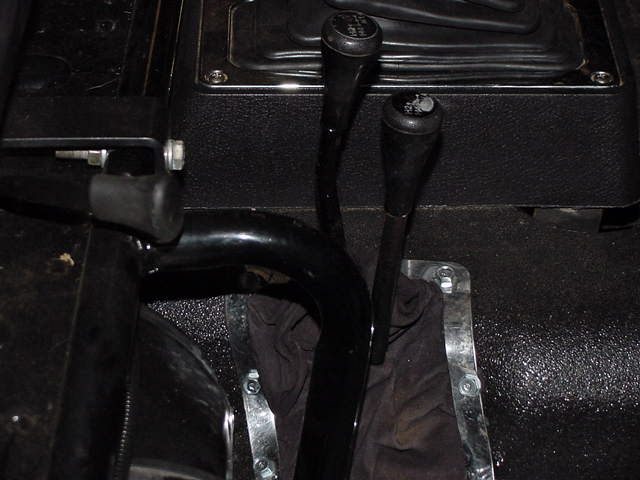
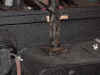
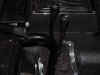
| We
decided to use a B&M shifter which pleasantly surprised me with the
correctness and ease of operation and shifting. |
 |
 |
 |
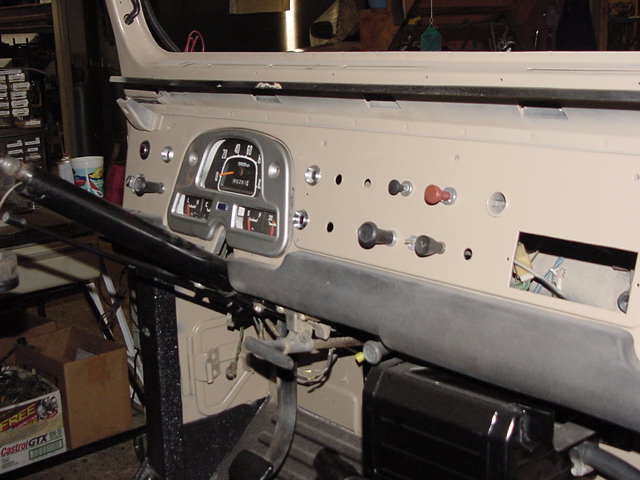
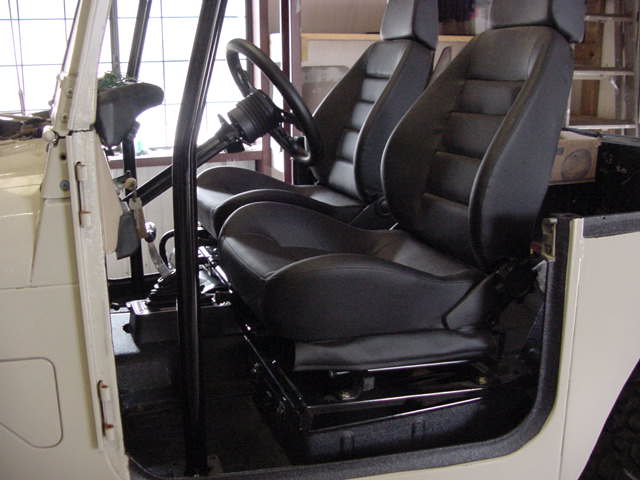
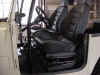
| Fitting
the seats from Corbeau and getting the dash lined out. |
 |
 |
 |
 |
 |
 |
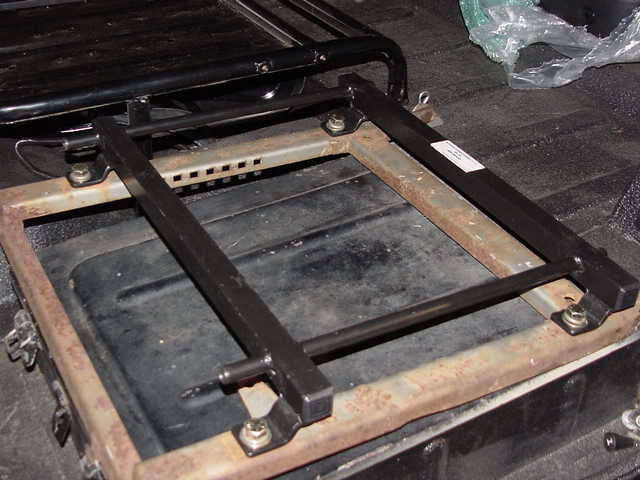
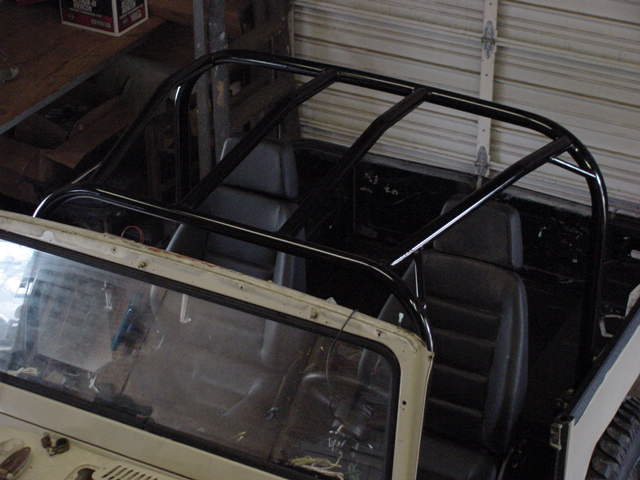
Since
early models are devoid of roll cage parts we retrofitted a late model
cage and a front cage assembly. |
| Finished
the cage welding and installed it and the seats the final time. |
 |
 |
 |
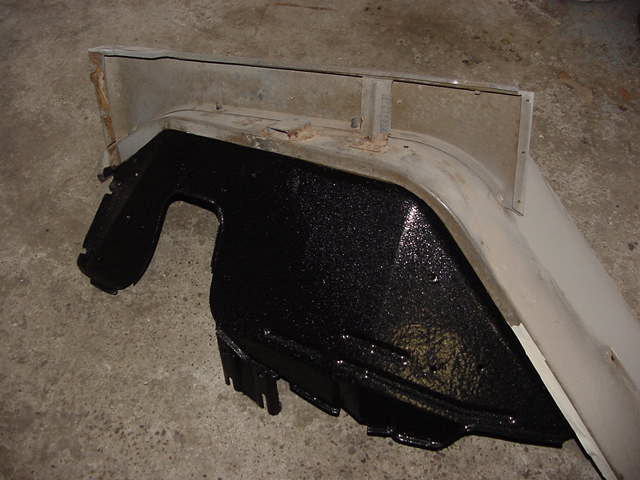
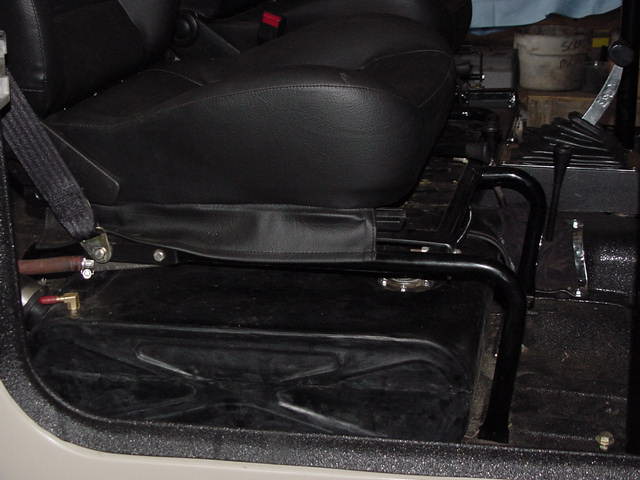
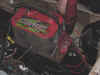
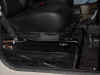
| We
tried to use the stock tank but it was too rusted, so we went with a
poly kit. The engine bay is done as are the shifters. |
 |
 |
 |
 |
 |
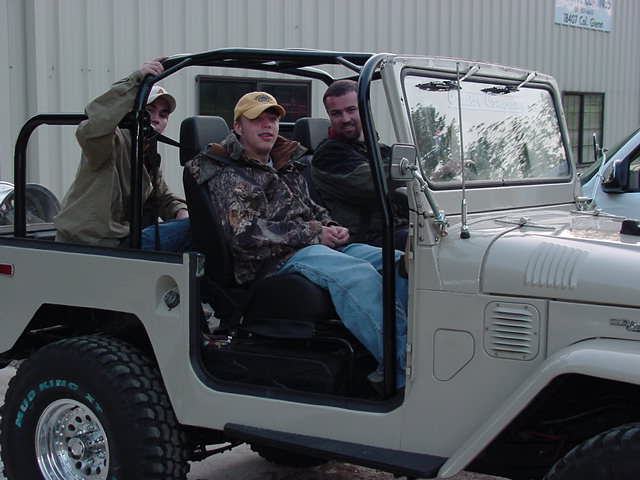
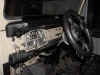
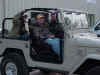
Scott
and his son driving off. |
The Cruiser Company
Copyright © 2000 The Cruiser Company. All rights reserved.
Sunday, December 19, 2010