|
| Home | About Us | News @ CruiserCo | Services | Parts | Current & Past Projects | Readers Rides | Classifieds | Links | |
![]()
|
| Home | About Us | News @ CruiserCo | Services | Parts | Current & Past Projects | Readers Rides | Classifieds | Links | |
![]()
 |
 |
 |
 |
 |
 |
 |
 |
 |
 |
 |
 |
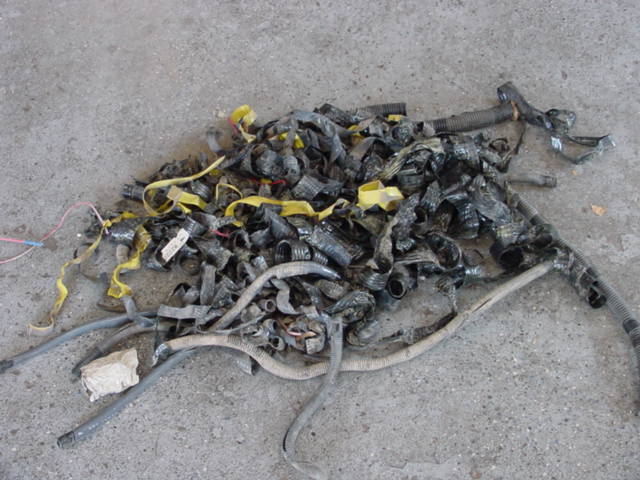
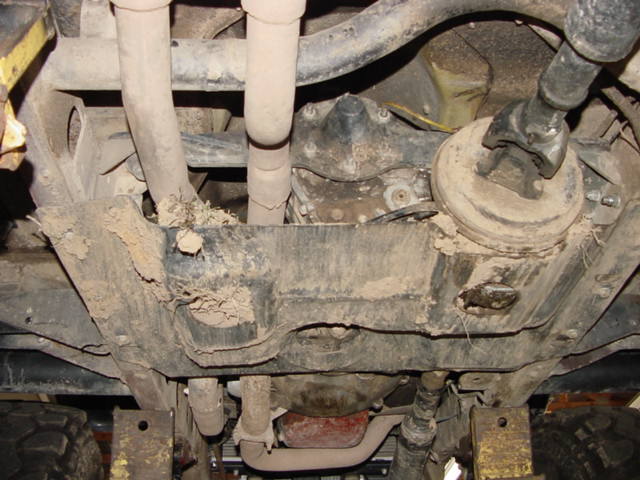
I charge several hundred dollars to wash the mud off.....
 |
 |
 |
 |
 |
 |
 |
 |
 |
 |
 |
 |
 |
 |
 |
 |
 |
 |
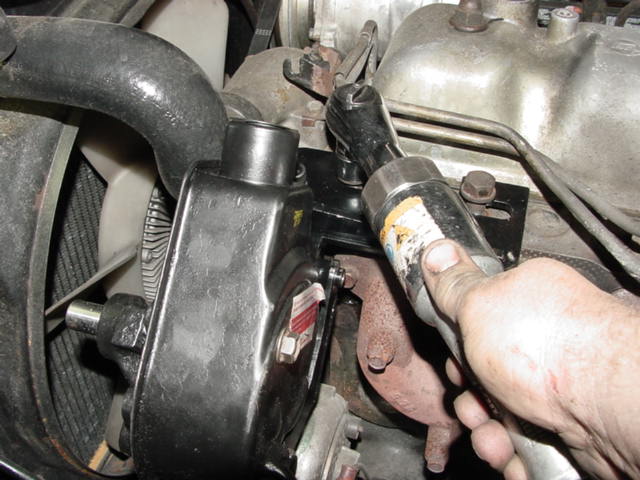 |
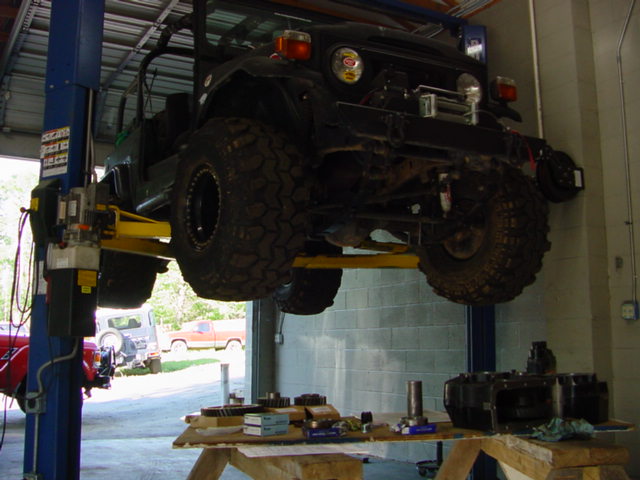
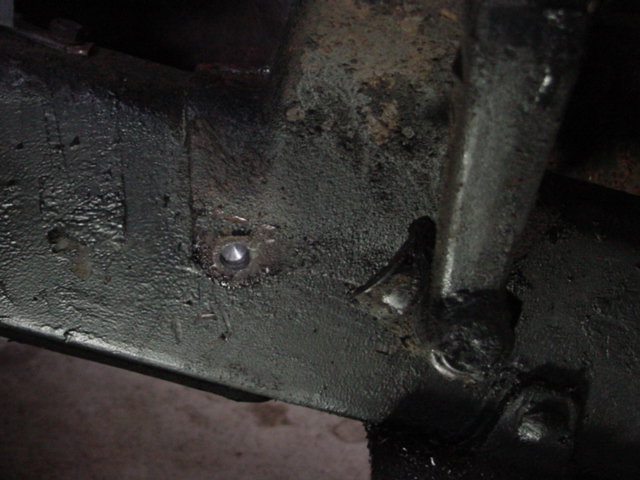
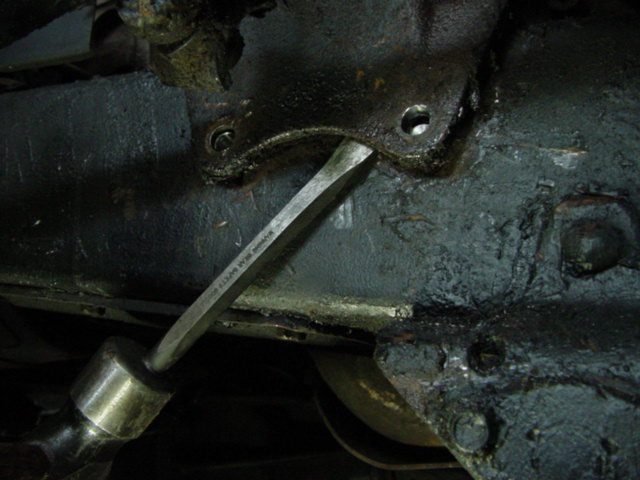
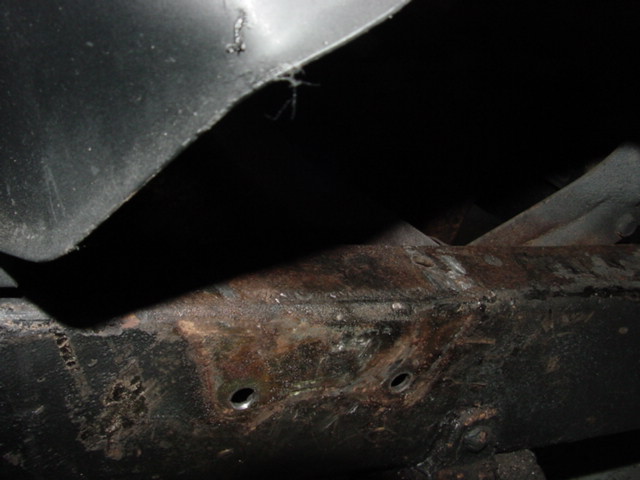
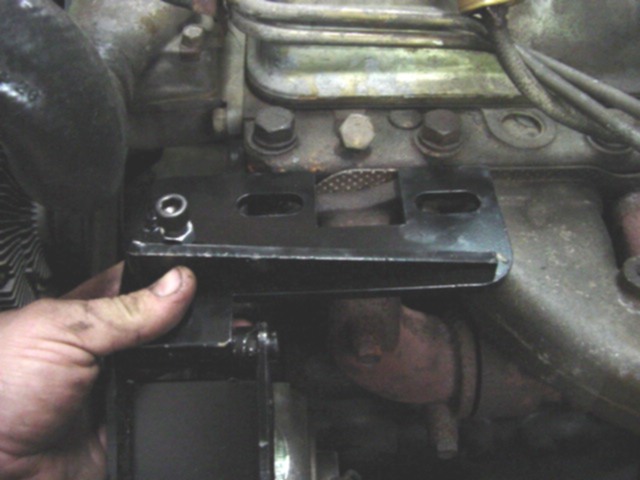
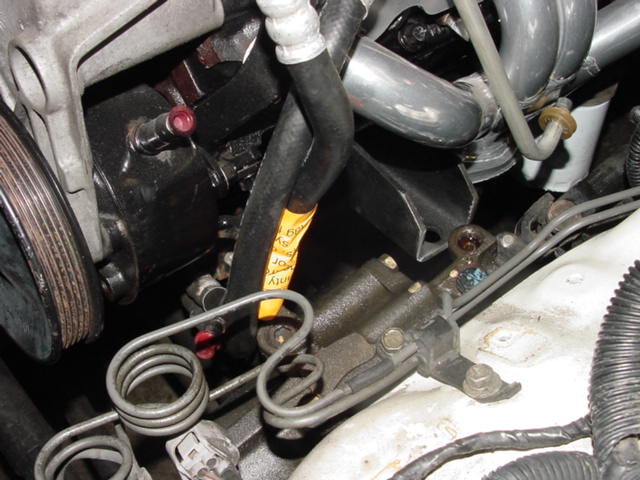
We use a air chisel to knock the heads of the rivets off and then pry off the mount and flush the rivets afterward with the frame. Pretty straightforward conversion, the only addition I made to it was the adjusting nut for the pump bracket. The design is horrible to access so I slotted the top of the bolt and use a screw driver to tighten it and then lock the nut down.
 |
 |
 |
|
 |
 |
 |
 |
 |
 |
 |
 |
 |
 |
 |
 |
 |
 |
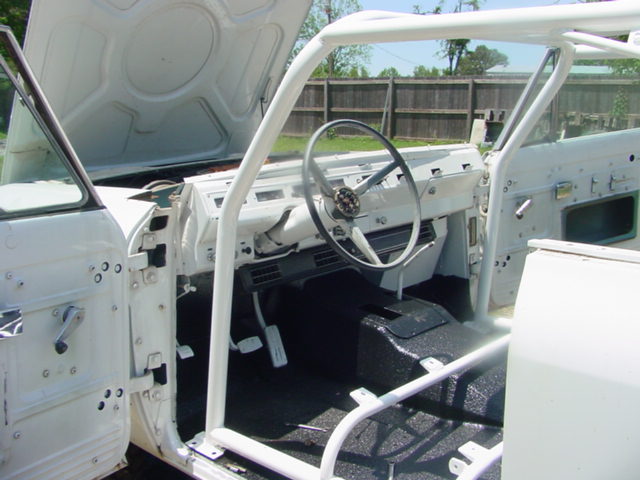
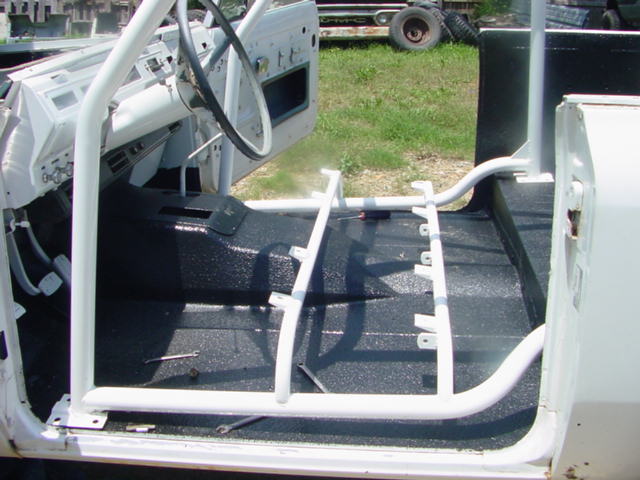
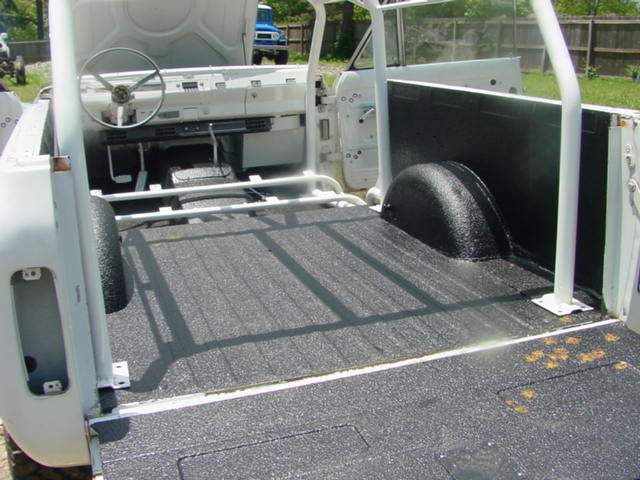
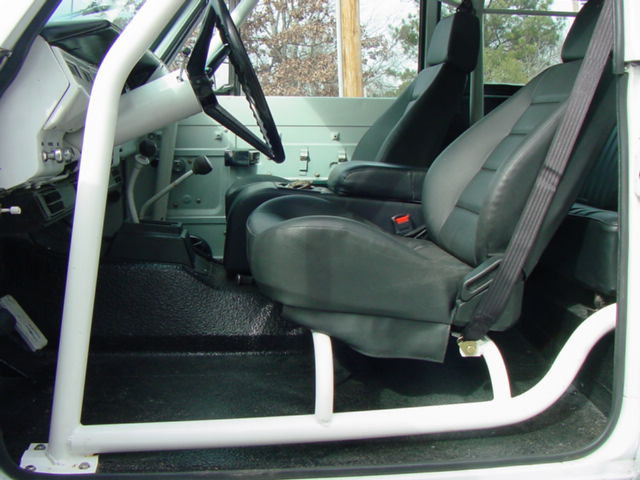
Man sometime I want to smack myself. We did alot to this truck but I only have a few pics. Lets see Pearl White Paint job, full roll cage (look familiar?), liner application to the inside of truck, top and rocker panels, then painted over...new springs and suspension, our front and rear bumpers, a large storage box molded to fit the back seat and we did some engine work. Turned out awesome....
 |
 |
 |
 |
 |
 |
 |
 |
 |
 |
 |
 |
 |
 |
|
 |
 |
 |
 |
 |
 |
 |
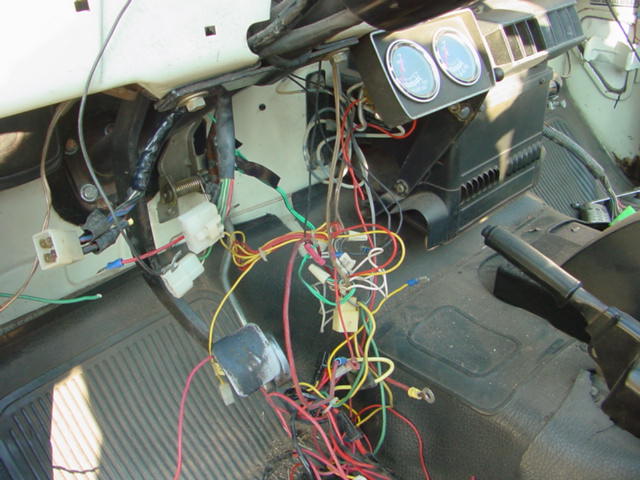
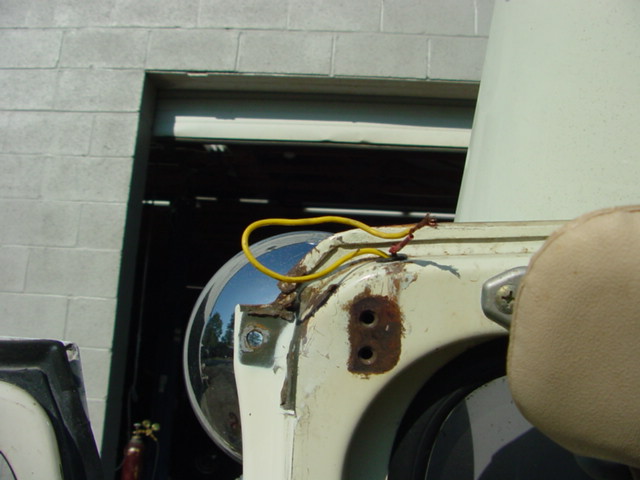
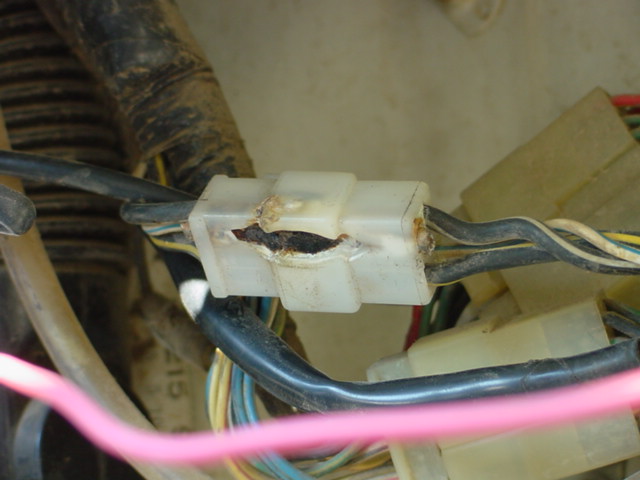
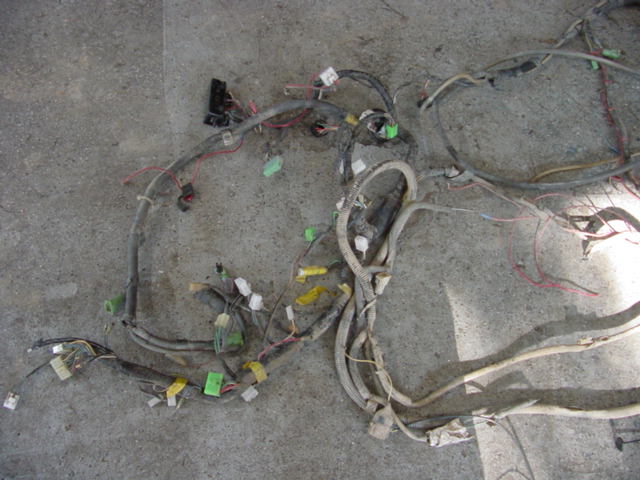
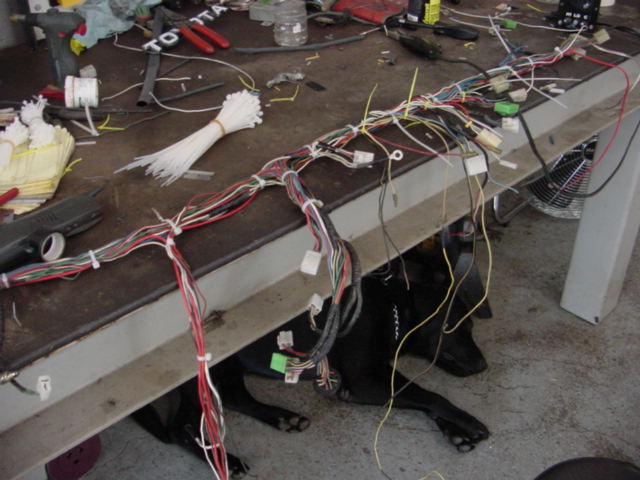
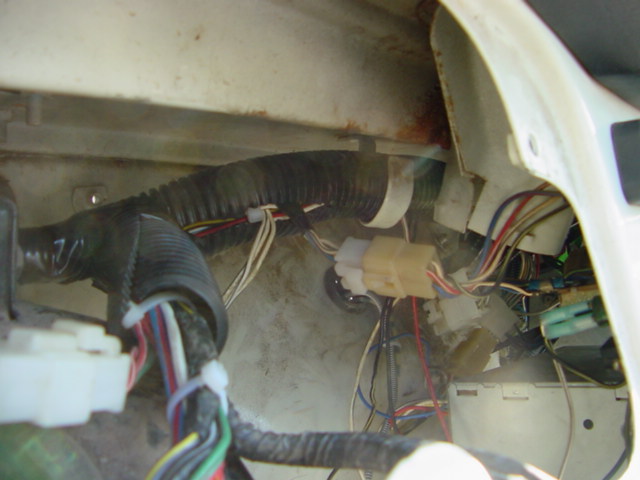
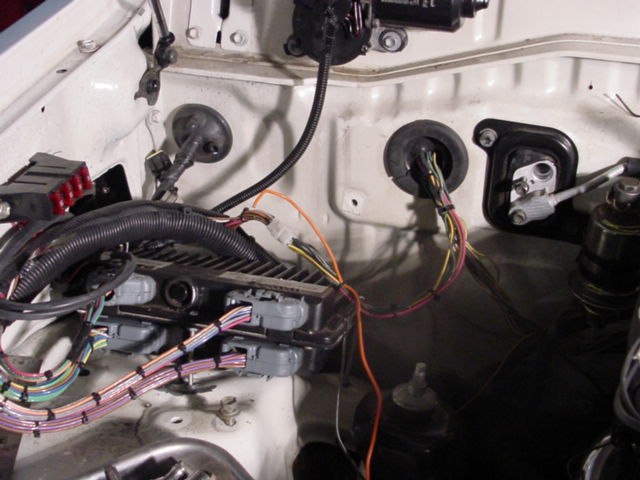
This is typical of what I see. The owner has thrown his hands up and given up on trying to cobble things together. Jason came to me with all kinds of electrical problems and you can see why. We mapped out his truck with all the electrical circuits and made the appropriate changes to the harness to lay out the best way possible. I wired in the sound system factory style with front and rear channels, wired in the neutral safety and reverse micro switches into the rear harness like factory and tucked away all the wiring back to factory positions.
 |
 |
 |
 |
 |
 |
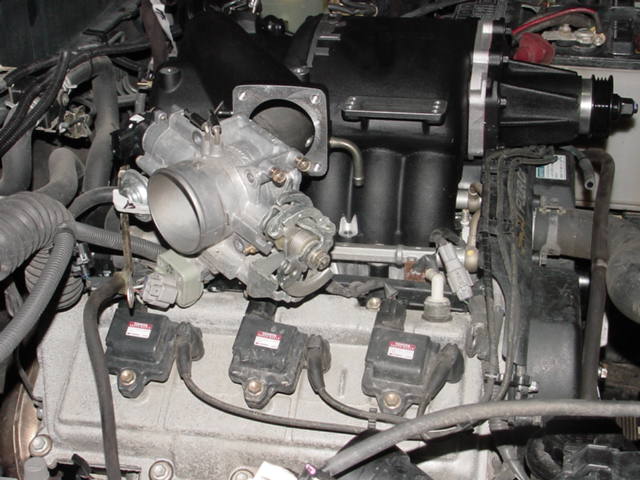
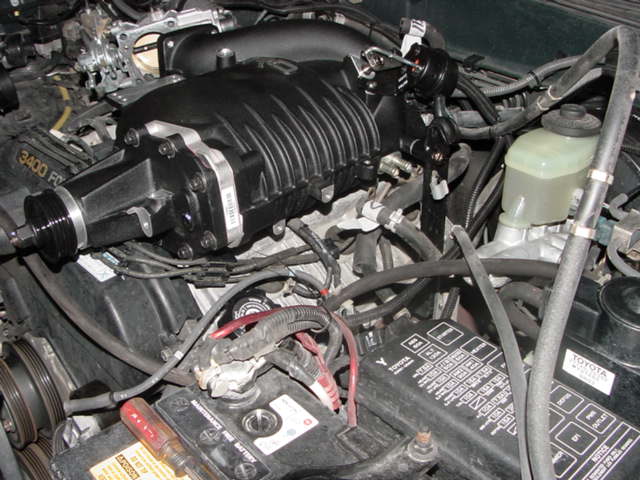
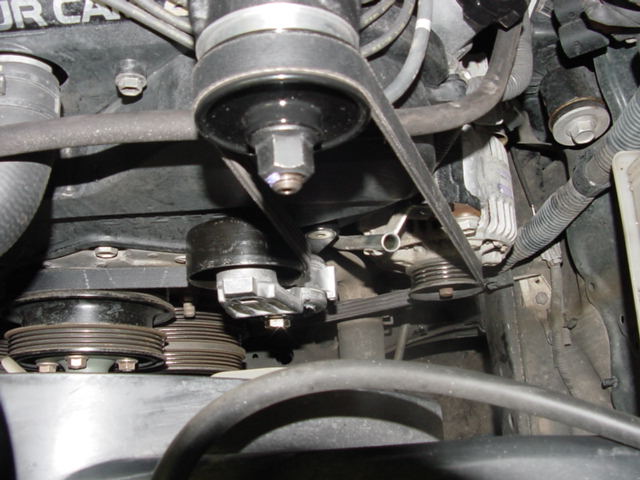
Here we have some pics from the installation of a TRD supercharger setup on a 2000 4 runner owned by Felton Rhodes. In addition, more pics coming, we upgraded the valve body torque converter in the transmission, installed an extra cooler for the tranny and installed a TRD exhaust system. Unfortunately we are waiting on the Headers to arrive still so again... more pictures coming.
 |
 |
 |
 |
 |
 |
 |
 |
 |
 |
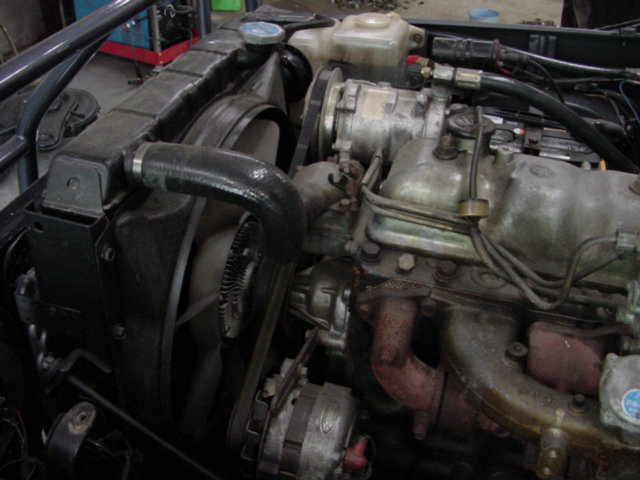
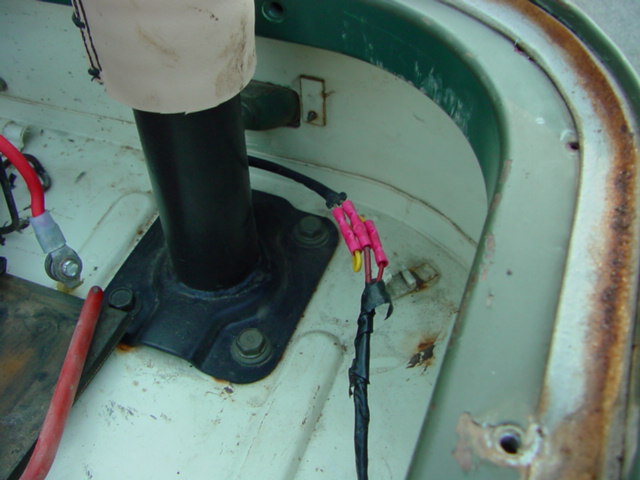
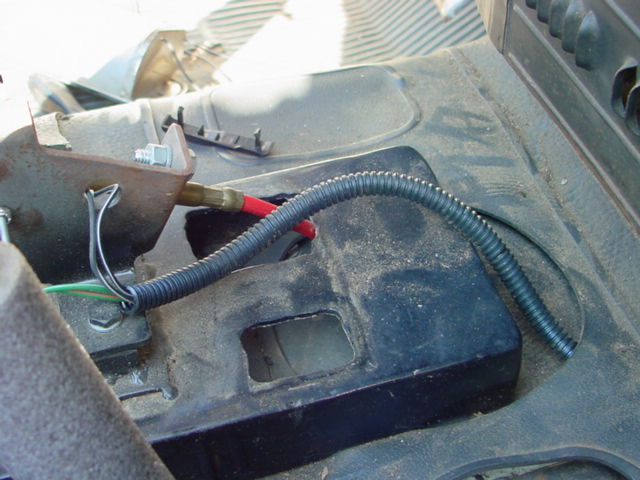
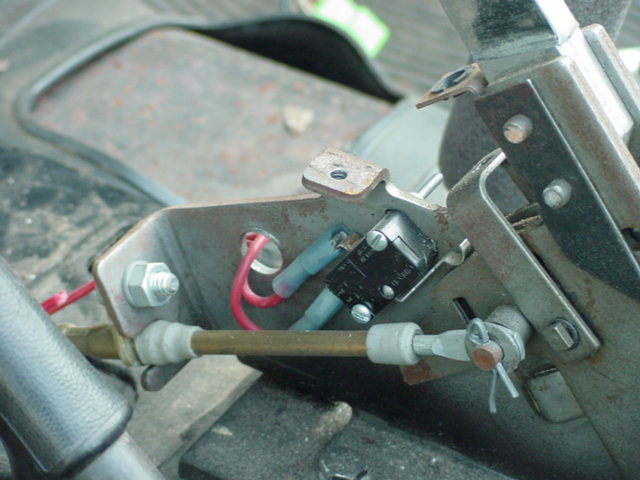
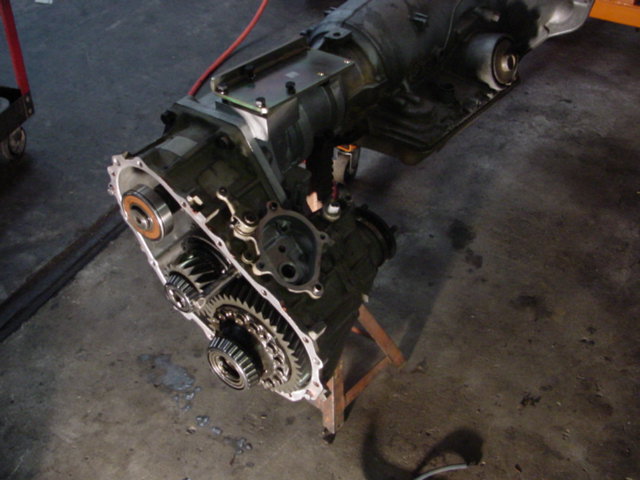
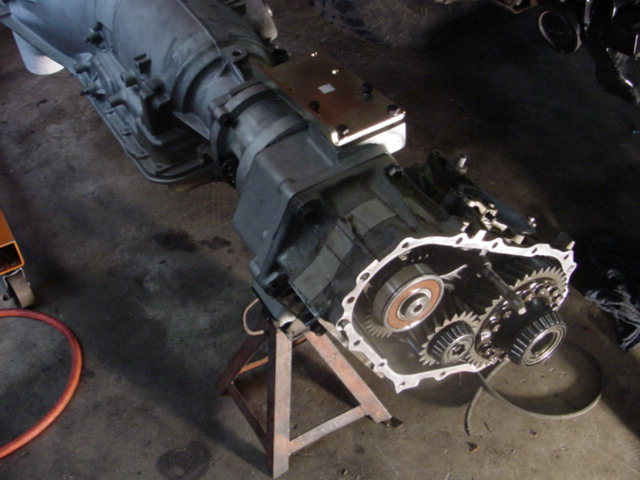
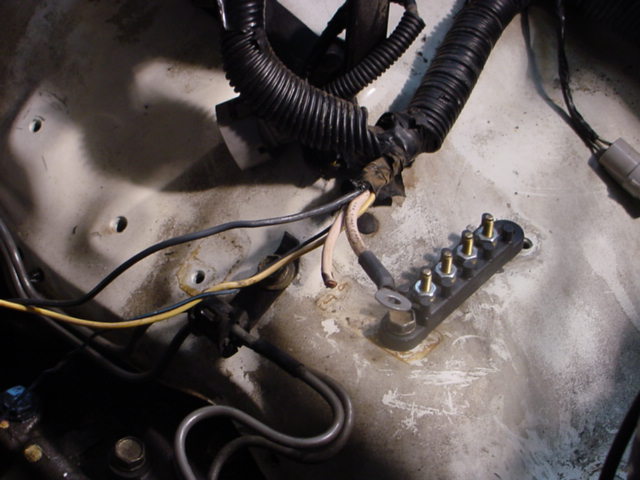
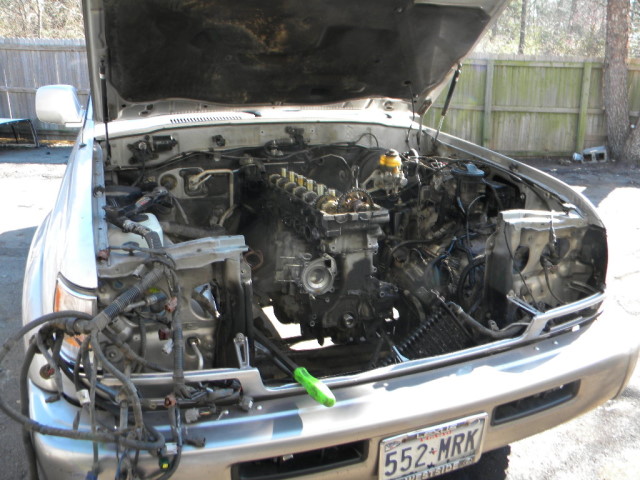
I know I got started late on this pic sequence, I just let it slip my mind, but this sequence shows why people chose us to do their conversion. Pay close attention to how I overcome certain things and I hope it will earn your trust and business! The first pic in the lower row makes me mad. Long story. Short is I got the wrong part and made my measurements from that using the skeleton of the driveline. Wrong parts equal wrong measurements and fit and voila, an extra 4 hours of work and a 4 month wait on the part coming from Aussie Land. Anyway, take note of the wiring I wire it up so the factory system works just fine.
 |
 |
 |
 |
 |
 |
 |
 |
 |
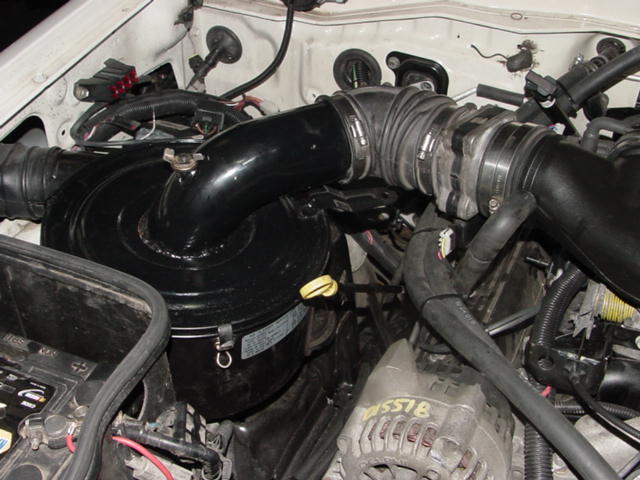 |
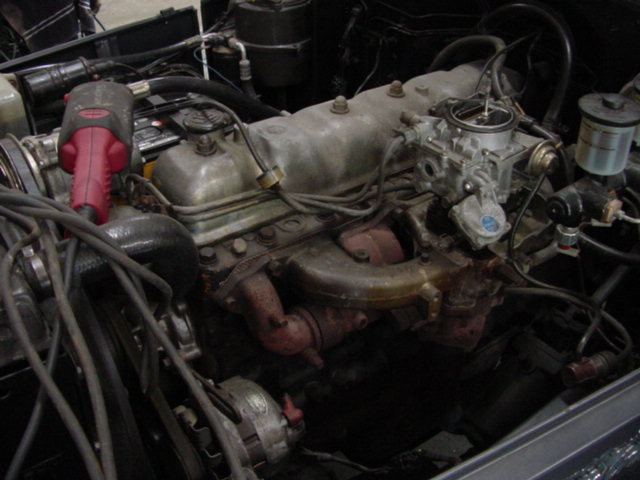
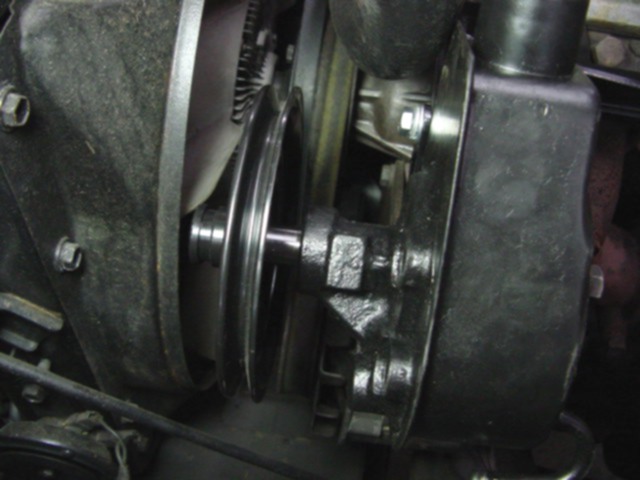
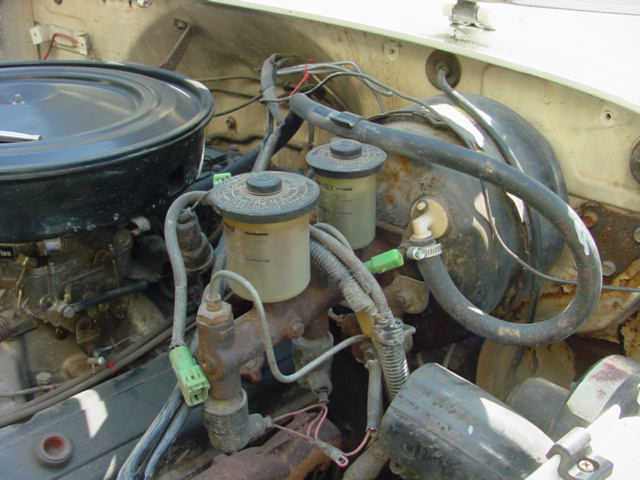
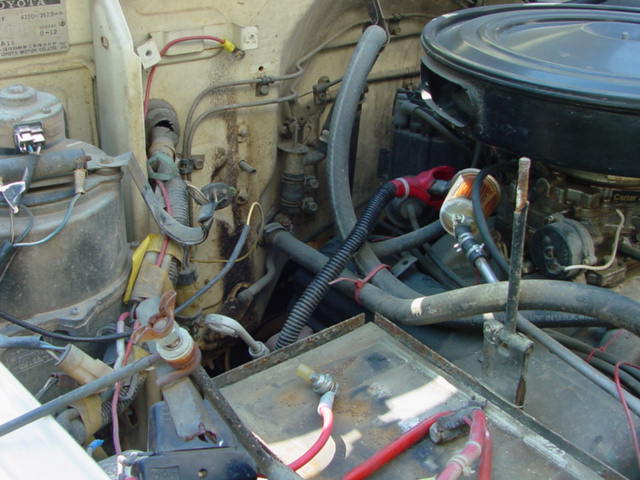
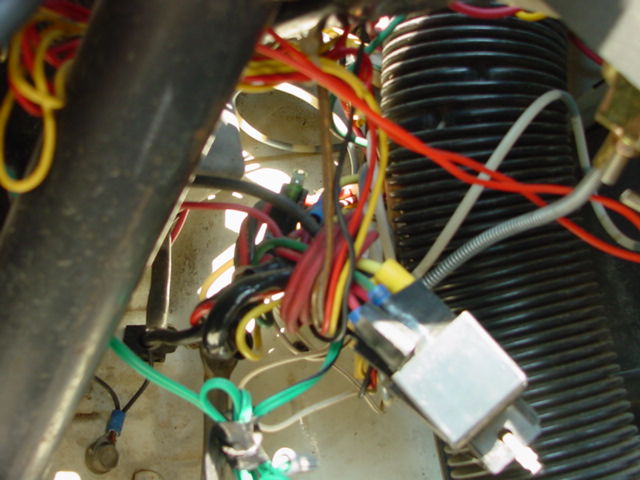
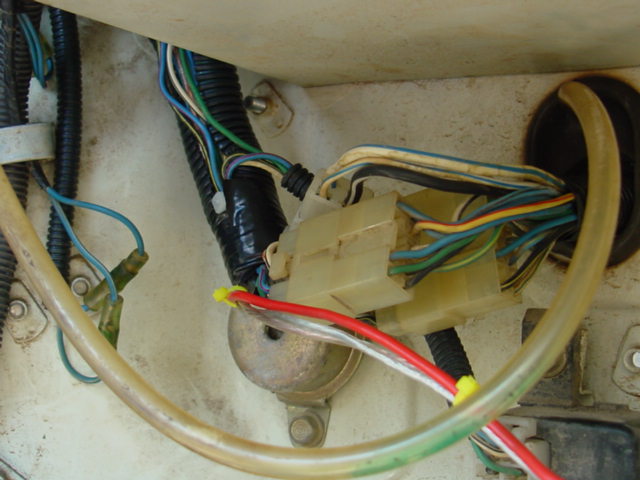
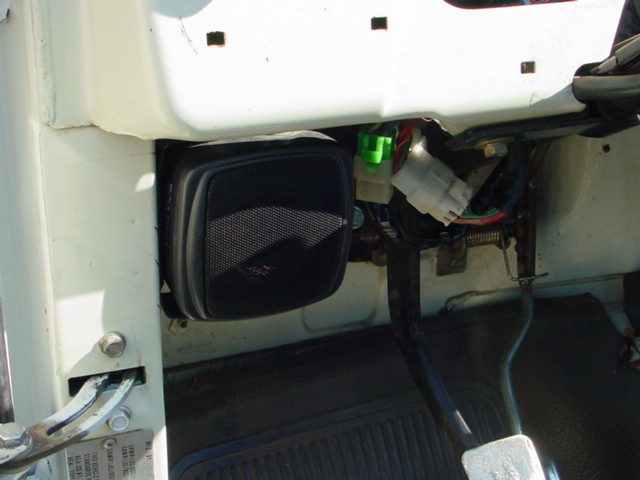
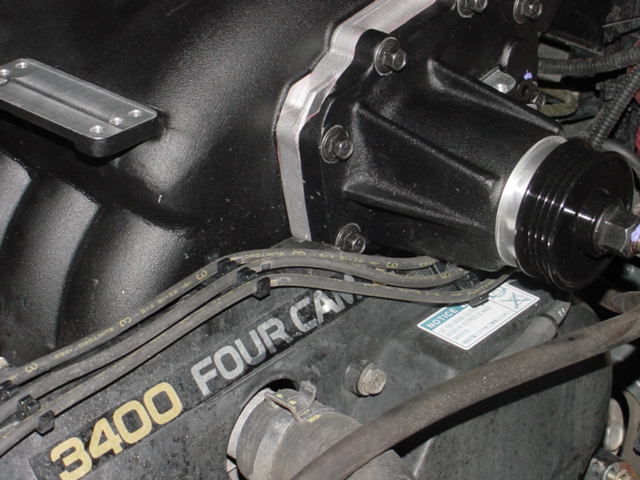
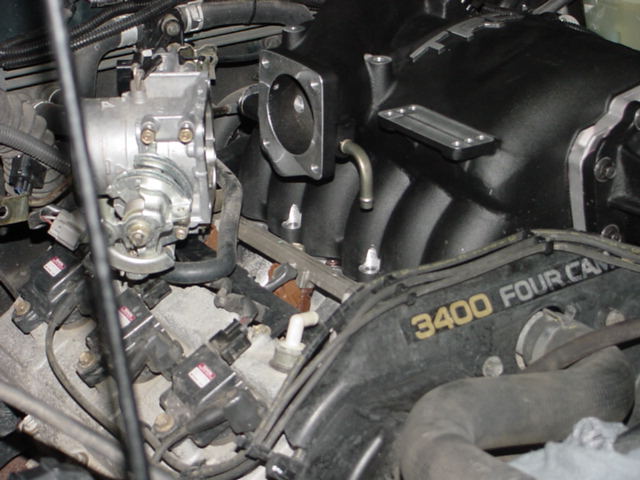
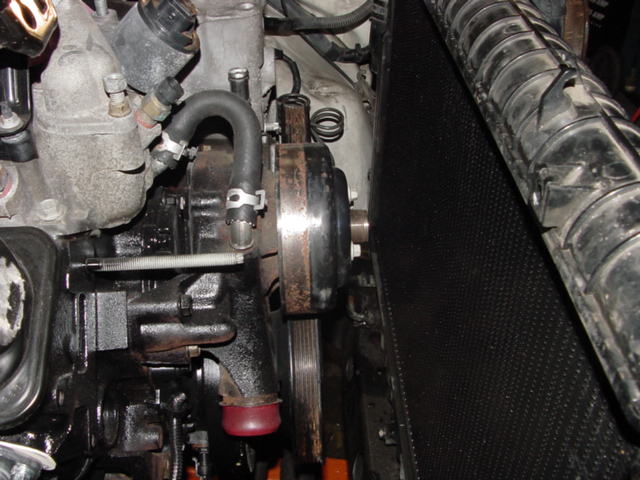
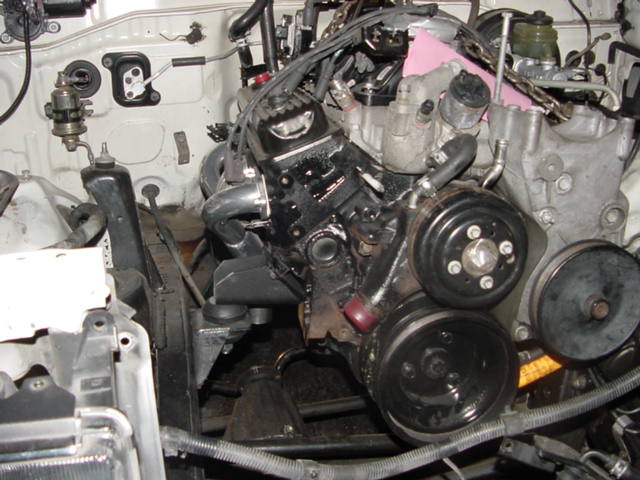
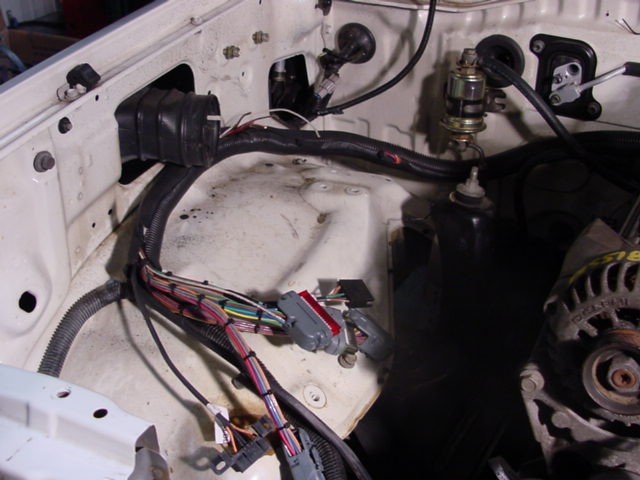
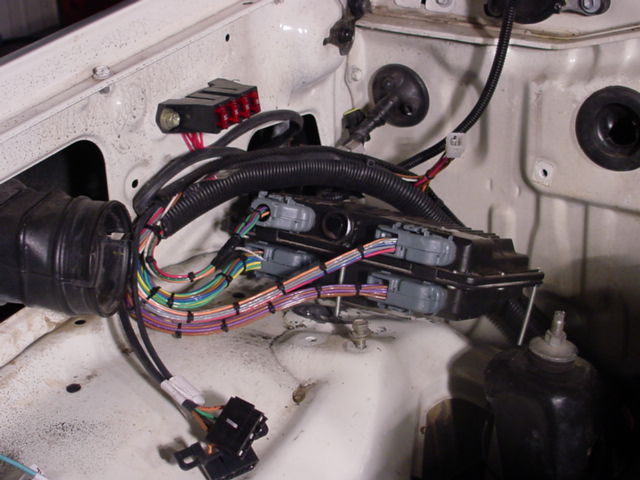
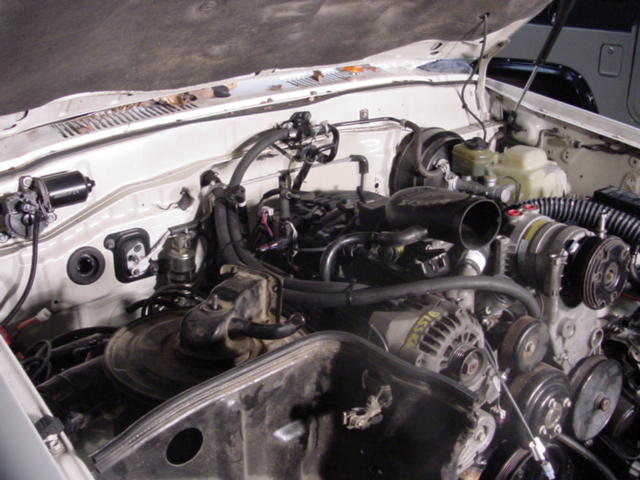
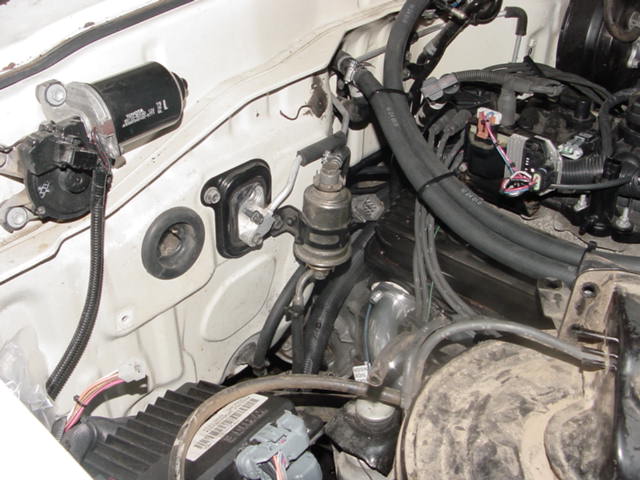
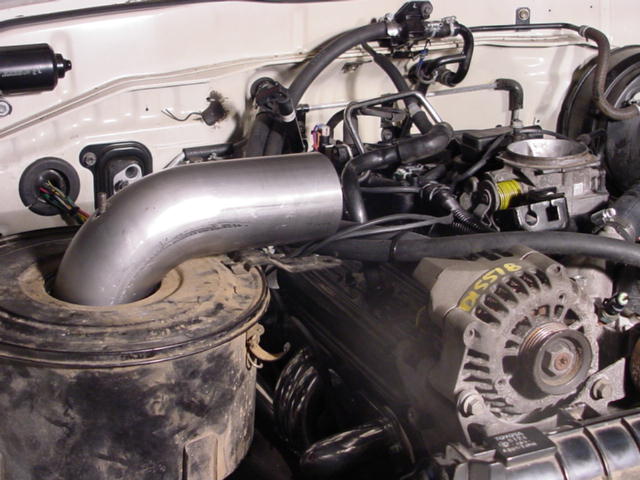
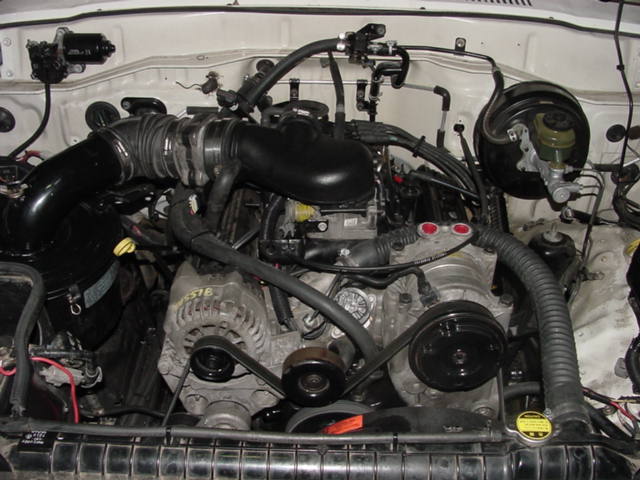
Here you should notice the computer mounting, me making the wiring look like it belongs there, and how I decided to change the location of the fuel filter. Check out how I got the factory air cleaner to work with the conversion in pic 3. This motor can out of van so note how the plenum adapter changed from forward to side flow. This allowed me to remove the factory MAF mounting from the air cleaner assembly and weld in a mandrel bent 3" tube for flow to the Vortec MAF.
 |
 |
 |
 |
 |
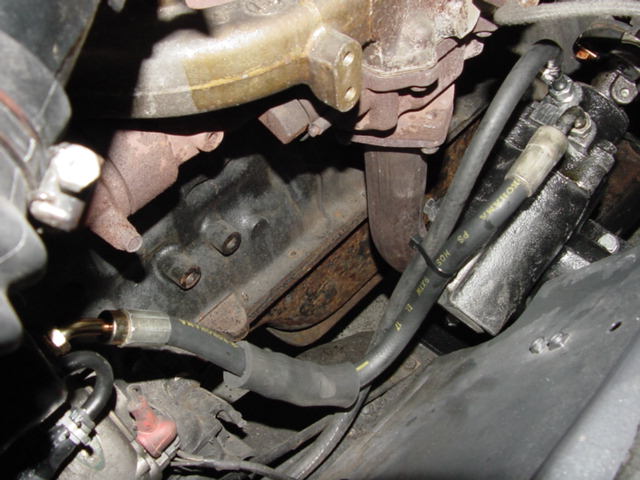
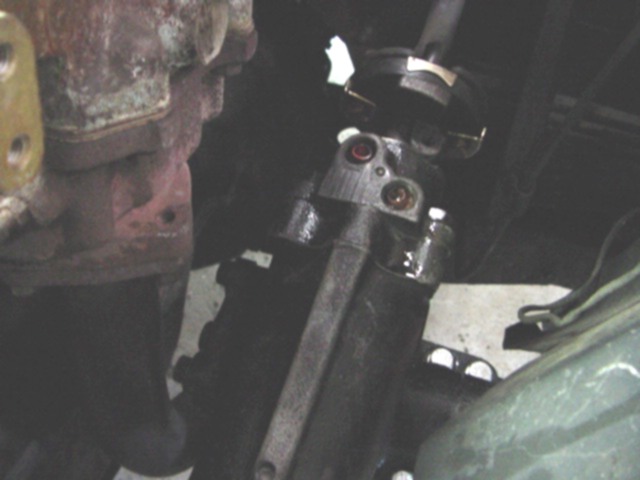
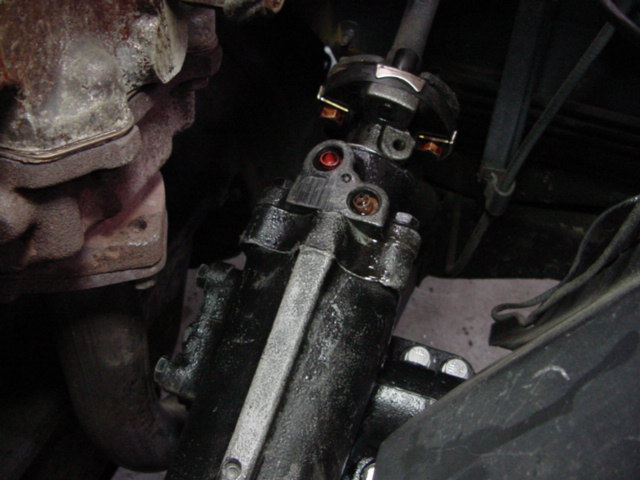
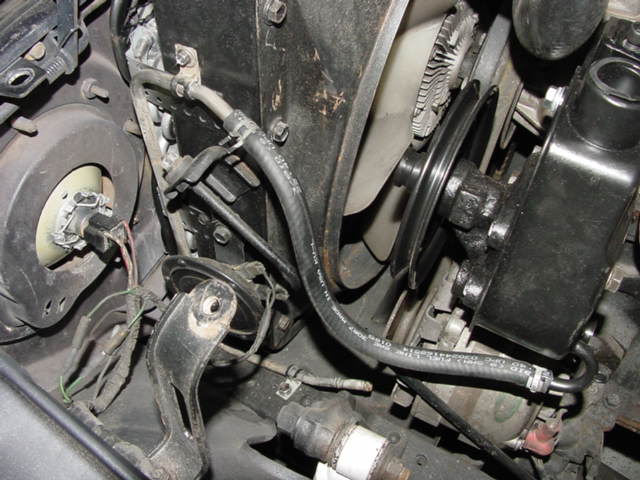
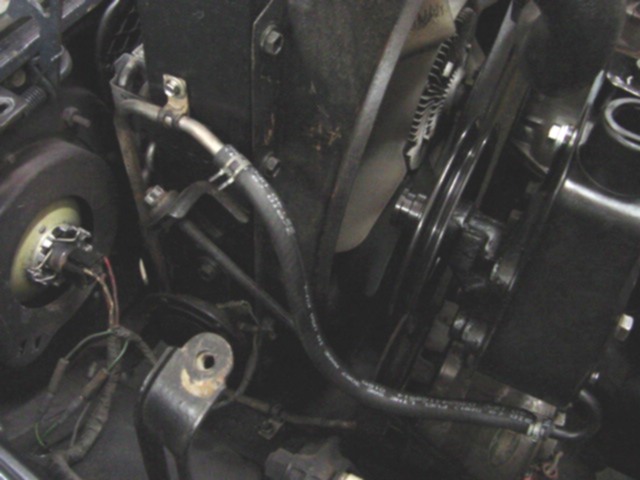
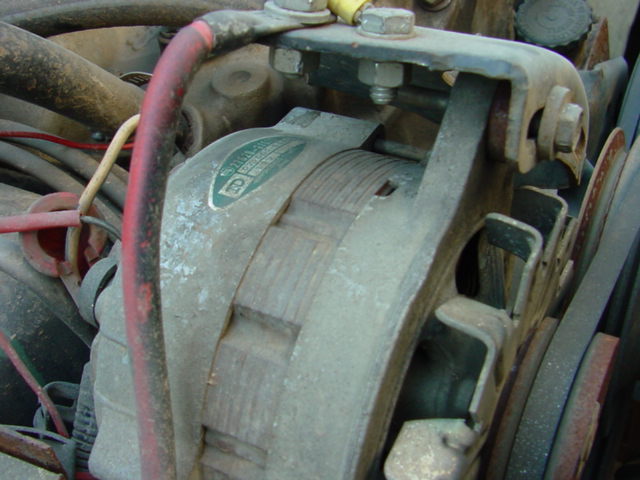
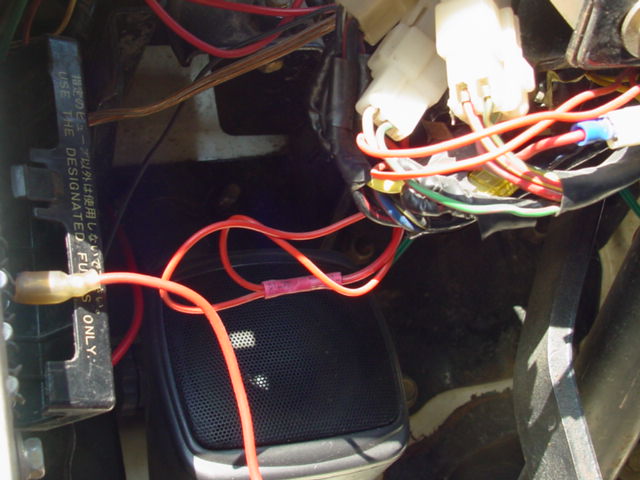
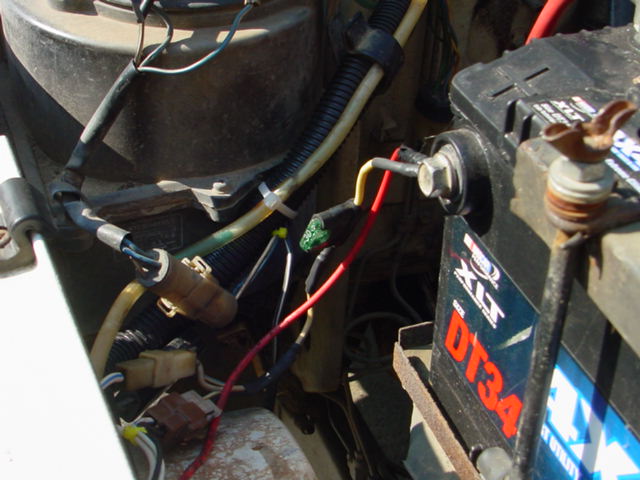
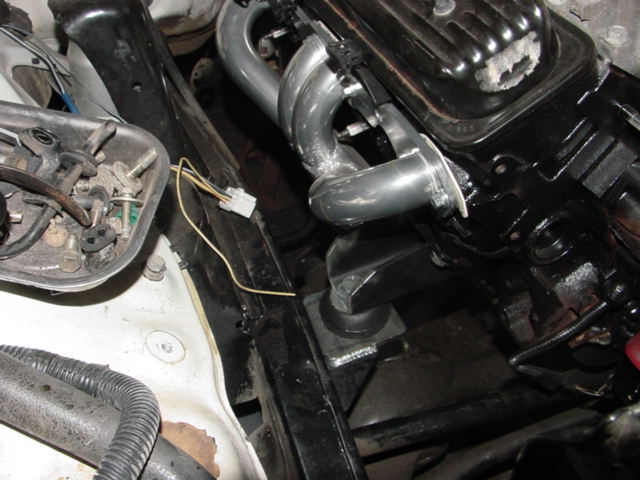
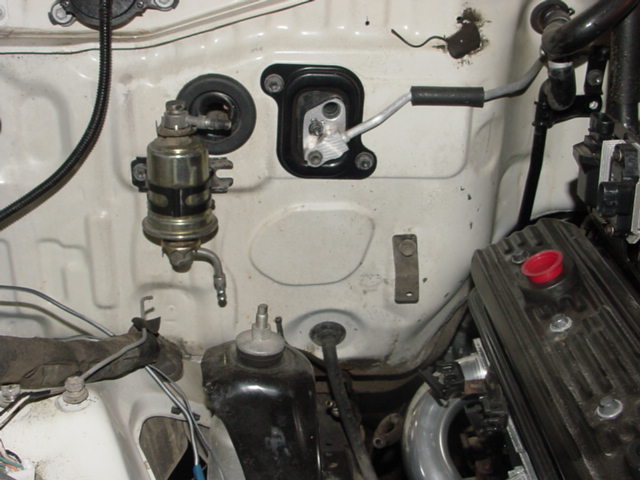
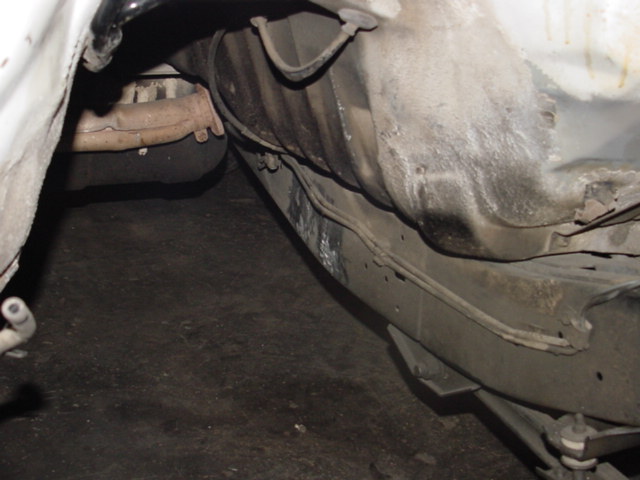
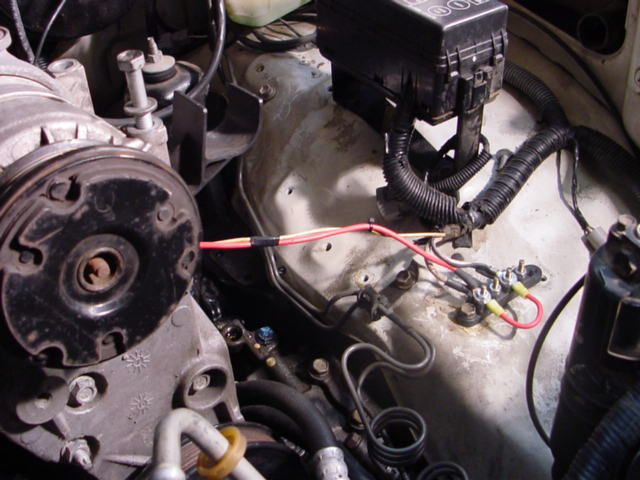
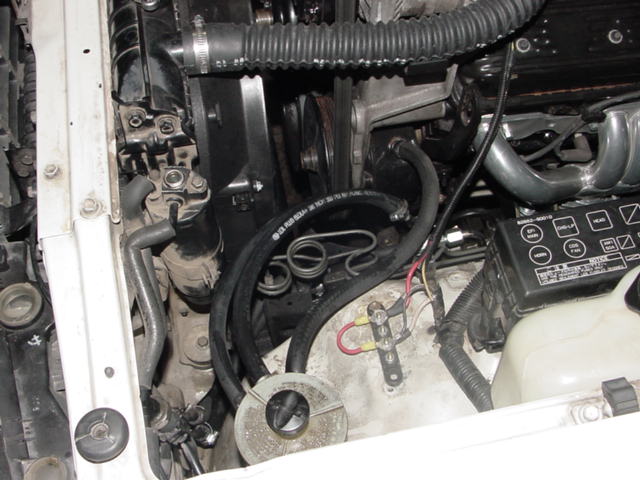
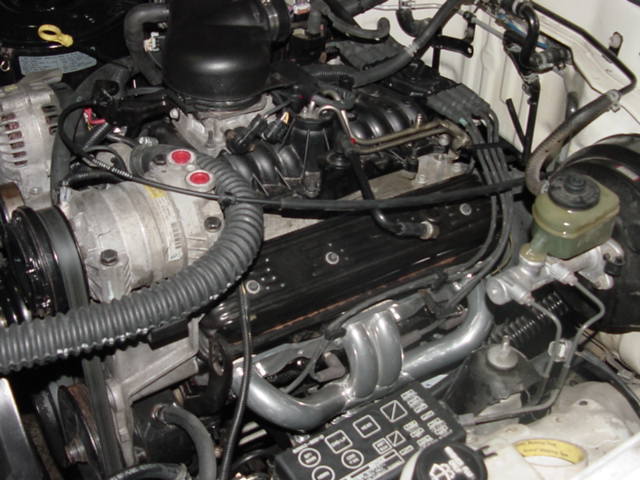
These last pics show the power steering reservoir setup, the finished engine bay, and the exhaust system. Pic 4 shows how I fabbed a cable setup for the factory shifter without have to butcher the interior. It's very important to me that everything look factory. Pic 5 shows how we mated the factory exhaust to Vortecs Y-pipe setup. We had a flange welded in to the factory rear portion of the exhaust to facilitate removal if necessary. You can say it, trick huh?
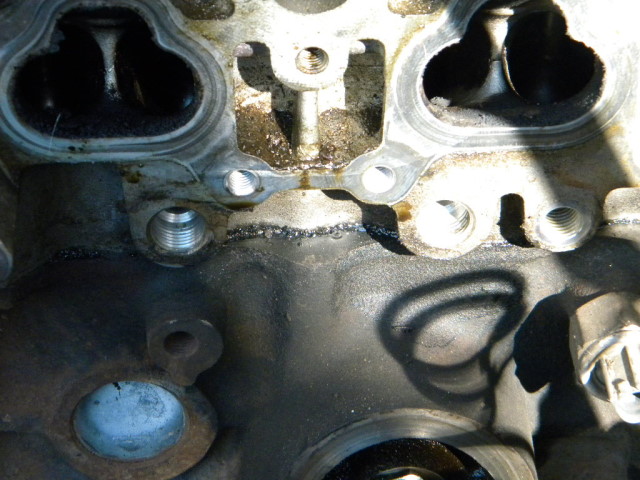
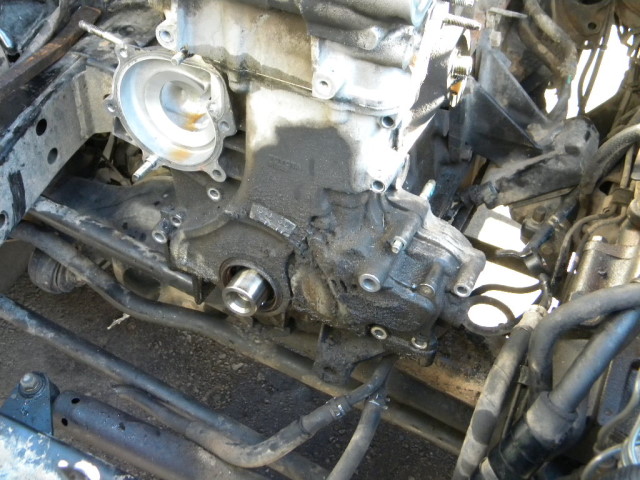
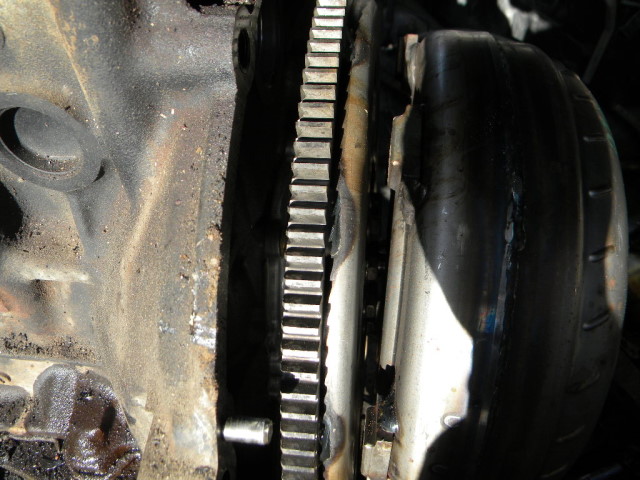
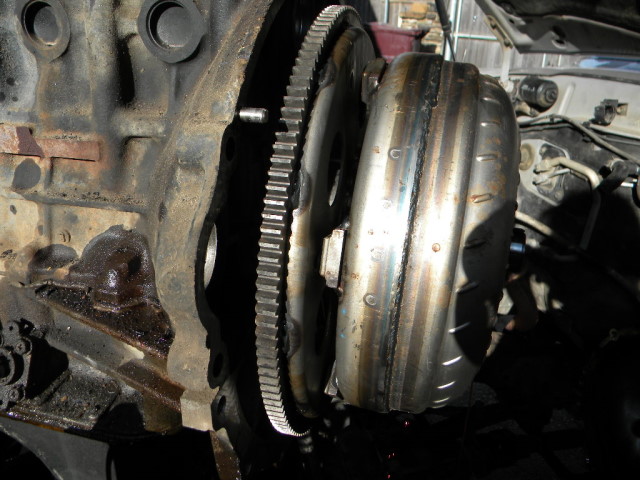
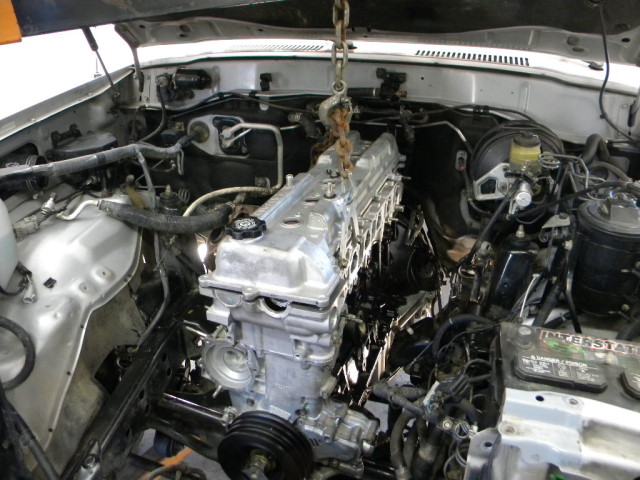
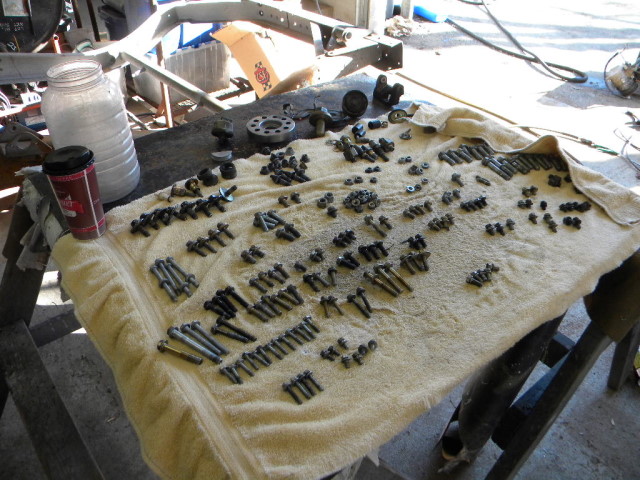
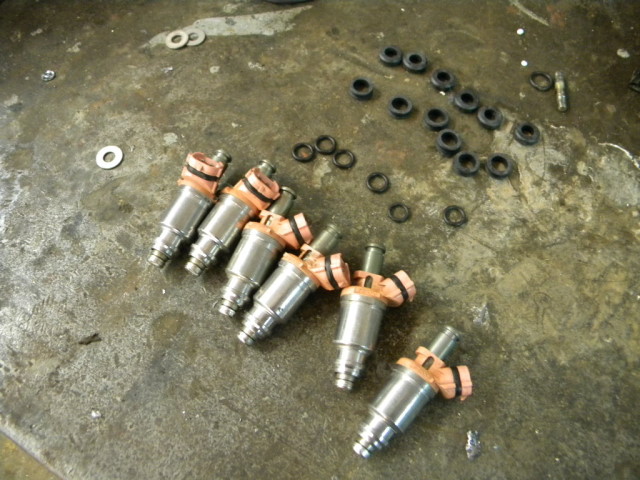
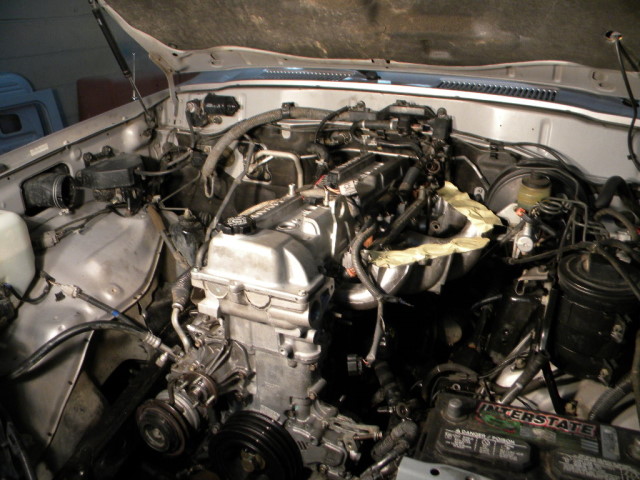
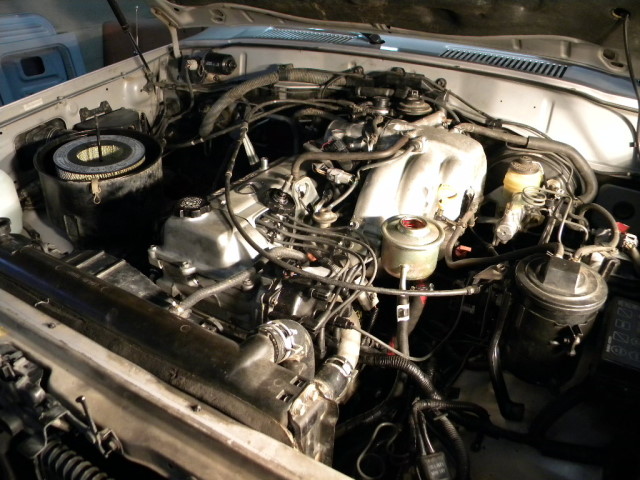
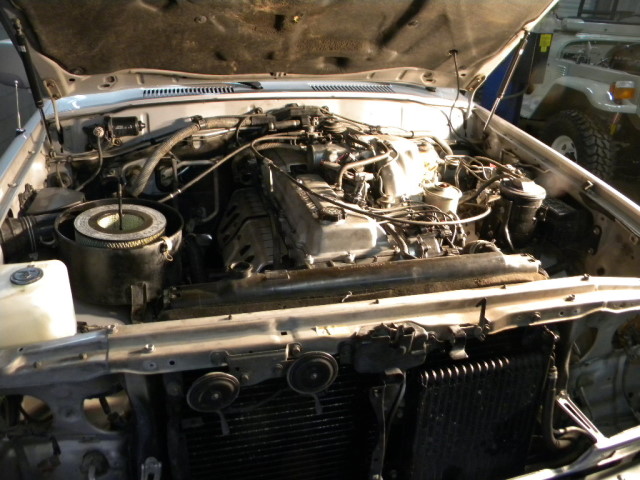
Shey Howard's Lexus Engine Rebuild
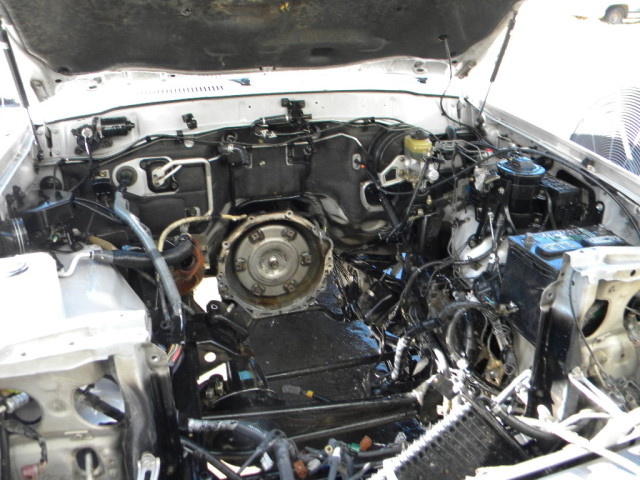
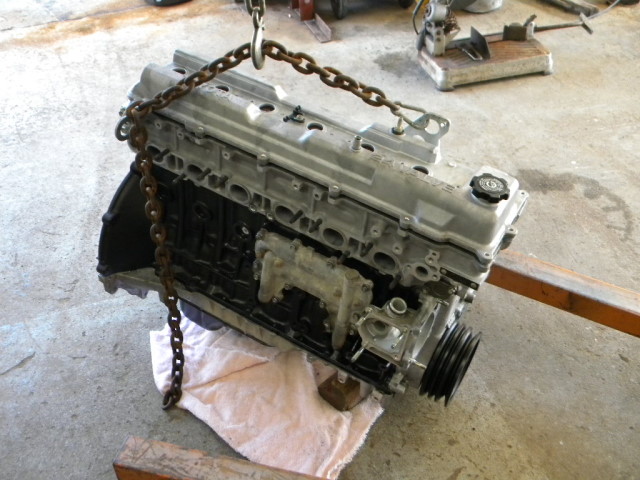
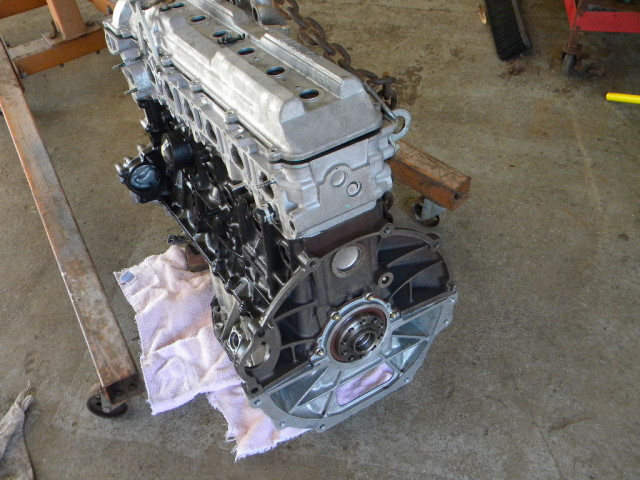
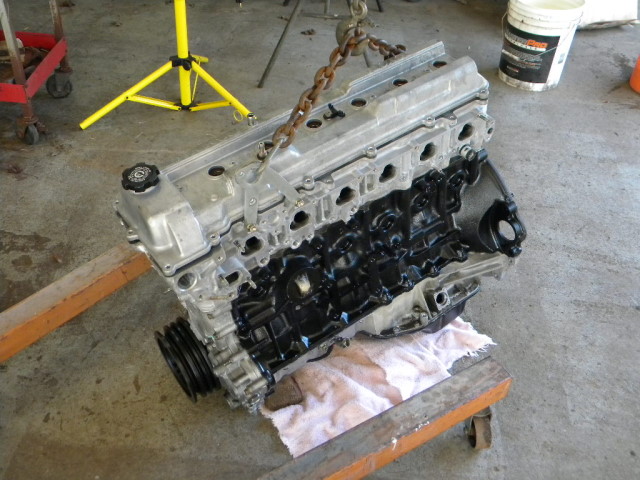
Shey has a very sweet Lexus that he is slowly building up. He takes it on long jaunts across the county and was timid about a nagging leak he had. So we rebuilt his engine for him and did a few other things but I ll add those pics later.
 |
 |
 |
 |
 |
 |
 |
 |
 |
 |
 |
 |
 |
 |
 |
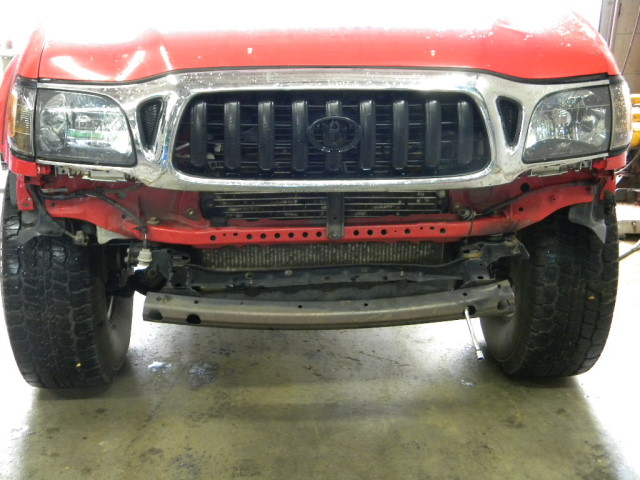
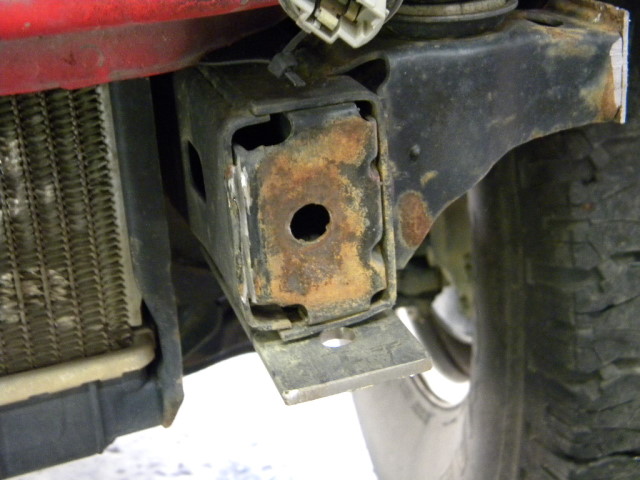
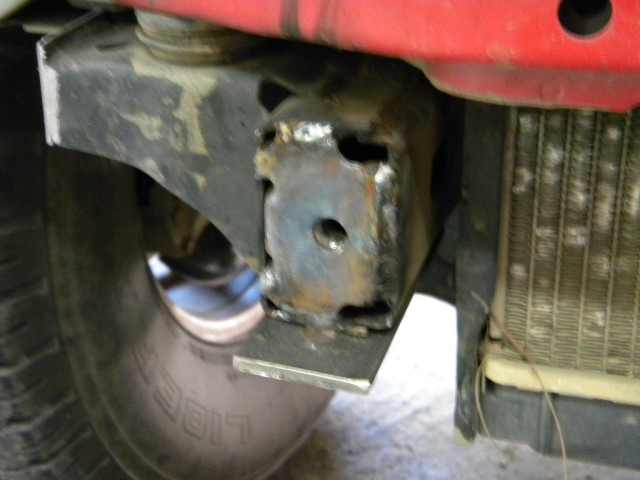
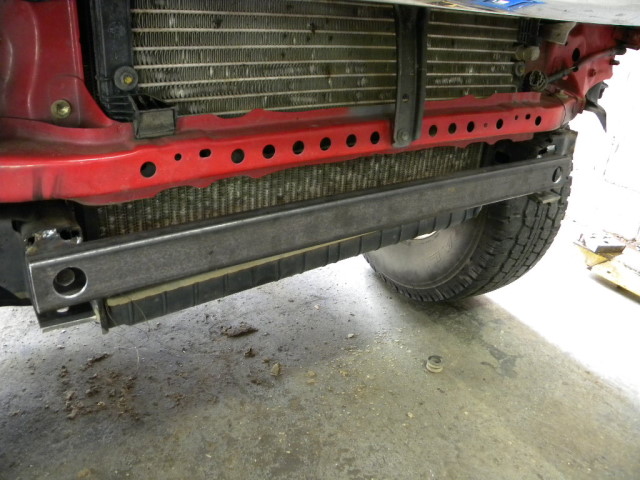
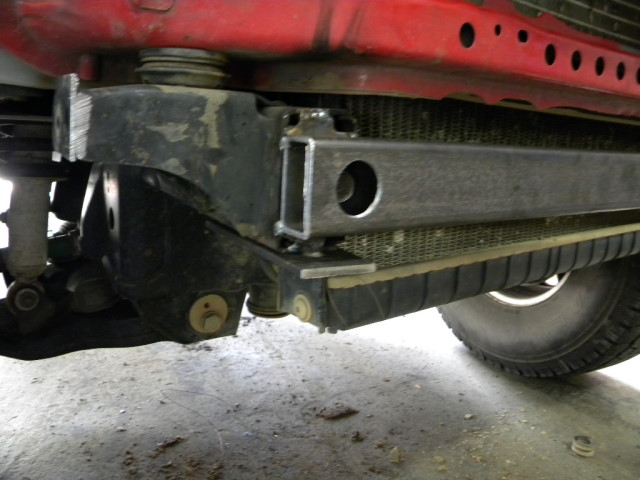
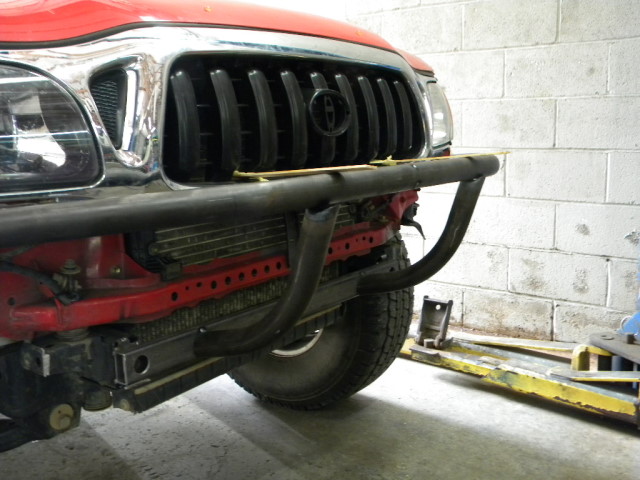
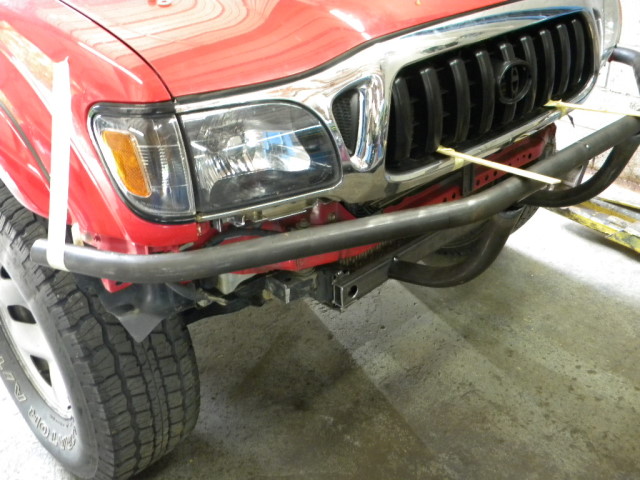
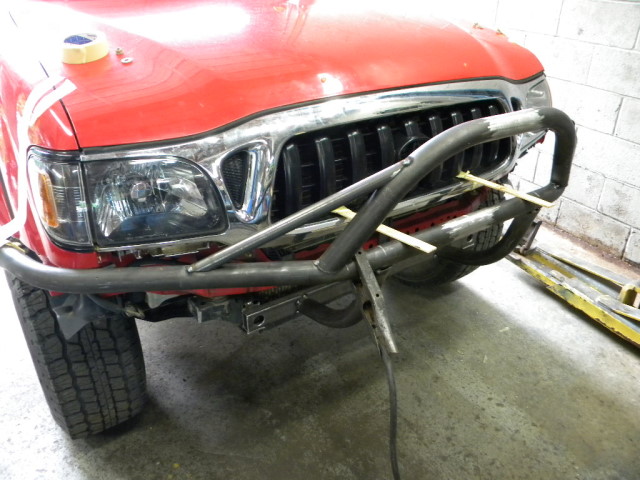
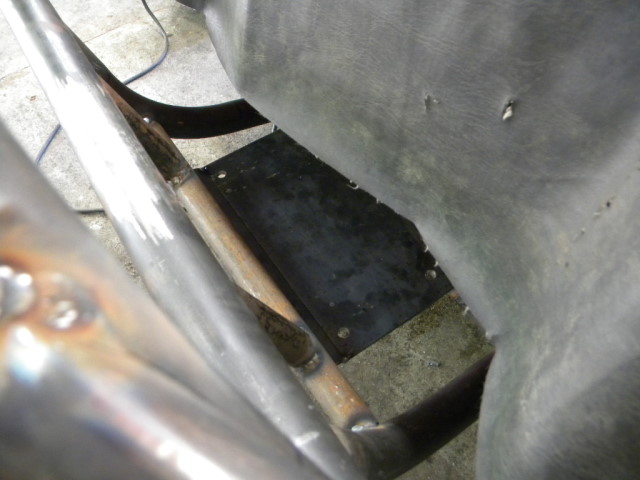
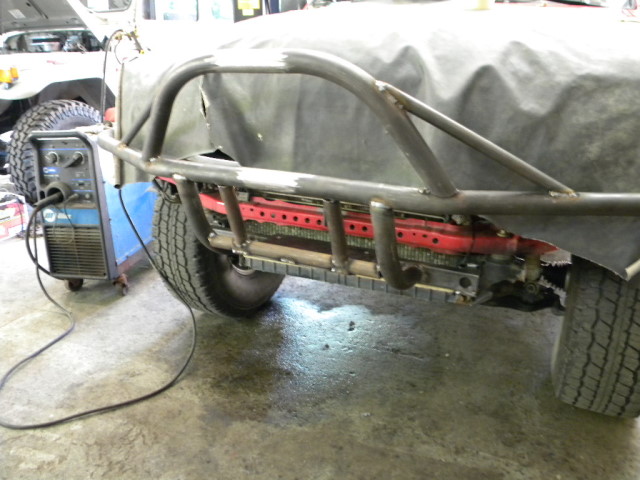
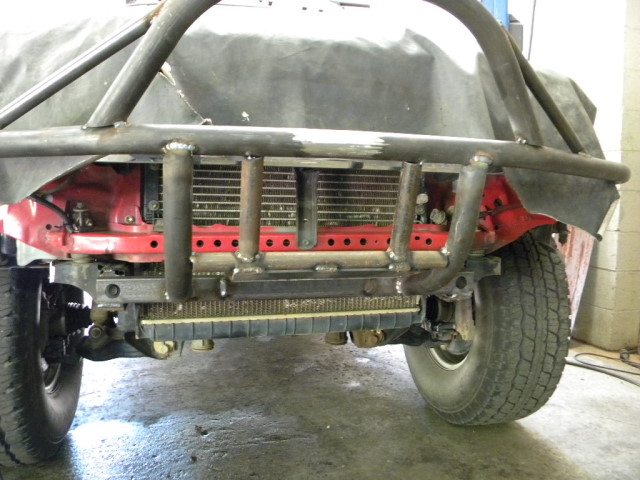
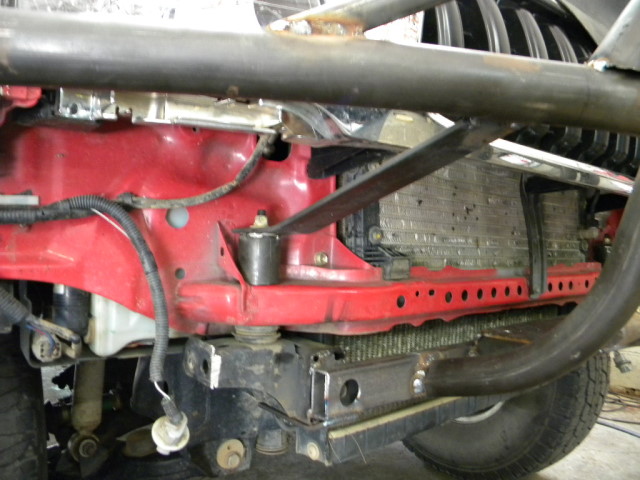
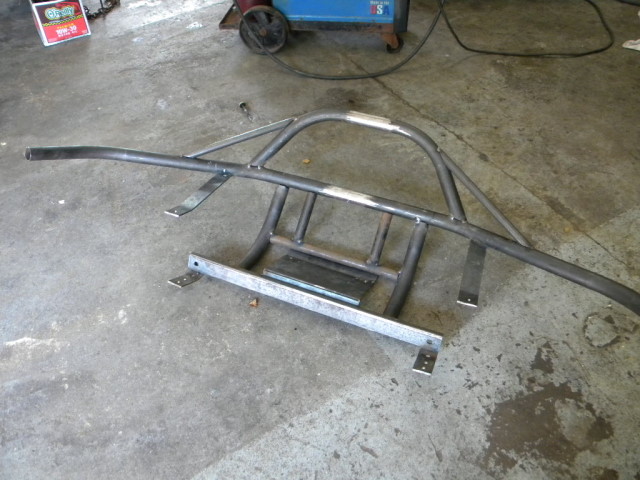
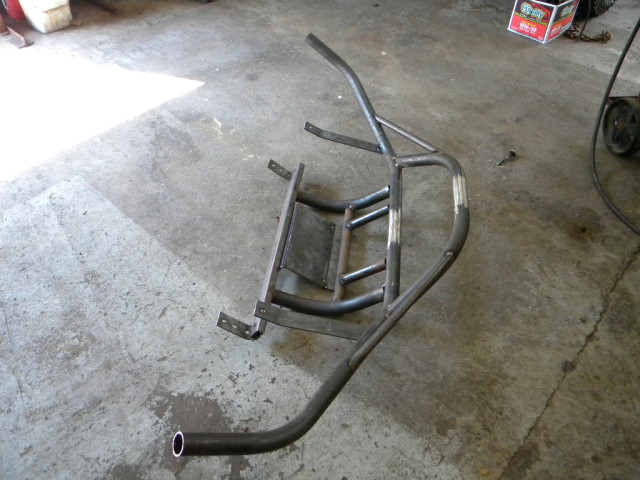
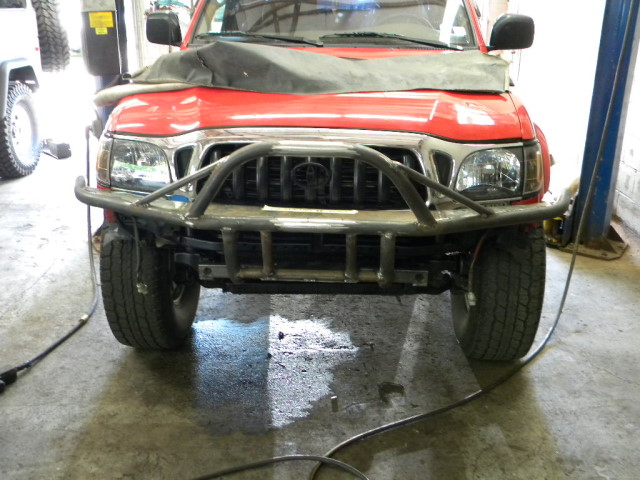
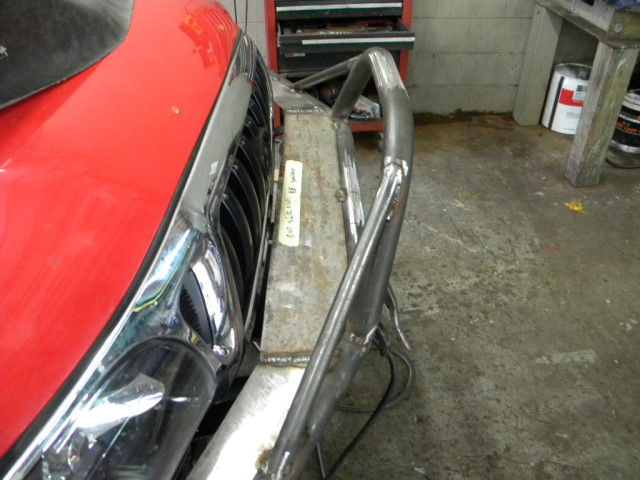
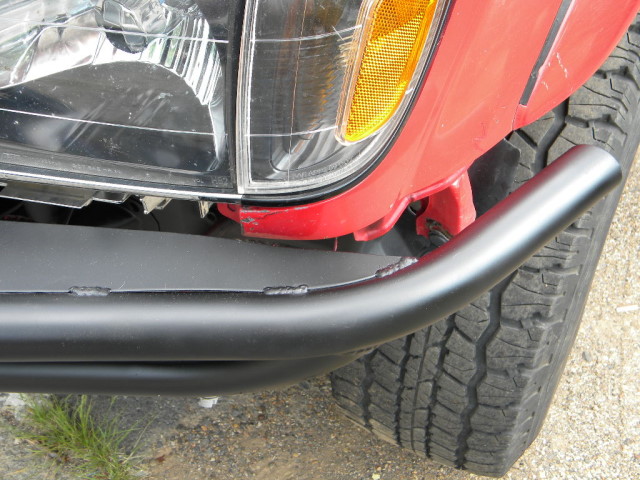
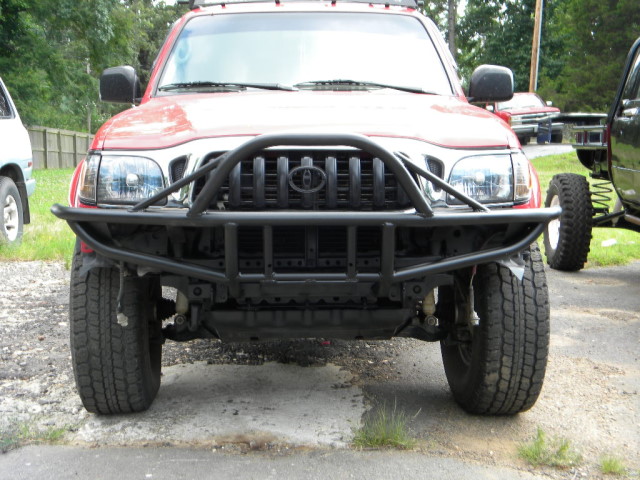
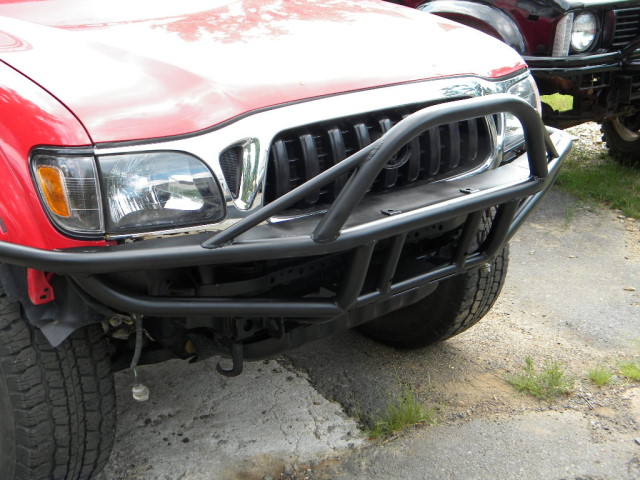
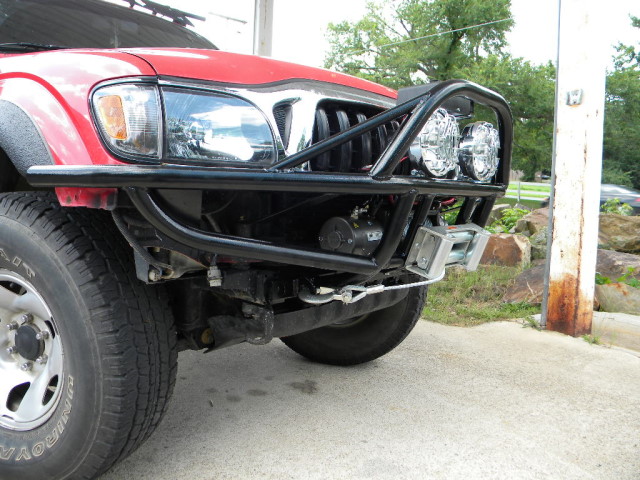
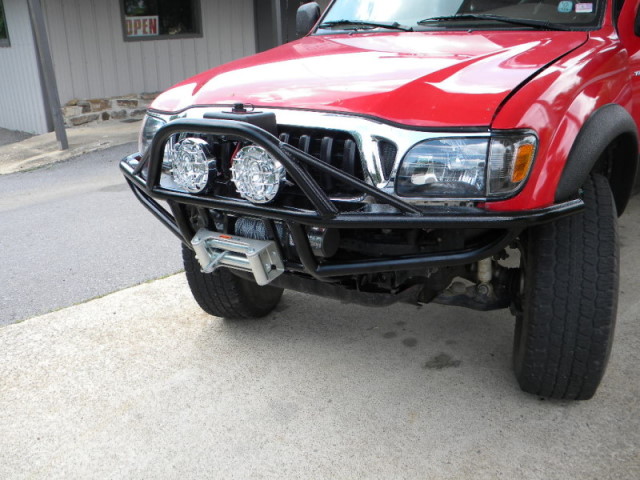
Custom Tacoma Bumper
Nice little custom one off bumper I built for this gent who was tricking out his Taco.
 |
 |
 |
 |
 |
 |
 |
 |
 |
 |
 |
 |
 |
 |
 |
 |
 |
 |
 |
 |
 |
 |
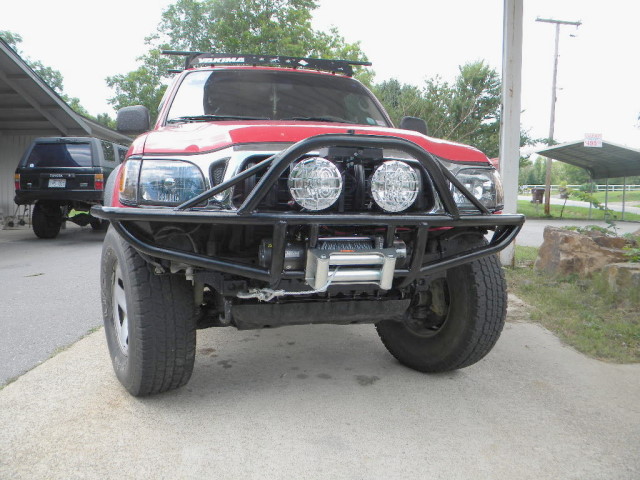 |
This was actually pretty difficult mainly because the owner wanted everything tucked away along body lines. We planned out how the bars would fall with the owner and cut to fit all the pieces. I recessed the winch mount back into the bumper and added an attachment that served as the skid plate mount using the factory mount and skidplate. We also added a center metal strap so that they control box would be 'hidden' behind the lights and the stinger bar up top. Turned out pretty nice.
'79 Toyota Truggy
The Cruiser Company 2009